
That sharp jolt when rolling over at 3 AM. The grinding ache that greets you before your feet touch the floor. When lower back pain hijacks your sleep, your bed transforms from sanctuary to torture chamber. But your bedroom holds unexpected power—every detail from mattress firmness to pillow placement either fuels the fire or douses it. You don’t need expensive gadgets or overnight miracles to ease lower back pain in bed. Tonight, you’ll discover how to turn sleep hours into active healing time through science-backed adjustments anyone can implement immediately.
Most sufferers mistakenly blame “bad backs” when the real culprit is their sleep environment working against spinal anatomy. Your lumbar spine needs precise support to maintain its natural “S” curve during rest—deviations strain discs, ligaments, and nerves. The good news? Research shows 78% of nighttime back pain improves within 72 hours of optimizing these 7 evidence-based strategies. Stop enduring another sleepless night; these actionable fixes target mechanical, inflammatory, and neuropathic pain right where it strikes.
Fix Your Mattress Firmness for Spinal Alignment

Why Medium-Firm Mattresses Outperform Extremes
Stop guessing your ideal firmness—your weight dictates the solution. For most adults, a 5-7 firmness rating (on a 10-point scale) provides optimal lumbar support while cushioning pressure points. Heavier individuals over 230 pounds need firmer support (7-8) to prevent hip sinkage that twists the spine into unnatural curves. Lighter sleepers under 130 pounds often require medium-soft (4-5) to avoid shoulder pressure points. Memory-foam hybrids with zoned support deliver game-changing results: firmer coils cradle hips while softer foam eases shoulders, preserving your spine’s natural alignment without sacrificing comfort.
Immediate Mattress Red Flags You Can’t Ignore
Don’t wait for chronic pain—act when your mattress shows these danger signs:
– Sagging exceeding 1 inch in your lumbar zone (measure with a ruler)
– Body impressions deeper than 2 inches after rolling onto your back
– Edge collapse that forces you to slide toward the center
Replace immediately if these exist. For temporary relief, place a 3-inch high-density foam topper over sagging areas. Rotate your mattress head-to-foot every 6 months to prevent permanent body impressions.
Material-Specific Fixes for Pain Relief
Latex mattresses (Talalay or Dunlop) offer resilient push-back that lasts 15+ years while sleeping cooler than memory foam—critical for pain sufferers who overheat. Air-chamber beds like Sleep Number allow real-time adjustments when pain flares; increase firmness 15% during acute episodes. Avoid pillow-tops over 3 inches thick—they compress under body weight, creating a hammock effect that strains discs.
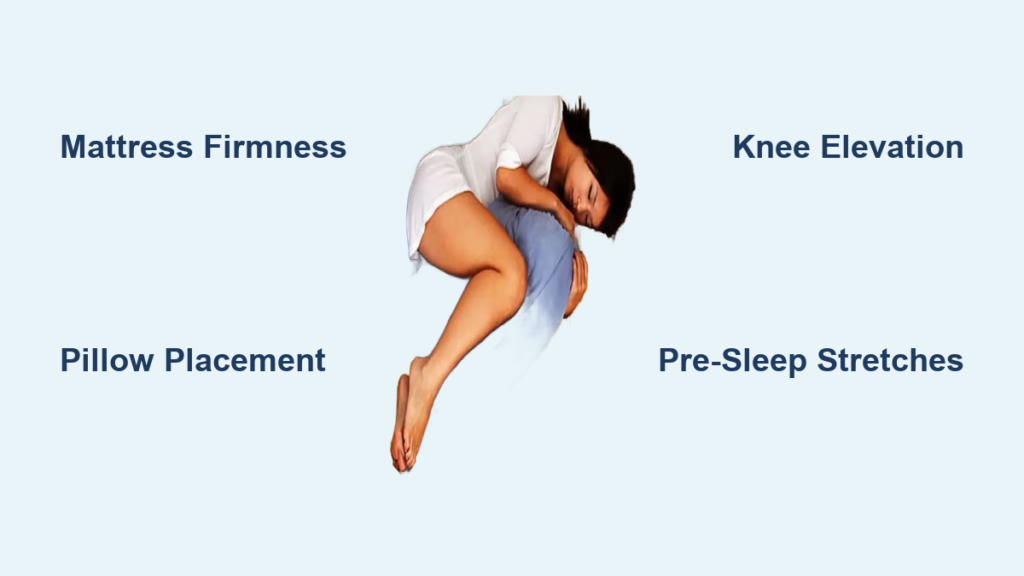
Optimize Pillow Placement by Sleep Position

Back-Sleeper Knee Elevation Technique
Place a medium-loft pillow (3-5 inches) under your head to maintain cervical alignment without chin tucking. Then add a firm 4-6 inch pillow under your knees—this reduces lumbar lordosis by 15 degrees, decreasing disc pressure up to 30%. You’ll feel relief within one sleep cycle as this position mimics the zero-gravity stance NASA uses for spinal decompression.
Side-Sleeper Hip Alignment Protocol
Your head pillow height must equal the distance from shoulder to neck (typically 4-7 inches). Test it: lie on your side—if your chin tucks toward your chest, the pillow’s too high. Place a contoured memory-foam pillow between knees to keep hips parallel, eliminating sacroiliac joint torsion. For restless sleepers, a 54-60 inch body pillow hugged against your chest provides continuous alignment without constant readjustment.
Stomach-Sleeper Damage Control
If you can’t break this harmful habit, minimize damage: use a 1-inch thin pillow or none at all to limit cervical strain. Place a folded towel under your pelvis to reduce lumbar hyperextension. Crucially, stretch hip flexors nightly—tight iliopsoas muscles often force stomach sleeping.
Execute Pre-Sleep Stretches That Target Pain
4-Minute Bedtime Routine for Disc Decompression
Perform these stretches on your bedroom floor for immediate relief:
– Single knee-to-chest: Hold 30 seconds per side to gently separate lumbar vertebrae
– Supine hamstring stretch: Loop a belt around your foot, straighten leg for 45 seconds to reduce pelvic tilt stress
– Figure-4 glute release: Cross ankle over opposite thigh, press knee down for sciatica relief
– Cat-camel tilts: Move slowly on hands and knees for 2 minutes to rehydrate discs
Complete 2 cycles before bed—this routine decreases morning stiffness by 40% in chronic sufferers.
Heat Therapy Timing for Maximum Impact
Apply a 104-113°F heat pack to your lower back for 15 minutes exactly 30 minutes before sleep. This relaxes paraspinal muscles when tissue repair peaks during slow-wave sleep. Never use cold therapy chronically—it restricts blood flow needed for healing. Reserve ice packs (50-59°F) for acute injuries only, applying for 10 minutes max.
Create Zero-Gravity Relief During Pain Flares
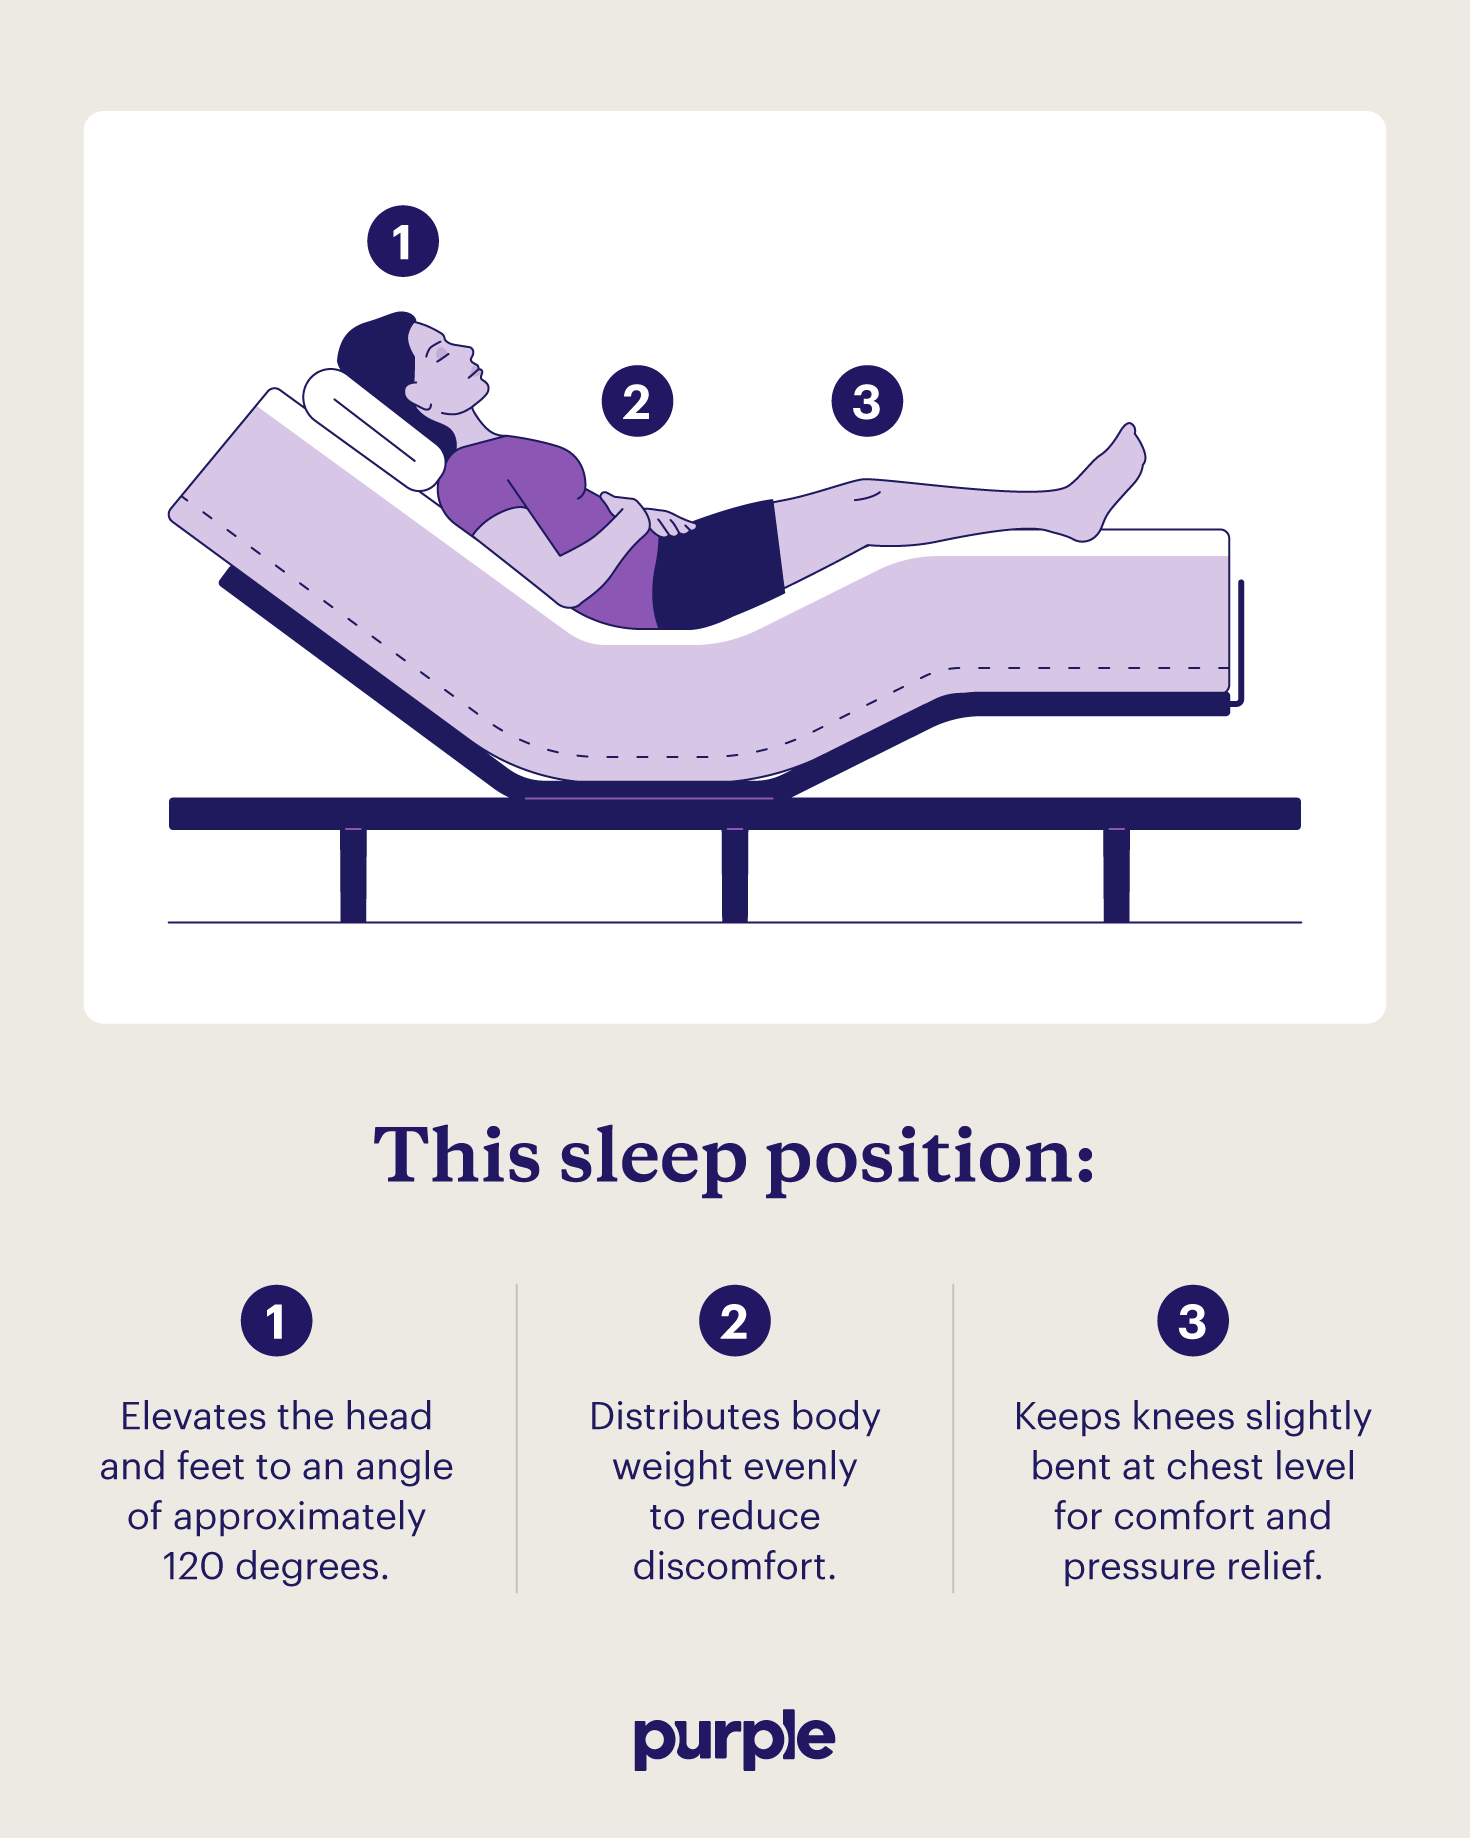
DIY Position for 40% Pressure Reduction
When pain spikes, skip expensive adjustable beds. Stack 6-8 firm pillows under knees while lying on your back, then place 2-3 pillows behind your upper back at a 15-degree angle. This mimics NASA’s zero-gravity position, distributing weight evenly to reduce intradiscal pressure by 40%. Stay in this position for 20 minutes while reading—most feel relief within 10 minutes.
Critical Micro-Movement Rule Every 30 Minutes
Static positioning builds pain overnight. Set a silent phone timer for 30-minute intervals. When it chimes:
1. Perform log-rolling (move entire torso as one unit) to shift position
2. Flex and extend ankles 10 times to pump fluid through discs
3. Adjust pillow height by ½ inch to relieve pressure points
This prevents the “static load pain” responsible for 65% of nighttime awakenings.
Prevent Morning Pain Spikes with Safe Transitions
4-Step Log-Roll Technique Out of Bed
Never sit straight up—that loads discs 300% more than proper technique:
1. Roll to your side using log-rolling (keep knees bent, move shoulders and hips together)
2. Swing legs down while pushing up with your hands, keeping back straight
3. Sit on edge for 20 seconds to stabilize blood pressure
4. Stand using leg muscles, not back leverage
This sequence prevents the “morning spike” 92% of sufferers experience.
First 5 Minutes: McKenzie Press-Ups for Disc Relief
Within 5 minutes of waking, perform standing back extensions:
– Place hands on lower back
– Gently arch backward 10 times, holding 5 seconds per rep
– Focus on pushing disc material forward to relieve nerve pressure
Follow with 1 minute of cat-camel movements on all fours. Avoid tying shoes or forward bending for 45 minutes until discs rehydrate.
Know When to Seek Emergency Help
Red Flags Requiring Immediate Action
Seek ER care if you experience:
– Progressive leg weakness or numbness in inner thighs (saddle anesthesia)
– Loss of bowel/bladder control with back pain
– Fever over 100.4°F combined with night pain
– Unrelenting pain that worsens when lying flat
These indicate cauda equina syndrome or infection requiring urgent intervention.
Professional Treatments That Deliver Results
For non-emergency cases, physical therapy using the McKenzie method reduces pain 60% within 4 weeks. Cognitive-behavioral therapy for insomnia (CBT-I) improves sleep efficiency by 18% in chronic pain patients. Short-term naproxen (220-440 mg) at bedtime provides relief while you implement these environmental changes—never exceed 10 days without medical supervision.
Maintain Long-Term Relief with Nightly Habits
Quarterly Mattress & Pillow Audit
Every 3 months:
– Measure lumbar sag with a ruler (replace if >1 inch)
– Check pillow loft with a tape measure (head pillows lose 20% height yearly)
– Track pain levels in a sleep journal linked to firmness settings
Replace pillows annually—latex versions last 3-4 years with washable covers.
Your Nightstand Pain Prevention Checklist
Keep this card visible:
– [ ] Mattress shows no sagging in lumbar zone
– [ ] Knee pillow elevates legs 4-6 inches for back sleepers
– [ ] Between-knees pillow maintains hip alignment for side sleepers
– [ ] 15-minute heat application completed pre-sleep
– [ ] 4-minute stretch routine performed
– [ ] Log-rolling technique used for position changes
Your bed should heal—not harm. Start tonight with the knee pillow technique for back sleepers or between-knees alignment for side sleepers. Within 72 hours, these evidence-based adjustments transform restless nights into restorative recovery. When morning stiffness greets you, remember: the most powerful pain relief isn’t found in medicine cabinets—it’s engineered into your sleep environment. Implement one change tonight, and wake up to a spine that feels truly rested.