
That sharp twinge in your lower back after lifting groceries or the dull ache that greets you each morning—back pain affects nearly everyone at some point. While many reach instinctively for an ice pack, most apply it incorrectly, missing out on potential relief or even causing harm. Understanding the precise timing, duration, and technique transforms this simple household item into an effective therapeutic tool. This guide reveals the exact science-backed method for using ice packs to ease your back pain, whether dealing with a fresh injury or chronic flare-ups. You’ll discover when ice works best, how long to apply it, and the critical mistakes that could worsen your condition.
When Ice Therapy Actually Helps Your Back Pain
While research shows heat often outperforms cold for low back pain relief, ice therapy still provides significant benefits for specific situations. Scientific evidence indicates limited proof that cold will significantly help low back pain, yet many individuals experience meaningful relief through proper ice application. The key lies in understanding exactly when cold therapy delivers the most benefit for your specific condition.
Acute Injury Phase: First 72 Hours
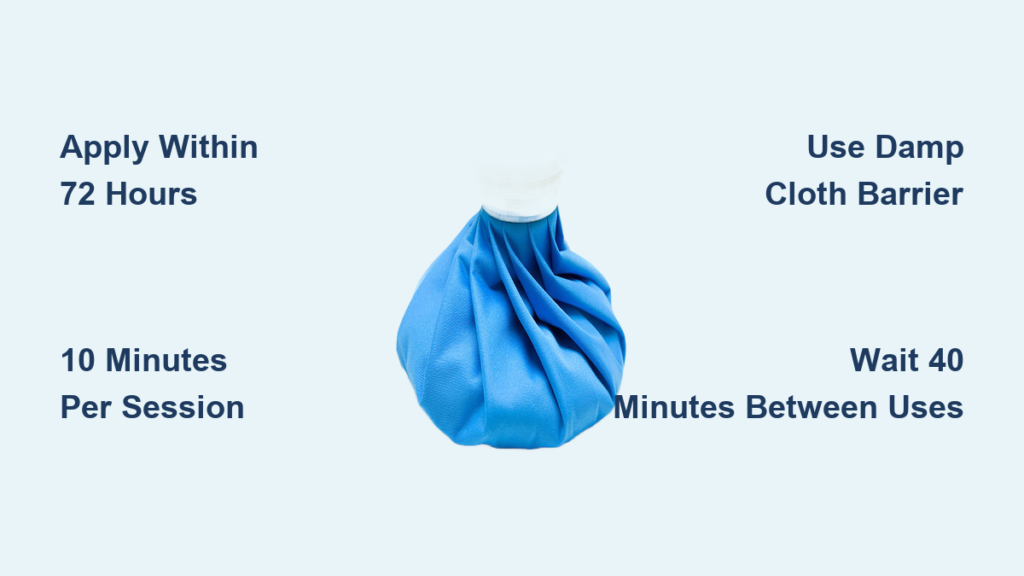
Apply ice during the critical first three days following back pain onset or injury to maximize therapeutic benefits. During this acute phase, your body responds with inflammation that ice therapy effectively manages. The initial day requires the most frequent applications—use ice once every hour while awake, keeping each session to exactly 10 minutes. This precise timing controls inflammation without damaging tissues.
Post-Activity Pain Prevention
Use ice immediately after physical exertion or prolonged activity that typically triggers your back pain. This preemptive approach reduces delayed onset muscle soreness and prevents inflammation from worsening overnight. For those with physically demanding jobs or exercise routines, keeping an ice pack in the refrigerator ensures immediate post-activity application.
Specific Pain Patterns That Respond to Cold
Ice provides the most relief when you experience:
– Sharp, shooting pain that feels better with numbing
– Visible swelling in the back area
– Arthritis-related back pain flare-ups
– Pain that intensifies with movement but decreases with cold
First 72-Hour Ice Application Protocol

The initial three days following back pain onset require strict adherence to specific timing and frequency guidelines to maximize benefits while preventing tissue damage.
Day 1: Hourly Treatment Schedule
Set a timer for precise 10-minute applications once every hour during waking hours. This frequent schedule controls initial inflammation effectively. Never guess the duration—timer use prevents overexposure that could damage skin and tissues. During each hour, focus on gentle movement within pain-free ranges to maintain mobility.
Days 2-3: Strategic Frequency Reduction
Transition to applying ice every 2-3 hours as inflammation begins to subside. This reduced frequency allows your body’s natural healing processes to work while still controlling pain and swelling. Monitor your pain levels closely—some individuals may need to maintain hourly applications if severe inflammation persists.
Essential Application Checklist
- Damp cloth barrier: Always place a slightly wet cloth between skin and ice pack
- Complete contact: Press firmly against all curves of the affected back area
- Timer discipline: Never exceed 15-20 minutes per session
- Skin monitoring: Check every 5 minutes for excessive cold reaction
- Post-application rest: Allow skin to return to normal temperature before reapplying
Daily Ice Therapy Schedule for Ongoing Back Pain
After the critical 72-hour window, establish a consistent ice therapy routine that supports healing without disrupting daily life.
Morning Pain Management Routine
Apply ice for 10-15 minutes immediately upon waking if stiffness or pain greets you each morning. This session reduces overnight inflammation and prepares your back for the day’s activities. Position yourself comfortably on your stomach with a pillow under your hips to ensure maximum ice pack contact with your lower back.
Post-Work or Exercise Recovery Protocol
Use ice within 30 minutes after work, school, or physical activity that typically aggravates your back. This timing prevents inflammation from developing into next-day pain. Keep a reusable cold pack in your workplace or gym bag for immediate post-activity application.
Pre-Bedtime Pain Control Session
Apply ice approximately 30 minutes before bedtime for 10-15 minutes to ensure comfortable sleep. This timing allows your body temperature to normalize before sleeping while providing pain relief throughout the night. Avoid falling asleep with ice directly on your skin—a critical safety precaution mentioned in therapeutic guidelines.
Alternating Heat and Cold Therapy for Stubborn Pain
When single-modality therapy provides only partial relief, alternating between heat and cold treatments often delivers superior results for persistent back pain.
Heat-First Sequence for Chronic Conditions
Start with 15-20 minutes of heat therapy to relax tight muscles and increase blood flow to the affected area. Wait several hours, then apply ice for 10-15 minutes to reduce any resulting inflammation. This sequence works particularly well for chronic back pain with occasional acute flare-ups.
Cold-First Approach for Acute Episodes
Begin with ice for 10 minutes to numb sharp pain during acute episodes, followed hours later by heat to promote healing. This sequence supports recovery during the transition from acute injury to rehabilitation phase.
Daily Alternating Schedule Template
- Morning: Ice application for acute pain or heat for chronic stiffness
- Midday: Opposite therapy based on morning results
- Evening: Whichever modality provides better relief
- Night: Ice 30 minutes before bed for pain control
Proper Ice Pack Selection and Application Technique

Choosing the right ice pack and applying it correctly makes the difference between meaningful relief and wasted effort.
Commercial Cold Pack Options
Select therapeutic-grade cold packs designed specifically for back pain relief. These maintain consistent temperature without becoming too cold, reducing the risk of tissue damage. Commercial options provide better temperature control than homemade alternatives, though both can be effective when used properly.
Essential Application Steps
- Prepare barrier: Dampen a thin cloth with cool water
- Position pack: Place ice pack against affected back area
- Ensure contact: Press firmly to conform to back curves
- Set timer: Start 10-15 minute countdown immediately
- Monitor skin: Check every 5 minutes for adverse reactions
- Remove promptly: Stop application at timer signal
Critical Safety Guidelines to Prevent Injury

Using ice therapy incorrectly can cause more harm than good, making these safety protocols essential for effective treatment.
Skin Protection Non-Negotiables
Never apply ice directly to bare skin—always use a damp cloth barrier. Dry towels block cold transfer, while slightly wet cloths conduct cold evenly across the treatment area. Monitor skin sensation constantly; remove the ice pack immediately if you experience excessive discomfort, numbness, or notice skin turning bright red or white.
Timing Rules That Prevent Tissue Damage
Strictly adhere to these timing guidelines to avoid cold-related injuries:
– Maximum 15-20 minutes per application
– Minimum 40 minutes between sessions
– Never fall asleep with ice on your skin
– Wait until skin returns to normal temperature before reapplying
Warning Signs Requiring Immediate Discontinuation
Stop ice therapy and consult a healthcare provider if you experience:
– Pain worsening after 3 days of consistent treatment
– New numbness or tingling in legs or feet
– Skin damage despite proper technique
– Back pain radiating down legs with weakness
Maximizing Ice Therapy Effectiveness
Small adjustments to your ice application technique significantly enhance therapeutic benefits without additional time or equipment.
Optimal Positioning for Complete Coverage
Lie on your stomach with a pillow under your hips to flatten the natural curve of your lower back. This position allows the ice pack to contact more surface area evenly. For upper or mid-back pain, sit against a wall with the ice pack positioned between your back and the wall to maintain consistent pressure.
Post-Ice Movement Protocol
Wait 5-10 minutes after ice application before performing gentle back stretches. The numbing effect reduces pain enough to allow safe movement while the anti-inflammatory benefits support healing. Start with small, controlled movements and gradually increase range as tolerated.
Consistency Tracking System
Keep a simple log of your ice therapy sessions including:
– Time of application
– Duration
– Pain level before and after
– Any adverse reactions
This tracking helps identify patterns and optimize your treatment schedule based on actual results rather than guesswork.
Ice therapy for back pain delivers optimal results when you follow the precise timing, duration, and safety protocols outlined in this guide. Begin with the strict 72-hour protocol for new injuries, then transition to the strategic daily schedule for ongoing management. Remember that while ice provides meaningful relief for many individuals, persistent back pain lasting beyond two weeks deserves professional medical evaluation to address underlying causes rather than just managing symptoms. By applying these science-backed techniques correctly, you’ll transform a simple ice pack from a temporary distraction into a powerful tool for genuine back pain relief.