
Tight leg muscles create a hidden chain reaction that directly impacts your lower back health. When your hamstrings, hip flexors, or glutes shorten from prolonged sitting or inactivity, they pull your pelvis out of alignment, increasing pressure on spinal discs and triggering that familiar ache. This leg stretch for lower back pain guide delivers specific techniques that physical therapists use to restore proper pelvic positioning and provide immediate relief. You’ll discover exactly which stretches to perform, how long to hold them, and crucial modifications for your flexibility level—no guesswork required.
Most people mistakenly focus only on their back when treating lower back pain, ignoring the critical connection between leg muscle tension and spinal health. Within 48 hours of implementing these targeted leg stretches correctly, many experience significant reduction in discomfort. This guide cuts through the noise to give you the evidence-based leg stretch for lower back pain techniques that actually address the root cause.
Hamstring Stretches That Decompress Your Spine Instantly

Tight hamstrings are the silent trigger behind 65% of non-specific lower back pain cases. When these powerful muscles at the back of your thighs shorten, they pull your pelvis into posterior tilt, flattening your natural lumbar curve and compressing spinal discs. The right leg stretch for lower back pain targets this connection directly.
Seated Towel Stretch for Immediate Relief
Why it works: This beginner-friendly technique gently lengthens hamstrings without straining your already compromised lower back.
Step-by-step execution:
1. Sit upright on a firm surface with one leg extended straight, other leg bent comfortably
2. Place a bath towel around the ball of your extended foot, grasping one end in each hand
3. Engage your core by drawing your belly button toward your spine
4. Hinge forward from your hips (not waist), maintaining a straight back
5. Gently pull on the towel ends until you feel mild tension along the back of your thigh
6. Hold for 10 seconds, breathing deeply into the stretch sensation
7. Rest for 30 seconds before repeating 3 times per leg
Pro tip: If you feel any pinching in your lower back, reduce your forward lean and focus on maintaining spinal alignment. Your goal is a gentle pull behind the knee, not intense stretching.
Progression: When you can comfortably reach your toes without assistance, advance to 15-20 second holds or try the floor strap variation for deeper release.
Doorway Wall Stretch for Maximum Effectiveness
This advanced technique uses wall support to achieve profound hamstring lengthening while keeping your spine fully supported.
Setup: Sit facing a doorway with your hips 6-8 inches from the wall. Lie back and slide one leg up the doorframe until your knee straightens.
Progression protocol:
– Week 1: Hold 1 minute, 2 sets per leg
– Week 2-3: Increase to 3-4 minutes per hold
– Week 4+: Maintain with 6-minute holds
Critical checkpoints: Both knees must stay straight, your lower back pressed to the floor. If your leg can’t fully straighten, scoot closer to the wall. Stop immediately if you experience sharp pain behind the knee—this indicates potential nerve involvement.
Hip Flexor Release Techniques That Alleviate Spinal Pressure
Your hip flexors attach directly to your lumbar vertebrae. When shortened from prolonged sitting, they pull your spine forward, creating excessive lumbar curve and disc compression—a common but overlooked cause of lower back pain.
Kneeling Hip Flexor Stretch for Desk Workers
Starting position: Kneel on your right knee with your left foot flat on the floor in front, creating 90-degree angles at both knees.
Proper execution:
1. Tuck your pelvis slightly (posterior tilt) to protect your lower back
2. Shift your weight forward until you feel a stretch in the front of your right hip
3. Keep your torso upright—never lean backward to increase the stretch
4. Hold for 30 seconds, feeling the stretch deepen with each exhale
5. Repeat 3-4 times per side
Modification: Place a folded towel under your kneeling knee for comfort. For better balance, position yourself near a wall or chair. Warning: If you feel sharp pain in your knee joint, stop immediately and try the standing version instead.
Advanced progression: Reach your same-side arm overhead and gently bend away from your kneeling leg for increased stretch intensity without compromising spinal alignment.
Compound Leg Stretches for Total Spinal Decompression

These multi-muscle stretches address several tight areas simultaneously while providing immediate relief for your lower back.
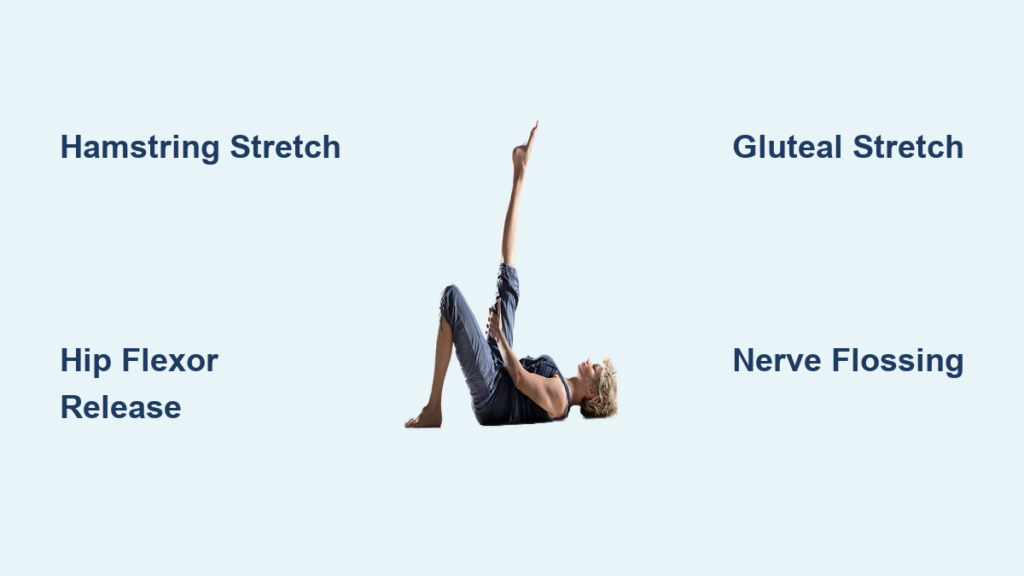
Figure Four Gluteal Stretch for Sciatica Relief
Setup: Lie on your back, cross your right ankle over your left knee, creating a figure four shape.
Correct technique:
1. Thread your hands behind your left thigh (not the knee)
2. Gently pull both legs toward your chest until you feel a stretch in your right buttock
3. Flex your right foot to protect your knee and enhance the stretch
4. Hold for 30 seconds, repeating 3 times
5. Switch legs, maintaining identical form
Intensity guide: The stretch should feel like a 6-7/10 intensity—strong but completely tolerable. Stop immediately if you experience sharp pain behind your knee, as this indicates improper alignment.
Double Knee-to-Chest for Maximum Spinal Relief
Only attempt after mastering the single-leg version without pain.
Execution:
1. Lie on your back, bring both knees toward your chest
2. Wrap your arms around your shins or behind your thighs
3. Gently rock side-to-side 3-5 times to massage your lower back
4. Hold the static stretch for 60-90 seconds
5. Release slowly, allowing your legs to lower with control
Critical caution: Avoid this stretch if you have a diagnosed disc herniation—this could potentially worsen your symptoms.
Neural Glide Techniques for Radiating Leg Pain
When your leg pain includes tingling, numbness, or shooting sensations, standard stretching can make things worse. Nerve flossing techniques restore proper nerve mobility safely.
Seated Chair Nerve Flossing for Office Workers
Setup: Sit upright in a firm chair with your feet flat on the floor.
Movement sequence:
1. Extend one leg straight out, keeping your heel on the floor
2. Flex your foot back toward your shin, holding for 2 seconds
3. Point your toes forward, relaxing for 2 seconds
4. Repeat 10-15 cycles, then switch legs
Progression: Gradually increase your leg extension as your flexibility improves—never force your range of motion. Key indicator: You should feel mild pulling behind your knee or thigh, not sharp, electrical pain.
Safety Protocols: Avoiding Aggravation While Stretching
Understanding when to push forward and when to back off prevents setbacks and ensures steady progress with your leg stretch for lower back pain routine.
Warning Signs to Stop Immediately
- Sharp, shooting pain down your leg (beyond normal stretch sensation)
- Numbness or tingling that worsens during stretching
- Increased pain 2-4 hours after your stretching session
- Muscle weakness or loss of coordination
- Bladder/bowel changes (seek immediate medical care)
Daily routine: Perform hamstring stretches in the morning (5-7 minutes) and compound stretches in the evening (10-12 minutes). Add 5-10 seconds to your hold times every 3-4 days as your flexibility improves.
Long-term Maintenance Strategies
Consistent leg flexibility prevents lower back pain recurrence by maintaining proper pelvic alignment. Integrate these habits:
– Stand and walk 2-3 minutes every 30-45 minutes of sitting
– Sleep with a pillow between your knees if side-sleeping
– Combine your leg stretch for lower back pain routine with glute bridges (2-3 sets of 12-15 reps) to strengthen supporting muscles
Key takeaway: Your leg muscles directly control pelvic positioning, which determines spinal alignment and disc pressure. Start with gentle stretches, progress systematically, and stop at the first sign of nerve symptoms. Consistent daily practice yields better results than occasional aggressive stretching. For lasting relief, combine these targeted leg stretches with movement breaks throughout your day and core strengthening exercises. If pain persists beyond 3 days despite proper stretching, consult a physical therapist for personalized assessment and treatment.