
That sharp twinge in your lower back when you roll out of bed after deadlifts isn’t just “part of the process.” If your morning routine now includes wincing while tying shoes or avoiding twisting movements, you’re experiencing more than typical soreness. The good news? Most deadlift-related back pain resolves quickly with the right protocol. This guide delivers science-backed strategies to distinguish harmless muscle fatigue from dangerous injuries and provides a step-by-step roadmap to eliminate pain—so you can return to lifting heavier without fear. You’ll learn exactly how to manage the first critical 72 hours, rebuild movement patterns safely, and implement foolproof prevention tactics starting today.
Spot Normal Soreness vs Injury Red Flags

Your body sends clear signals about whether that post-deadlift ache needs rest or medical attention. Delayed-onset muscle soreness (DOMS) typically hits 24-48 hours after your workout, creating a dull, symmetrical stiffness across your lower back, glutes, and hamstrings. This sensation peaks around day two and fades within five days as your erector spinae muscles rebuild stronger. Crucially, DOMS feels like general tightness—not sharp pain—and improves with gentle movement.
Warning signs demand immediate action: unilateral (one-sided) discomfort, shooting pain below your glutes, or burning/tingling sensations in your legs. Numbness, leg weakness, or loss of bladder control indicates nerve involvement requiring emergency care. Don’t ignore progressive worsening beyond 72 hours or pain that intensifies with coughing/sneezing—these signal potential disc issues.
Quick Self-Assessment Checklist
Ask yourself these three questions before attempting any recovery steps:
– Does pain shoot down your leg below the knee when coughing?
– Do you experience pins-and-needles in your feet during standing?
– Can you perform 10 bodyweight hip hinges without pain spikes?
Stop all training immediately and consult a sports physician if you answer yes to any red flags. Pushing through these symptoms risks long-term damage that could sideline you for months instead of days.
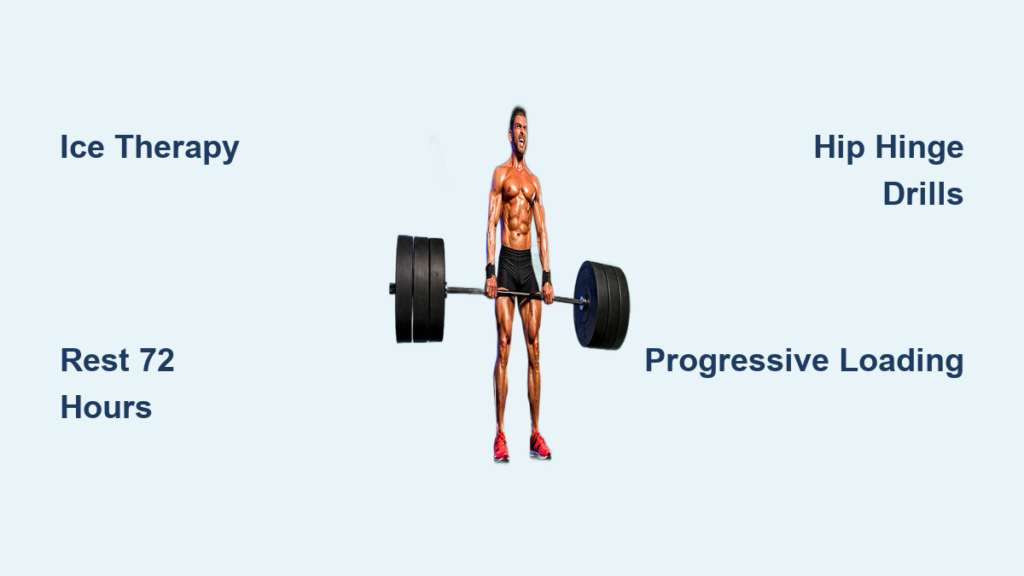
First 72 Hours: Stop Pain Fast

Your actions in the first three days determine whether recovery takes days or weeks. Complete rest from deadlifts and heavy spinal loading is non-negotiable for the initial 24-48 hours—no “just one more light set” exceptions. During this window, apply ice therapy for 15-20 minutes every 2-3 hours using gel packs (never directly on skin) to reduce inflammation. Pair this with light compression from an elastic lumbar brace like the LumboTrain for 3-5 days to limit painful micro-movements without restricting blood flow.
Active Recovery Begins (Day 2-3)
After 48 hours, transition from passive rest to controlled movement to prevent stiffness:
– Walk 10-15 minutes twice daily on flat surfaces
– Perform cat-cow stretches on hands and knees (2 sets of 10 slow reps)
– Practice diaphragmatic breathing in child’s pose for 5 minutes
– Drink 35-40ml water per kg bodyweight daily
Critical mistake to avoid: Skipping NSAIDs when appropriate. Take 200-400mg ibuprofen with food during the first 72 hours if you have no gastrointestinal issues—this reduces inflammation at the cellular level. Simultaneously boost protein intake to 1.6-2.2g per kg bodyweight and add anti-inflammatory foods like salmon and turmeric to accelerate tissue repair.
Week 1-4: Rebuild Movement Patterns
Once acute pain subsides, your focus shifts to retraining the hip hinge while strengthening supporting structures. Days 3-4 should involve only gentle mobility: cat-cow stretches twice daily and 20-30 minutes of walking total. By days 5-7, introduce core stabilization with bird-dog exercises (3 sets of 8 per side) and dead bugs (3 sets of 10), ensuring your lower back stays pressed into the floor.
Functional Tests to Pass Before Lifting Again
Don’t even consider touching a barbell until you clear these benchmarks:
– Complete 15 pain-free bodyweight hip hinges with neutral spine
– Hold a 60-second plank without hip sagging
– Perform single-leg RDLs with perfect balance (no wobbling)
– Experience zero pain during daily tasks like lifting laundry
Most lifters skip these tests and re-injure themselves within two weeks. When you pass all four, start week 2 with unloaded hip hinge practice using a dowel rod along your spine (3 sets of 15 reps). Only then progress to weeks 3-4 with kettlebell Romanian deadlifts from blocks at 20-30% of your one-rep max.
Advanced Recovery: Return to Heavy Lifting

This 8-week reloading protocol assumes you’ve passed all functional tests. Weeks 1-2 focus exclusively on kettlebell deadlifts from blocks at 20-30% of your previous max—4 sets of 8 reps with perfect form. Notice the bar path: it should drag vertically up your shins without drifting forward. If you feel back strain here, regress to bodyweight hinges for another week.
Progressive Loading Schedule
| Week | Exercise | Load | Sets × Reps |
|---|---|---|---|
| 1-2 | KB DL from blocks | 20-30% 1RM | 4 × 8 |
| 3-4 | Rack pull (knee height) | 40-50% 1RM | 4 × 6 |
| 5-6 | Rack pull (mid-shin) | 60% 1RM | 5 × 5 |
| 7-8 | Full deadlift | 70% 1RM | 5 × 3 |
Increase weight by just 5% only when you complete all sets pain-free with textbook form. Supplement this with twice-weekly accessory work: barbell hip thrusts (4 sets of 8) and Pallof presses (3 sets of 12 per side) to bulletproof your spine against future flare-ups.
Prevent Future Flare-Ups
Your pre-deadlift routine should take 5-10 minutes daily—not just on lifting days. Start with 3-4 minutes of rowing to raise core temperature, then hit these mobility drills:
– Leg swings: 15 front/side per leg
– World’s greatest stretch: 5 per side
– Ankle pumps: 20 reps
Technical Cues That Save Your Spine
Master these non-negotiable form checkpoints:
– Setup: Bar over mid-foot, shins 1-2 inches from bar
– Brace: Take a 360-degree breath and tighten obliques like bracing for a punch
– Lift initiation: Push the floor away with heels (don’t yank the bar)
– Lockout: Extend hips and knees simultaneously—no hyperextension
Most lifters fail at the descent phase. Lower by hinging at the hips first, keeping the bar glued to your thighs. Only bend knees once the bar passes them—this prevents rounding your lower back under load.
Equipment and Environment Tweaks
Your footwear makes or breaks deadlift safety. Ditch cushioned running shoes and use flat-soled options like Converse or weightlifting shoes with 0.5-0.75 inch heels for stable footing. If using a belt, wear it one notch looser than max tightness after mastering bracing—never as a substitute for proper technique. Always deadlift on rubber mats to absorb shock, and ensure the bar sits at mid-shin height when on the floor. For persistent issues, try trap-bar deadlifts which reduce shear forces on the spine by 20%.
When to Seek Professional Help
Conservative care resolves 90% of cases, but escalate immediately if:
– Pain persists beyond 2-3 weeks despite following this protocol
– You experience progressive leg weakness or worsening numbness
– Daily activities like driving become painful
Physical therapists use specialized techniques like McKenzie extensions or dry needling that target deep tissue restrictions no foam roller can fix. For confirmed disc herniations, epidural steroid injections may provide relief when paired with targeted rehab. Remember: DOMS typically resolves in 2-5 days, while grade 1 strains need 7-14 days of smart recovery.
Track your progress daily using a 0-10 pain scale before and after movement. If pain increases by 2+ points during exercises, regress to the previous phase. Your strongest deadlifts come from respecting recovery—not rushing it. Implement these protocols consistently, and you’ll transform post-deadlift discomfort from a recurring nightmare into a distant memory. The bar awaits your comeback.