
Your lower back aches after hours at your desk, and that familiar sciatic pain shoots down your leg again. You’ve tried stretching, heat packs, and pain relievers, but nothing provides lasting relief. What if a simple foam block could decompress your spine and ease that pressure? Yoga blocks offer an accessible, drug-free approach to back pain management that you can practice at home. This guide walks you through specific techniques that create space between compressed vertebrae, targeting the root cause of your discomfort rather than just masking symptoms.
You’ll learn exactly where to place your block, how to progress safely, and which movements provide maximum spinal decompression for sciatica and stiff spinal segments. The yoga block sequence creates space between spinal vertebrae and relieves pressure on inter-vertebral spinal discs, making it particularly effective for sciatica and stiff spinal segment conditions that cause acute pain. With consistent practice, you can transform this simple tool into your most reliable back pain management strategy.
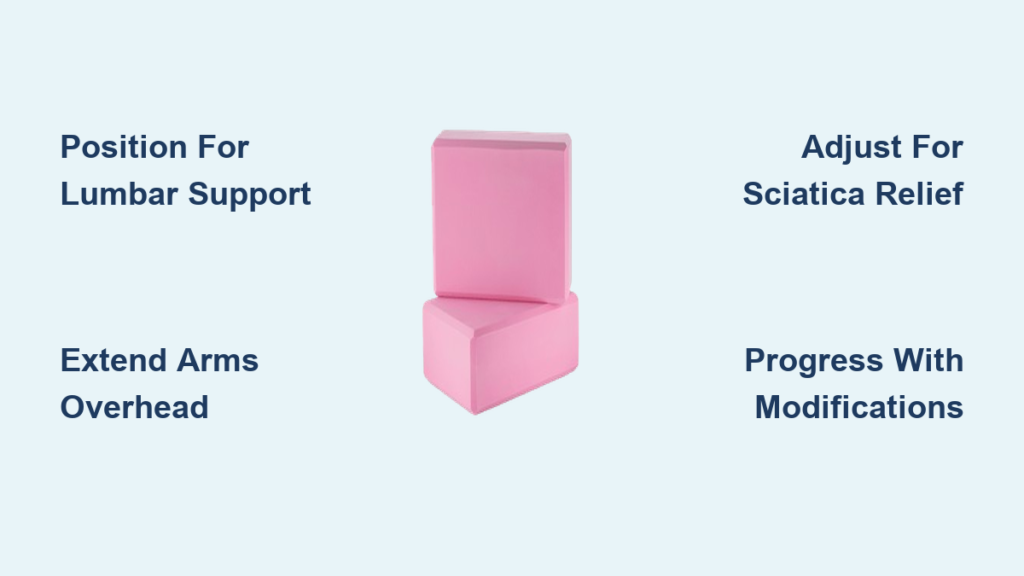
Position Your Block for Lumbar Decompression

Start by selecting a yoga block that’s firm enough to support your weight without collapsing. Most cork or dense foam blocks work well, but avoid soft, squishy options that won’t maintain their shape under pressure. The right block creates the foundation for effective spinal decompression without causing additional strain.
Find Your Sweet Spot
Lie on your back and slide the block horizontally beneath your lower back, positioning it just above your hip bones. You should feel the block supporting your lumbar curve without creating sharp pressure points. If the sensation feels too intense, move the block slightly higher toward your ribcage. Proper placement targets the compressed spinal segments responsible for your pain.
Pro tip: Test placement by taking three deep breaths. The right spot allows your lower back to relax into the block while your breathing remains smooth and unrestricted. If you catch your breath or feel sharp pain, readjust immediately.
Check Your Alignment
Once positioned, ensure your spine forms a gentle, supported curve. Your tailbone should rest naturally on the floor, not lifted by the block. If your lower back arches dramatically or your hips feel strained, adjust the block’s position until you find neutral alignment. Proper alignment ensures you’re targeting the correct spinal segments without creating new problem areas.
Master the Basic Decompression Sequence
Begin with your arms resting comfortably at your sides, palms facing up. This passive position allows your spine to decompress naturally under gravity’s gentle pull. Stay here for 2-3 minutes while focusing on slow, diaphragmatic breathing to maximize the decompression effect on your inter-vertebral discs.
Activate Opposite Stretch
From the basic position, slowly extend your arms overhead until your fingertips touch the floor behind you. Keep your shoulders relaxed and avoid forcing the movement. This creates a powerful opposing stretch—from your toes reaching one direction to your fingertips extending the opposite way.
Key cue: Imagine your spine as a string of pearls being gently pulled apart at both ends. Each vertebra creates space, relieving pressure on compressed discs. This upward arm extension significantly amplifies the spinal decompression benefits you’re seeking when you learn how to use yoga blocks for back pain.
Time Your Sessions
Start with 5-minute sessions, building to 10-15 minutes as your body adapts. Beginners often feel immediate relief, but consistent daily practice yields the best long-term results for sciatica and chronic lower back pain. Track your pain levels before and after each session to monitor your progress and determine your optimal session length.
Target Sciatica Pain Patterns

Sciatica responds particularly well to yoga block decompression because the technique directly addresses nerve root compression. The supported backbend gently opens space where the sciatic nerve exits your spine, alleviating the pressure causing your radiating pain.
Identify Your Pain Pattern
Before positioning your block, note whether your sciatica worsens with forward folds or backbends. If bending forward aggravates your symptoms, start with the block positioned lower toward your sacrum. For pain that flares with extension, begin higher near your thoracic spine. Understanding your specific pain pattern helps you customize how to use yoga blocks for back pain relief.
Modify for Nerve Sensitivity
If you experience tingling or shooting pain during the exercise, immediately reduce the block height or move it slightly. Some practitioners benefit from placing a folded blanket on top of the block to decrease intensity while maintaining decompression benefits. Remember that relief should feel like gentle stretching, not nerve irritation.
Progress Your Decompression Practice
Once you’re comfortable with basic positioning, enhance your results through subtle progressions that deepen the therapeutic stretch without increasing risk. These advanced techniques let you target specific problem areas as you become more proficient at using yoga blocks for back pain.
Arm Variations for Enhanced Stretch
After extending arms overhead, experiment with different positions:
– Goalpost arms: Bend elbows to 90 degrees, creating a gentle chest opener
– Cactus arms: Elbows bent at shoulder level, palms facing forward
– Single arm reach: Extend one arm overhead while keeping the other at your side
Each variation subtly changes the decompression angle, targeting different spinal segments and helping you discover which positions provide the most relief for your specific back pain.
Leg Positioning Options
Straight legs provide maximum spinal traction, but bent knees reduce intensity for sensitive backs. Try these modifications:
– Supported bridge: Place feet flat on floor, knees bent, for active decompression
– Figure-four stretch: Cross one ankle over opposite knee to address piriformis-related sciatica
– Legs up the wall: Position block near wall and extend legs vertically for added venous return
These leg variations allow you to customize your approach to how to use yoga blocks for back pain based on your current condition and symptoms.
Prevent Common Setup Mistakes
Many practitioners unknowingly sabotage their results through subtle positioning errors that reduce decompression effectiveness. Avoiding these mistakes ensures you get maximum benefit from your yoga block practice.
Avoid These Placement Errors
Too high placement forces your lower back into excessive extension, potentially worsening pain. Too low positioning fails to target the lumbar spine, shifting pressure to your sacrum instead. Angled blocks create uneven pressure, causing one side of your spine to decompress more than the other. Proper block placement is essential when learning how to use yoga blocks for back pain.
Recognize Warning Signs
Stop immediately if you experience:
– Sharp, shooting pain (beyond gentle stretching sensation)
– Numbness or tingling that worsens during practice
– Dizziness or nausea
– Pain that persists for hours after your session
These warning signs indicate you’re doing more harm than good and need to adjust your technique or consult a professional.
Create Your Daily Relief Routine
Consistency transforms this technique from occasional relief to lasting back health. Build a sustainable practice that fits your lifestyle and pain patterns for optimal results with how to use yoga blocks for back pain.
Morning Decompression
Start your day with 5-7 minutes of block work before getting out of bed. This counteracts overnight spinal compression and prepares your back for daily activities. Place your block on the bed beside you for easy access and make it part of your morning ritual.
Evening Reset
End your day with 10-15 minutes of decompression to reverse the effects of sitting and standing. This practice helps prevent the stiffness that often worsens overnight, leading to morning pain. Consistent evening practice creates a cycle of relief that builds over time.
Weekly progression: Begin with 3 sessions weekly, adding one additional day each week until you’re practicing daily. Listen to your body’s response and adjust frequency based on symptom improvement.
When to Seek Professional Guidance
While yoga blocks provide excellent self-care tools, certain conditions require professional assessment before starting this practice. Your own physical condition and diagnosis may require specific modifications or precautions.
Red Flag Symptoms
Consult a doctor or physiotherapist if you experience:
– Severe pain that doesn’t improve with rest
– Progressive weakness in legs or feet
– Loss of bladder or bowel control
– Fever accompanying back pain
– Pain following trauma or injury
These symptoms indicate potentially serious conditions that require medical attention before continuing with self-treatment.
Personalized Modifications
A qualified physiotherapist can teach you personalized variations that address your unique spinal issues while avoiding movements that could worsen your condition. Before undertaking any course of self-treatment, you should consult a professional to ensure this technique is appropriate for your individual circumstances.
Your Next Steps: Start tonight with a 5-minute basic decompression session. Position your block, breathe deeply, and notice how your lower back responds. Track your pain levels for one week, gradually increasing session length as comfort allows. With consistent practice, you’ll likely discover that this simple tool becomes your most reliable strategy for managing back pain and sciatica symptoms. Remember that learning how to use yoga blocks for back pain effectively takes time and attention to proper technique, but the relief you gain makes the effort worthwhile.