
Your lower back screams after another hour hunched over your laptop, and that knot between your shoulder blades feels like a rock. Before popping another painkiller, reach for the tennis ball under your couch—it’s about to become your most powerful pain-relief tool. This $3 sports accessory delivers professional-grade myofascial release by targeting trigger points that refer pain throughout your back. In just minutes a day, you’ll learn exactly how to use a tennis ball for back pain relief, transforming everyday discomfort into lasting mobility without expensive equipment or appointments.
Tennis ball therapy works by applying precise pressure to tight muscle knots through gravity and body weight. As you position yourself on the ball, it stimulates mechanoreceptors that quiet pain signals while boosting blood flow to compressed tissues. The natural give of the rubber surface allows deep penetration without damaging sensitive structures—unlike harder tools that can bruise tissue. When you master this technique, you’ll trigger endorphin release that melts tension within seconds, making it one of the fastest-acting home remedies for muscular back pain.
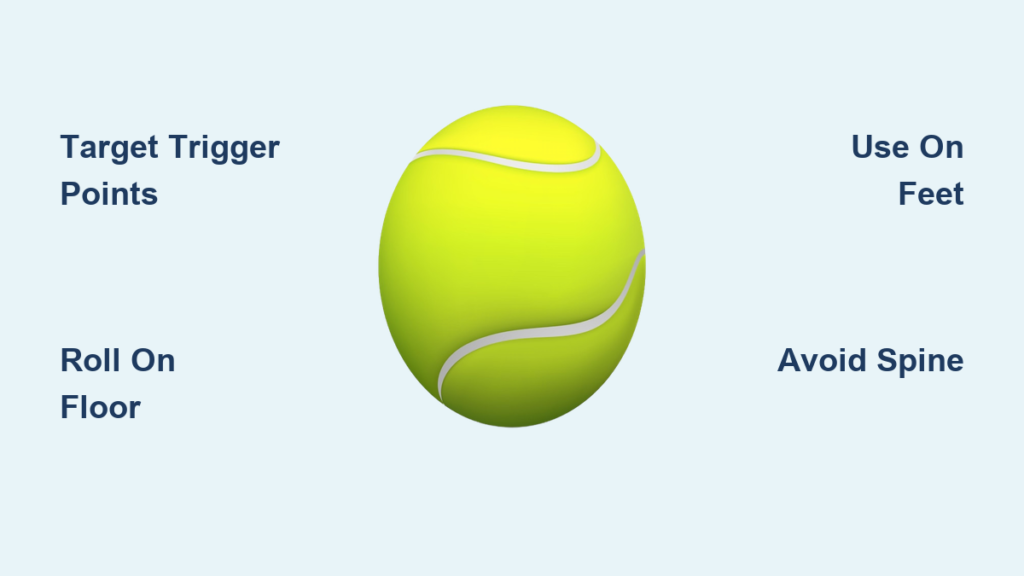
How a Tennis Ball Melts Back Pain Trigger Points
Your back pain likely stems from trigger points—hyperirritable knots in muscle fibers that refer pain far from their actual location. A tennis ball’s size and texture make it uniquely effective for locating and releasing these trouble spots. As you settle your body weight onto the ball, it creates sustained pressure that mechanically breaks up adhesions while signaling your nervous system to relax muscle spasms.
This dual-action approach delivers immediate relief through two key mechanisms: First, it activates the “pain gate” theory where pressure sensations override pain signals traveling to your brain. Second, the compression flushes inflammatory chemicals from compressed tissues while delivering oxygen-rich blood for healing. Within 30 seconds of proper application, you’ll feel muscles literally soften around the ball as trapped nerves regain freedom of movement.
Why trigger points cause widespread pain
Trigger points in your rhomboids (between shoulder blades) often refer pain down your arms, while knots in your quadratus lumborum (low back) can mimic sciatica. The tennis ball’s genius lies in its ability to target these referral patterns precisely—pressing just 2 cm lateral to your spine releases the erector spinae muscles responsible for mid-back stiffness. Unlike foam rollers that spread pressure too broadly, the tennis ball isolates stubborn knots that keep your back locked in pain.
Critical Safety Steps Before Using a Tennis Ball for Back Pain
Never place the ball directly on your spine—always position it 2-3 cm lateral to the bony ridge down your back. Using improper placement risks nerve compression or vertebral damage, especially if you have underlying spinal conditions. Skip tennis ball therapy entirely if you have acute inflammation, recent fractures, or unconfirmed herniated discs. Those with osteoporosis, spinal fusion hardware, or severe arthritis must get physician clearance first.
Stop immediately if you experience:
– Numbness or tingling radiating down limbs
– Sharp, shooting pain instead of dull pressure
– Worsening symptoms after 24 hours
– Leg weakness or balance issues
For safe sessions, use a standard tennis ball (softer for beginners) on carpet or a yoga mat. Avoid bouncing or rapid movements—slow, controlled pressure prevents tissue injury. If pain exceeds 7/10 intensity, reduce body weight by propping on your elbows. Remember: mild discomfort is therapeutic; sharp pain means you’ve crossed into dangerous territory.
Target These 4 Back Pain Zones with Your Tennis Ball

Upper back hotspots cluster between your shoulder blades and spine (T1-T8 region), tightening from slumped posture at desks. Focus pressure along the inner scapular border where rhomboids and middle trapezius muscles constrict. Mid-back tension lives parallel to your spine in the thoracic erector spinae—these muscles stiffen from prolonged sitting and breathing shallowly. Lower back culprits include the quadratus lumborum above your hip bones and gluteus medius muscles, which compensate for weak cores. Referred pain pathways often trace from tight hamstrings or plantar fascia through the sciatic nerve, making foot rolling essential for lumbar relief.
How to locate your exact pain trigger
Place one hand flat against your spine. Slide 2-3 cm outward laterally until you find tender, rope-like muscle bands. For low back relief, locate the dimples above your hip bones (posterior iliac crests)—painful spots here indicate quadratus lumborum strain. When targeting these zones, the tennis ball should indent tissue by 1-2 cm without causing bone-on-ball contact. If you feel bony protrusions, reposition immediately.
Single-Ball Floor Technique: Your First Move for Back Pain Relief
Start with this foundational method for immediate relief. Lie on your back with knees bent and feet flat. Place the ball under your upper back, 2-3 cm off-center from your spine. Gently lower your weight until you feel moderate pressure (no more than 7/10 intensity). Hold for 20-30 seconds while breathing deeply into your ribs—this diaphragmatic breathing signals muscles to release.
Master the micro-movement:
1. After holding, shift your hips slightly to roll the ball 1-2 cm upward
2. Pause again for 20 seconds on new tender spot
3. Repeat downward toward your lower back, covering 6-8 inches total
4. Spend 5-10 minutes per session, focusing on stiffest areas
Pro tip: Begin with upper back release before moving downward. This prevents protective tension in lower muscles when addressing higher regions. If floor work aggravates your back, skip to wall techniques immediately.
Wall and Chair Variations for Limited Mobility
Can’t get down on the floor? These modifications deliver equal relief with better pressure control. For wall technique, stand with the ball between your back and wall at shoulder-blade height. Lean in slowly, using your legs to modulate pressure—bend knees deeper to increase intensity. Roll vertically by bending and straightening your knees in small pulses, covering 6 inches of tissue in 2-minute intervals.
Chair release works perfectly during desk breaks. Place the ball between your back and chair, then shift side-to-side to massage rhomboids. For lower back relief, sit forward slightly to target lumbar muscles. Key advantage: You instantly reduce pressure by leaning away—ideal for sensitive areas. Both methods require only 90 seconds per zone for noticeable tension release, making them perfect for office settings.
Double-Ball Peanut Method for Spinal Relief

Create a “peanut” by taping two tennis balls together with centers 6 cm apart. This cradles your spine while massaging both sides simultaneously. Lie on your back with knees bent, positioning the peanut horizontally under your mid-back so your spine rests in the gap. Perform slow “snow angel” arm movements: raise arms overhead while keeping them straight, then lower to sides. The balls roll along paraspinal muscles with every movement.
Why this beats single-ball work:
– Eliminates direct spinal pressure
– Releases bilateral trigger points in one motion
– Enhances thoracic mobility for deeper breathing
– Reduces session time by 40% for equal results
Repeat 4-5 arm cycles per position, then shift the peanut up/down one vertebra. Focus on areas where your arms feel restricted—this indicates stubborn knots needing extra attention.
Foot Rolling: The Secret to Easing Lower Back Pain
Your plantar fascia connects to your sciatic nerve pathway—tight feet directly strain your lower back. Sit in a chair and place the ball under your foot’s arch. Roll slowly from heel to ball of foot, pausing 2-3 seconds on tender spots. Concentrate extra pressure on the inner arch where plantar fascia attaches. Spend 2 minutes per foot, 1-3 times daily.
This indirect approach works because releasing foot tension reduces pull on your hamstrings and calves, which otherwise transfer stress to your lumbar spine. For desk workers, foot rolling during calls provides cumulative relief—many report 30% less low back pain within one week of consistent use.
Build Your Daily 5-Minute Tennis Ball Back Pain Routine
Beginner protocol (3 minutes):
– Upper back release: 90 seconds (single ball)
– Foot rolling: 60 seconds total
– Finish with 10 shoulder blade squeezes
Intermediate version (5 minutes):
– Peanut roll thoracic spine: 2 minutes
– Single ball on glutes: 60 seconds per side
– Foot work: 60 seconds
Perform this routine upon waking and before bed. Consistency beats intensity—daily 5-minute sessions yield better long-term results than weekly hour-long marathons. Track progress in a notes app: “After 3 days, my morning stiffness reduced from 8/10 to 4/10.”
What to Expect: Tennis Ball Back Pain Relief Timeline
Within 60 seconds: You’ll feel warmth spreading through compressed tissue as blood flow increases. This immediate vasodilation reduces pain intensity by 20-40% for most users. After 3 sessions: Noticeable improvements in spinal mobility—reaching for high shelves becomes pain-free. Within 2 weeks: Trigger points desensitize as neuroplastic changes rewire pain responses, cutting flare-up frequency by half. At 4 weeks: Many report eliminating daily pain medication through consistent use combined with core strengthening.
Document your journey with quick voice memos: “Day 7: Drove 2 hours without stopping for back pain.” This builds motivation while revealing which techniques work fastest for your body.
Fix These 4 Tennis Ball Back Pain Mistakes

Mistake #1: Using too much pressure
Solution: Wrap the ball in a thin towel or use your elbows to reduce body weight. Pain beyond 7/10 indicates tissue overstimulation.
Mistake #2: Rolling over bony areas
Solution: If you hear crunching or feel sharp edges, reposition 1-2 cm outward. Muscle tissue should indent smoothly.
Mistake #3: Skipping foot work for low back pain
Solution: Spend 60 seconds rolling each foot before addressing lumbar area—this preps the sciatic pathway.
Mistake #4: Ignoring worsening symptoms
Solution: If pain increases after sessions, apply ice and rest 24 hours. Resume with 50% less pressure and duration.
Stop Immediately: 5 Red Flags for Tennis Ball Back Pain Therapy
Seek emergency care if you experience:
– Loss of bowel/bladder control or saddle anesthesia
– Progressive leg weakness (tripping while walking)
– Numbness spreading down both legs
– Unexplained weight loss with back pain
– Fever accompanying spinal tenderness
These indicate serious conditions like cauda equina syndrome or infection that require immediate medical intervention. Never use self-massage techniques when these red flags appear.
3 Proven Tennis Ball Back Pain Relief Secrets
Secret #1: Time it with breath
Inhale to prepare, exhale deeply as you settle onto the ball. This 4-second exhale triggers parasympathetic relaxation for deeper release.
Secret #2: Combine with heat
Apply a heating pad for 5 minutes before ball work—warmed tissues release knots 50% faster according to clinical studies.
Secret #3: Anchor with core work
Follow sessions with 2 minutes of dead bugs or bird-dogs. Strengthening deep stabilizers prevents pain recurrence by 70%.
Consistency is your greatest ally—just 5 minutes daily with your tennis ball creates cumulative effects that outperform sporadic intensive sessions. When combined with ergonomic workstation adjustments, this simple tool becomes your most powerful defense against chronic back pain. Remember: true relief comes not from the ball itself, but from your commitment to daily self-care that puts healing back in your hands.