

That sharp twinge when you finally lie down after a long day isn’t just frustrating—it’s your body’s way of screaming that something needs to change. If lower back pain has turned your bed from sanctuary to torture chamber, you’re not alone. The way you position your body during rest can either amplify your pain or become your most powerful healing tool. Nearly 80% of adults experience lower back pain at some point, and poor sleeping positions often make it worse.
The good news? Small adjustments in how you lay down can dramatically reduce your pain levels and help you finally get the restorative sleep your back desperately needs. Let’s transform your nightly routine with proven positioning techniques that target your specific type of lower back pain. By the end of this guide, you’ll know exactly how to lay down with lower back pain relief that actually works.
Back Sleeping for Maximum Relief
Perfect Knee Pillow Placement
Lying flat on your back with a medium-firm pillow under your knees creates the best way to lay down with lower back pain for many sufferers. This simple adjustment reduces your lumbar curve by 15-20 degrees, taking pressure off those screaming posterior spinal structures. The key is finding the right pillow thickness—too thin won’t provide enough support, while too thick can create new tension.
Key checkpoint: Your lower back should feel like it’s gently pressing into the mattress, not arching away from it. If you can slide your hand easily under your lower back, add another thin pillow. Most people need a pillow that’s 4-6 inches tall when compressed to maintain proper alignment.
Elevated Legs Technique
For disc-related pain, go bigger with your pillow strategy. Stack 2-3 pillows or use a wedge pillow to elevate your legs 6-8 inches higher. This creates more significant hip flexion, opening up space between vertebrae and reducing nerve pressure. The elevated position works particularly well for herniated discs where nerve compression causes radiating pain.
Pro tip: Place a small rolled towel under your lower back if the elevation creates a gap. The goal is continuous support from shoulders to hips. This position mimics how physical therapists use traction to relieve disc pressure during treatment sessions.
Zero-Gravity Position Setup
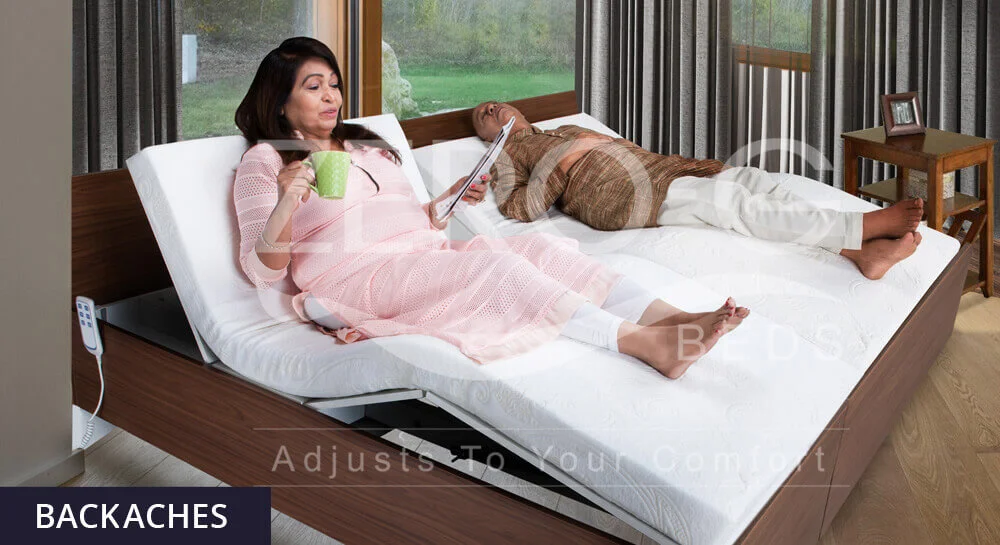
Using an adjustable bed or recliner, position yourself at a 120-130 degree angle between torso and thighs, with knees bent at 90 degrees. This “anti-gravity” position distributes your weight evenly and can reduce pressure points by up to 40%. NASA engineers originally developed this position to minimize G-force impact on astronauts during launch.
If you don’t have an adjustable bed, create a similar effect by placing multiple pillows behind your back and under your knees. This position works wonders for spinal stenosis sufferers as it flexes the spine forward, enlarging the spinal canal space.
Side Sleeping Without Spine Twist

Knee Pillow Game-Changer
Side sleeping fails when your top leg drops forward, torquing your spine like a wrung towel. The fix? A firm pillow between your knees that’s 6-8 inches thick when compressed. This simple addition keeps your hips stacked and spine neutral. Many people make the mistake of placing the pillow between their knees rather than their thighs—proper placement should be higher up, where your upper thigh meets your pelvis.
Positioning sequence:
1. Lie on your pain-free side
2. Position head pillow to fill ear-to-shoulder gap
3. Place knee pillow between thighs (not knees)
4. Slightly bend knees toward chest—think relaxed, not fetal
Modified Log Roll Technique
For strict spine alignment, imagine your body as a single unit. Keep ears, shoulders, hips, and ankles in one straight line. Place a small pillow at your waist to prevent the natural sagging that occurs between ribcage and pelvis. This position is especially helpful if you have scoliosis or significant spinal curvature.
Advanced option: A full-body pregnancy pillow supports from head to ankles, eliminating the need for multiple positioning pillows. These pillows wrap around your body, providing continuous support that prevents you from rolling out of position during the night.
Getting Into Position Safely
Back-to-Bed Sequence
The way you get into bed matters as much as your final position. Use this sequence to avoid pain spikes:
- Sit on bed edge with feet flat on floor
- Lower upper body using arms, keeping spine straight
- Simultaneously lift both legs onto bed
- Roll onto back while maintaining alignment
- Position pillows: head first, then under knees
Critical mistake to avoid: Don’t twist your spine while getting into position. Many people cause flare-ups by swinging their legs while keeping their upper body stationary.
Nighttime Movement Strategy
When changing positions, use the “log roll” technique—move your entire body as one unit. Bend knees toward chest, roll to side, adjust knee pillow, then settle. Reverse to return to your back. This technique is crucial for post-surgical patients but benefits anyone with lower back pain.
Pro tip: Keep a small hand towel within reach to help you grip the mattress during position changes without straining your back.
Pain-Specific Positioning Protocols
Disc Herniation Relief

Side sleeping wins for disc issues. Curl into a loose fetal position with knees toward chest. This opens up disc spaces posteriorly and reduces pressure on nerve roots. Use a firm mattress to prevent sagging that could reverse the benefits of your positioning.
Sleep cue: The position that feels like you’re “decompressing” your spine is usually the right one. If you wake with radiating leg pain, try adding a second pillow between your ankles to prevent leg crossing.
Spinal Stenosis Solution

Back sleeping with legs elevated works best. Flex your spine forward by elevating legs 30-45 degrees. This enlarges the spinal canal space and reduces nerve compression. A wedge pillow under your entire lower legs works better than individual knee pillows because it maintains consistent elevation from hip to foot.
Warning: Avoid positions that extend your spine backward, as this narrows the spinal canal and increases pressure on nerves.
Pre-Sleep Setup for Success
Muscle Relaxation Routine
Your pre-sleep routine dramatically impacts how well you can maintain proper positioning:
- Take a warm shower 90 minutes before bed (105°F for 15 minutes)
- Do gentle knee-to-chest stretches (hold 30 seconds, repeat 3 times)
- Practice progressive muscle relaxation starting from toes
- Use 4-7-8 breathing: inhale 4, hold 7, exhale 8
Key insight: Heat therapy before bed reduces muscle tension by up to 30%, making it easier to maintain proper alignment throughout the night.
Positioning Kit Assembly
Keep these essentials within arm’s reach:
– Extra knee pillow for position changes
– Small lumbar roll for sitting before bed
– Travel pillow for maintaining positions away from home
– Hand towel for grip assistance during position changes
Morning Wake-Up Without Pain
Gradual Transition Protocol
How you get out of bed matters just as much as how you get in. Follow this sequence to avoid morning pain spikes:
- Before moving, pull both knees to chest for 30 seconds
- Roll to side using log-roll technique
- Push up with arms while swinging legs to floor
- Sit on bed edge for 30-60 seconds
- Stand up using leg muscles, not back
Critical step: That 30-60 second pause on the edge of the bed allows your blood pressure to adjust and gives your back muscles time to activate before standing.
Long-Term Position Adaptation
Timeline Expectations
Changing your sleeping position requires patience:
– Week 1-2: Expect discomfort as muscles adapt to new positions
– Week 3-4: Muscle memory begins developing
– Month 2+: New positions feel natural, pain reduction becomes noticeable
Pro tip: Rate your morning pain on a 1-10 scale for two weeks to track progress. Most people see significant improvement by week three if they maintain consistent positioning.
When to Pivot Strategy
If pain increases after 7 days of consistent positioning, reassess pillow heights and mattress firmness. Your body might need different support than initially thought. Persistent numbness, tingling, or progressive weakness requires immediate medical evaluation—don’t ignore these red flags.
The best way to lay down with lower back pain isn’t one-size-fits-all—it’s about matching the right position to your specific pain pattern. Start with the position that feels most natural for your body type, then refine based on morning pain scores. Your spine will tell you when you’ve found the sweet spot. Remember that proper positioning is just one piece of the puzzle—combine it with core strengthening exercises during the day for maximum pain relief. Within weeks of implementing these techniques, you’ll likely find yourself waking up with less pain and more energy to tackle your day.