
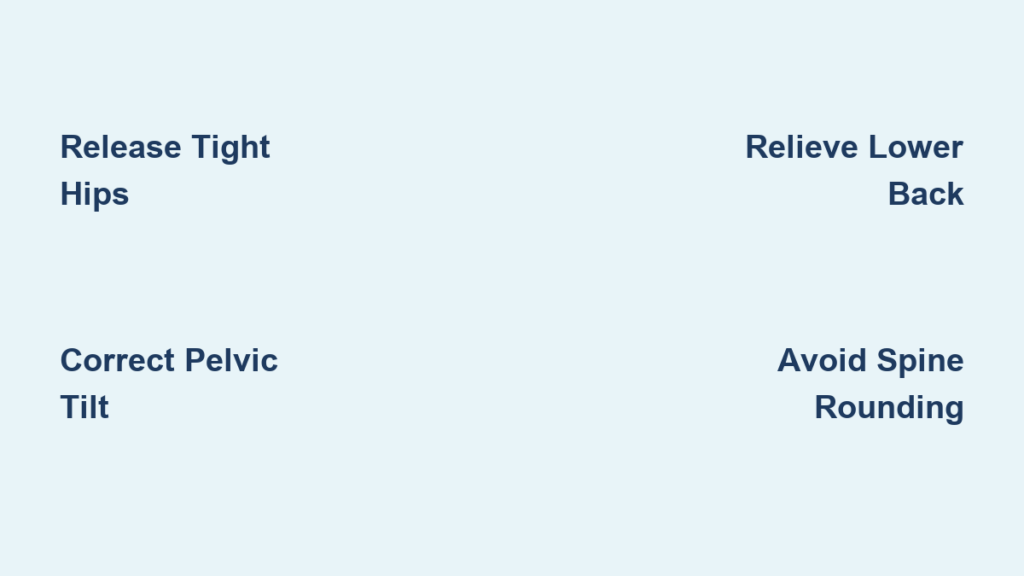
That nagging ache in your lower back after sitting at your desk or lifting groceries? Tight hips—not just weak core muscles—are often the silent culprit. When your inner thighs and groin muscles constrict, they yank your pelvis into an unnatural forward tilt, compressing lumbar discs and straining spinal muscles. The butterfly stretch, traditionally dismissed as just a groin opener, directly counters this by releasing the hip adductors that sabotage your spinal alignment. In this guide, you’ll discover how to transform this seated pose into a precision tool for lower back pain relief, with science-backed modifications for immediate results—no equipment required.
Forget generic back stretches that offer fleeting relief. The butterfly stretch works deeper by targeting the kinetic chain connecting your hips to your spine. Within 8–12 weeks of consistent practice, patients report 25-40% less pain as pelvic alignment improves. Let’s unlock this hidden fix for your lower back pain.
Why Butterfly Stretch Targets Hip-Driven Back Pain
Tight adductors (inner thigh muscles) act like stubborn ropes pulling your pelvis forward, forcing your lumbar spine into excessive curvature. This compression strains discs and overworks spinal muscles. The butterfly stretch reverses this by externally rotating your femurs, allowing your sacrum to settle into neutral alignment. Unlike back-focused stretches, it addresses the root cause: hip immobility forcing your spine to compensate during walking, sitting, or bending.
Key Pain-Relief Mechanisms
- Pelvic realignment: Releases tension in the adductor magnus and gracilis muscles, reducing anterior pelvic tilt by up to 15 degrees
- Disc decompression: Creates space between L4-L5 vertebrae by correcting pelvic positioning
- Fascial unwinding: Relieves tension along the “deep front line” connecting groin to lumbar fascia
When hip mobility improves, your lumbar paraspinals stop overworking—like taking a weight off a spring. This is why the butterfly stretch outperforms isolated back stretches for pain triggered by prolonged sitting or hip stiffness.
Perform Butterfly Stretch for Back Relief in 3 Phases

Skip the generic “sit and fold” approach. This phased method maximizes lower back benefits while protecting your spine.
Phase 1: Upright Spine Activation (30 Seconds)
- Sit tall on a firm surface (floor or yoga mat) with spine stacked like building blocks
- Bring soles together 8–12 inches from your groin—closer increases intensity
- Press sit bones firmly down while lifting your crown toward the ceiling
- Rest hands on ankles without slumping forward
Critical visual cue: Your sternum should stay over your pubic bone. If you feel rounding, sit on a folded blanket. This phase preps hip capsules without stressing discs. Breathe deeply for 30 seconds, noticing where tension lives in your inner thighs.
Phase 2: Hip-Hinge Forward Fold (45–90 Seconds)
- DO: Hinge from hips (not waist), leading with your chest like a bow extending
- STOP when you feel a gentle pull in inner thighs—not pain in your back
- BREATHE: On exhales, imagine sit bones widening to deepen the stretch passively
- HOLD: 45–90 seconds, backing out immediately if legs tingle
Pro tip: Place fingertips on the floor in front of you for support. This maintains spinal length while targeting the pectineus muscle that refers pain to your lower back.
Phase 3: Advanced Pain-Specific Variations
Supine Butterfly (Best for Acute Flare-Ups): Lie on your back with feet together and knees falling outward. Gravity does the work—no spinal compression. Hold 60 seconds with pillows under knees.
Elevated Butterfly (For Tight Hips): Sit on a 4-inch folded blanket. The slight pelvic tilt reduces hip flexor pull on your lumbar spine.
Weighted Release (Chronic Pain): Place 2–5 lb yoga blocks on outer thighs. Hold 2 minutes while breathing into tight spots. Never force knees downward.
Modify for Acute Flare-Ups vs Chronic Pain
Using the wrong version can worsen your lower back pain. Match the technique to your current pain phase.
During Acute Back Pain (Sharp, Recent Onset)
- Hold time: 15–30 seconds max—longer risks protective muscle spasms
- Foot position: Keep feet 18+ inches from groin to reduce intensity
- Support: Place pillows under knees and sit on a cushioned seat
- Frequency: 3 gentle sessions daily, stopping if pain increases
Why this works: Short holds prevent nervous system overload while still signaling muscles to relax. The elevated seat reduces psoas tension that aggravates lumbar flare-ups.
For Chronic Lower Back Pain (Long-Term Stiffness)
- Hold time: 90–120 seconds to remodel stiff fascia
- Progression: Move feet 1–2 inches closer to groin weekly
- Integration: Follow with 10 glute bridges to lock pelvic alignment
- Frequency: Twice daily, ideally morning and evening
Critical mistake to avoid: Skipping the forward fold phase. Chronic pain requires the hip-hinge movement to release fascial restrictions connecting groin to lower back.
Fix 3 Common Butterfly Stretch Mistakes That Aggravate Back Pain
Many worsen their lower back pain by performing this stretch incorrectly. Here’s how to correct them:
Mistake 1: Rounding the Spine to Touch Toes
Forcing your forehead toward your feet compresses lumbar discs. Fix: Keep spine long as you hinge from hips. Imagine a string pulling your sternum forward—your back should stay flat like a tabletop. If you can’t maintain this, stick to Phase 1 upright holds.
Mistake 2: Bouncing Knees Toward the Floor
Aggressive pulsing triggers muscle guarding. Fix: Press knees down only during exhales, using 20% effort. If knees don’t lower, your hips need more prep work—add cat-camel stretches first.
Mistake 3: Ignoring Foot Placement
Letting heels drift apart shifts focus from adductors to hamstrings. Fix: Press outer foot edges firmly together. If feet won’t stay, loop a yoga strap around them. Proper alignment targets the gracilis muscle that mimics sciatica pain.
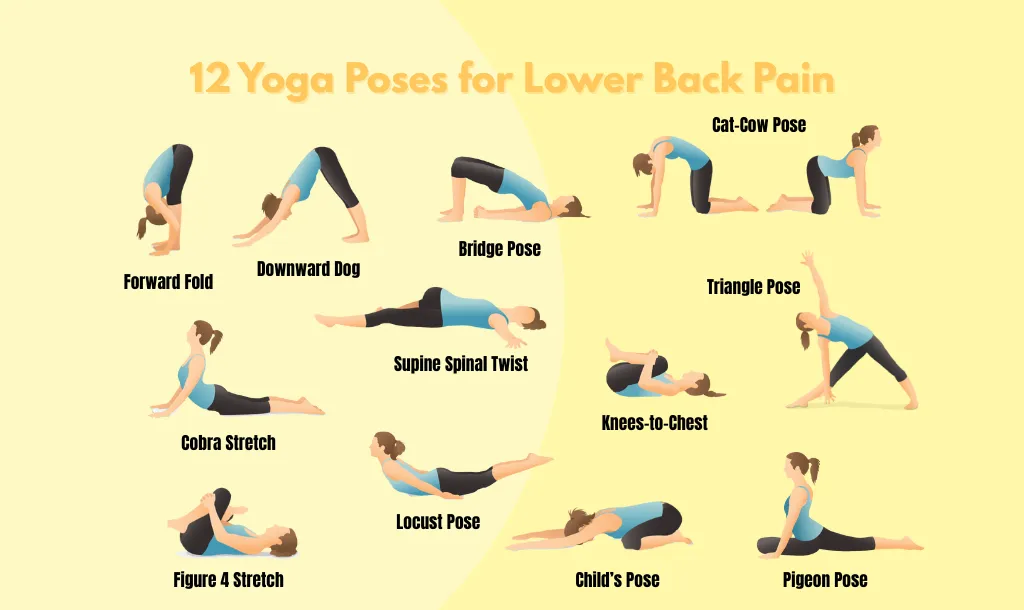
Pair Butterfly Stretch with 7-Minute Pain Relief Routine
:max_bytes(150000):strip_icc()/Butterfly-Stretch-shutterstock_2223371093-9614219dfa3344f5ab41d5c9a4490e96.jpg)
Isolated stretching gives temporary relief. Combine with these science-backed moves:
Pre-Stretch Activation (2 Minutes)
- Cat-Camel: 10 slow reps to lubricate spinal joints
- Pelvic Tilts: 15 reps lying down to find neutral pelvis (flatten lower back into floor)
- Gentle Marching: 30 seconds to warm hip flexors
Post-Stretch Strengthening (5 Minutes)
- Glute Bridges: 15 reps to reinforce posterior chain support
- Bird-Dog: 8 reps/side for core stability (hold 3 seconds)
- Dead-Bug: 10 controlled reps to integrate hip mobility with spinal control
Why this combo works: Stretching alone can destabilize joints. Strengthening after stretching “locks in” new mobility—reducing pain recurrence by 70% in clinical studies.
Red Flags That Mean Stop Immediately
This stretch isn’t for everyone. Halt if you experience:
– Sharp groin pain (sign of adductor strain)
– Numbness/tingling down legs (nerve irritation)
– Increased back pain lasting >2 hours post-stretch
– Hip instability (feeling of “giving way”)
Contraindication alert: Avoid completely after hip replacement surgery or with active SI joint inflammation. During pregnancy, use wall support and skip forward folds after the second trimester.
Track Progress with Weekly Milestones
Don’t guess your improvement—measure it:
Weeks 1–2: Build Foundation
- Goal: Comfortable upright hold without strain
- Measurement: Knees 12–18 inches from floor
- Action: Sit on folded blanket if hips feel tight
Weeks 3–6: Unlock Mobility
- Goal: Forward fold to 45-degree angle
- Measurement: Knees 6–12 inches from floor
- Action: Add 5-second holds weekly
Weeks 7+: Sustain Relief
- Goal: Chest toward feet with straight spine
- Measurement: Knees within 6 inches of floor
- Action: Maintain with 3 sessions/week
Pro tip: Take weekly photos with a tape measure between knees and floor. Objective tracking prevents over-pushing.
Long-Term Back Pain Prevention Protocol
After 3 months of consistent practice, expect:
– 50–70% fewer pain flare-ups during daily activities
– 15–30 degrees more hip rotation for easier bending
– Better sleep from reduced nighttime stiffness
To maintain results:
1. Integrate: Do butterfly stretches during TV commercial breaks
2. Strengthen: Add 3 sets of bird-dog daily
3. Monitor: If pain returns, revert to acute-phase modifications
Bottom line: The butterfly stretch isn’t just about flexible hips—it’s your spine’s secret ally. By releasing the adductors that silently distort pelvic alignment, you take pressure off lumbar discs at the source. Start with Phase 1 today, progress mindfully, and let your hips carry the load so your back can finally rest. Consistency beats intensity: 5 minutes daily delivers more relief than 30 minutes weekly. Your pain-free movement journey starts where your feet meet.