
That sudden jolt in your lower back when lowering the leg press sled isn’t just discomfort—it’s your spine screaming for mercy. If you’ve ever abandoned sets early, adjusted your seat mid-set, or avoided the leg press machine altogether, you’re part of a massive group of lifters sabotaged by this common issue. How to fix lower back pain from leg press isn’t about quitting leg day; it’s about correcting three critical errors most trainers miss. Your back shouldn’t pay the price for stronger quads.
This pain typically stems from subtle mechanical failures that grind spinal discs with every rep. The good news? Over 90% of cases resolve within 6 weeks using targeted technique fixes and strategic modifications we’ll unpack. You’ll learn to identify your specific pain trigger, apply immediate relief tactics, and rebuild pain-free pressing capacity without sacrificing leg development.
Why Your Leg Press Machine Is Crushing Your Spine

Machine Design Flaws That Force Spinal Compression
Most gym leg press units feature L-shaped seats that encourage posterior pelvic tilt when you descend too deep. Insufficient padding on the backrest creates direct pressure points on your lumbar vertebrae, while the steep incline angle completely disengages your core muscles. This design flaw dumps 100% of the load onto your lower back instead of distributing it through your legs. When combined with excessive range of motion, these machines literally force your spine into a flattened position where discs protrude backward against nerve roots.
Form Breakdowns That Accelerate Damage
Maintaining a neutral spine is non-negotiable, yet most lifters unknowingly commit these errors: Rounding your lower back at the bottom position flattens your natural lumbar curve, allowing vertebral bodies to compress discs. Hyperextending during the press phase creates dangerous shear forces on spinal structures. Most critically, letting your glutes lift off the seat rotates your pelvis into posterior tilt—this single mistake multiplies disc pressure by 300%. You’ll feel this as sharp pain radiating down your hamstring.
Weight Selection Mistakes That Compound Injury
Slapping on extra plates before mastering form is the fastest route to injury. Heavy loads combined with deep range of motion create a perfect storm where your lower back becomes the weak link. Progressing weight too quickly—more than 10% weekly—without adequate adaptation leaves spinal structures vulnerable. When fatigue sets in during high-rep sets, your core disengages, transferring crushing forces directly to compromised discs.
Immediate Pain Relief Protocol (First 72 Hours)
Stop and Assess Movement Triggers
Immediately cease all leg press activity and heavy lifting. Identify specific pain triggers: Does bending forward while standing worsen it? Does prolonged sitting intensify discomfort? This pain mapping reveals whether you’re dealing with disc compression (pain worsens when sitting) or facet joint irritation (pain increases with backward bending). Avoid any movement recreating your pain pattern.
Thermal Therapy Strategy for Faster Recovery
For the first 48-72 hours, apply ice packs for 15-20 minutes every 2-3 hours to reduce inflammation around irritated nerves. After day three, switch to heat therapy using a warm towel or heating pad for 20 minutes twice daily—this relaxes tight paraspinal muscles and boosts blood flow to healing tissues. Never apply heat during the acute inflammatory phase as it worsens swelling.
Safe Movement Modifications to Prevent Stiffness
Complete bed rest prolongs recovery. Instead, walk for 5-10 minutes every hour to maintain mobility without spinal loading. Perform standing pelvic tilts against a wall: gently rock your pelvis forward (anterior tilt) and backward (posterior tilt) for 10 reps every 2 hours. Avoid twisting motions and use a lumbar support cushion when sitting. These subtle movements prevent tissue stiffening while protecting healing structures.
Technical Corrections for Pain-Free Pressing
Machine Setup Mastery in 60 Seconds
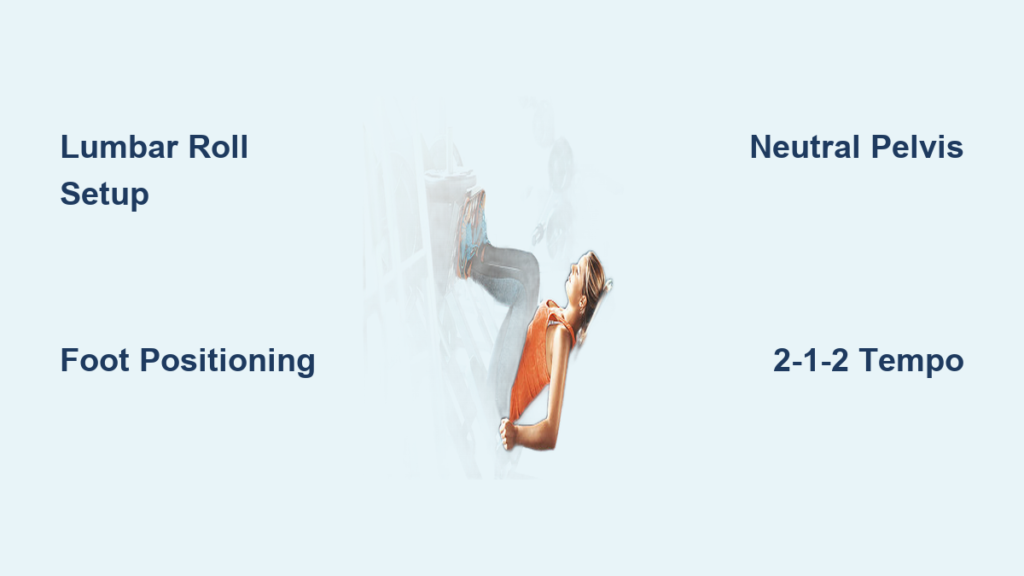
Fold a small towel into a lumbar roll and place it where your lower back meets the seat—this maintains your natural spinal curve. Adjust the seat angle so your hips stay firmly wedged against the pad throughout the movement. Position your backrest to support your lumbar spine without forcing extension; you should feel gentle contact, not pressure.
Body Positioning Fundamentals That Protect Discs
Before loading plates, perform this test: Press your lower back firmly into the seat while lifting one foot slightly off the platform. If your back loses contact, you’ve found your safe range of motion. Keep your glutes “wedged” into the seat corners during descent—imagine squeezing a coin between your cheeks. Maintain a neutral pelvis by avoiding both excessive arching and rounding; your spine should mirror its natural standing curve.
Foot Placement Optimization for Reduced Stress
Place feet shoulder-width apart with heels positioned slightly higher than hip level on the platform. This heel elevation reduces tibial angle stress on your lumbar spine. For quad emphasis with minimal back strain, lower your feet to mid-platform while keeping knees behind toes—this shifts load to quads without compromising spinal alignment. Never place feet too low (knees past toes) or too high (excessive hip flexion).
Movement Execution Standards That Eliminate Pain
Adopt a strict 2-1-2 tempo: 2 seconds lowering the sled, 1-second pause at your pain-free depth, 2 seconds pressing up. This eliminates momentum-driven jerking that destabilizes your spine. Create intra-abdominal pressure by taking a deep breath into your belly before each rep and bracing as if preparing for a punch. Reduce working weight by 30-50% initially—perfect form trumps heavy plates every time.
Alternative Exercises During Recovery

When to Switch Movements Immediately
Substitute leg press if you experience persistent pain despite technical corrections, are in the acute injury phase (first 7 days), or need reduced spinal loading during rehabilitation. Continuing through pain reinforces faulty movement patterns and delays healing.
Recommended Substitutions That Build Strength Safely
Start with glute bridges: Lie on your back with knees bent, lift hips until shoulders/knees form a straight line (3 sets of 15 reps). Progress to step-ups using a 12-inch platform—focus on driving through your heel (3 sets of 10 per leg). Machine leg extensions isolate quads without spinal loading (3 sets of 12-15 reps). These alternatives maintain leg development while your spine heals.
Warning Signs Requiring Immediate Medical Help
Red Flag Symptoms That Demand ER Visits
Seek emergency care for loss of bladder/bowel control—a sign of cauda equina syndrome. Progressive neurological symptoms like worsening leg numbness, tingling, or weakness indicate nerve compression requiring urgent MRI. If pain intensifies despite 72 hours of rest and ice, get professional evaluation before resuming training.
Long-Term Prevention Framework
Pre-Exercise Rituals That Stop Pain Before It Starts
Begin every leg session with a 5-minute dynamic warm-up: cat-cow stretches on all fours (1 minute), bird-dog holds (30 seconds per side), and pelvic tilts against a wall (10 reps). Always rehearse leg press form with empty sled for 2 sets of 15 reps before adding weight. Never increase load more than 10% weekly—your spine needs gradual adaptation.
Professional Support System for Permanent Fixes
Record leg press videos every 4 weeks to catch creeping form breakdowns. Consult a certified trainer for technique analysis—most miss subtle pelvic rotation that causes pain. Use a weight belt only for heavy sets (85%+ 1RM) to enhance intra-abdominal pressure support without creating dependency.
Recovery Timeline Expectations
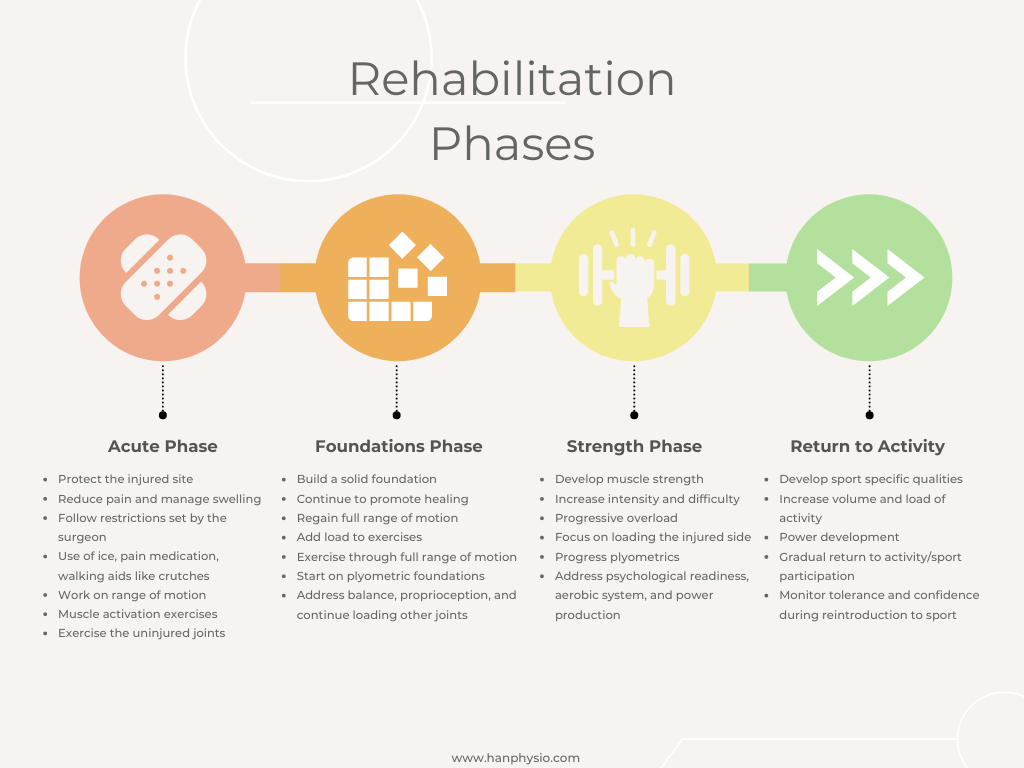
Acute Phase (0-7 Days): Complete Symptom Management
Focus solely on pain reduction: ice therapy, gentle walking, and avoiding aggravating positions. Begin child’s pose stretches (20-second holds, 3 reps) once acute pain subsides. Do not attempt any lower body loading.
Return-to-Activity Phase (6-12 Weeks): Technique Rebuilding
Reintroduce leg press at 40% of pre-injury weight using strict tempo control. Master pain-free performance with 3 sets of 15 reps before progressing load. Only after 2 weeks of pain-free pressing should you gradually increase weight by 5-10% weekly.
Lower back pain from leg press isn’t a career-ending injury—it’s a form correction opportunity. By implementing these machine setup tweaks, foot placement adjustments, and tempo controls, you’ll transform leg press from a pain trigger to a powerhouse quad builder. Start today with the towel lumbar roll modification and 2-1-2 tempo; most lifters feel improvement within 3 sessions. Remember: your spine’s health determines your lifting longevity—never sacrifice technique for ego plates.