
That sharp stab in your lower back after deadlifts isn’t just “part of the process”—it’s your body flashing a warning sign that demands immediate attention. Whether you’re a beginner struggling with form or a seasoned lifter pushing new PRs, back pain after deadlifts can derail your progress and impact daily life. This guide cuts through the noise to deliver clinically proven strategies for rapid pain relief and safe return to lifting. Forget generic advice—you’ll learn exactly how to differentiate between normal soreness and dangerous injury, implement a precise 72-hour recovery protocol, and rebuild movement patterns to prevent recurrence. Most lifters waste weeks guessing at solutions; with this targeted approach, you could see significant improvement in as little as 48 hours.
Ignoring deadlift-related back pain often transforms minor strains into chronic issues that linger for months. The critical first step? Accurately identifying whether you’re dealing with beneficial muscle adaptation or tissue damage. This distinction determines your entire recovery strategy—and skipping it risks permanent setbacks. Let’s break down exactly what your pain is telling you and the immediate actions that make the difference between healing and reinjury.
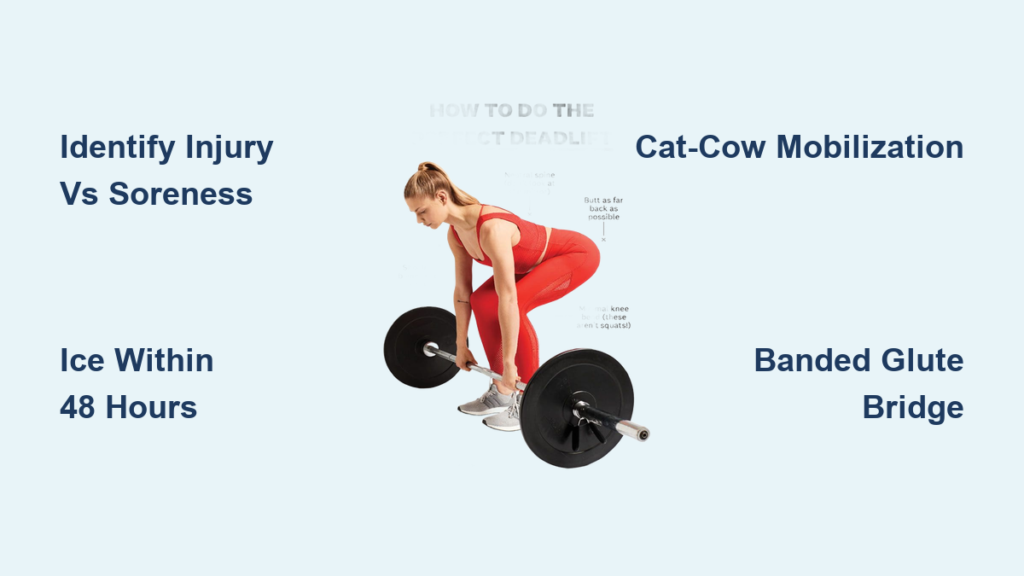
Identify Injury vs. Normal Soreness Immediately
DOMS (Delayed Onset Muscle Soreness) feels like a dull, widespread ache across your lower back, glutes, and hamstrings that peaks 24-72 hours after training. This indicates healthy muscle remodeling and typically resolves within 3 days with light movement. It shouldn’t prevent basic activities like tying shoes or standing upright.
Injury pain reveals itself through these critical signals:
– Sharp, localized pain during or immediately after lifting (not delayed)
– Radiating symptoms shooting down one or both legs (indicating nerve involvement)
– Functional impairment like inability to stand straight or bend forward
– Neurological red flags including numbness, tingling, or leg weakness
Stop training immediately if you experience: Loss of bladder control, progressive leg weakness, or pain that worsens with coughing/sneezing. These require emergency medical evaluation—no exceptions. Continuing to lift under these conditions risks permanent nerve damage.
First 72 Hours: Critical Recovery Protocol
Cease All Aggravating Activities Now
Your first move isn’t rest—it’s strategic movement. Complete bed rest for more than 24 hours actually slows healing by reducing blood flow. Instead, implement this active recovery plan:
– Walk for 5 minutes every hour (sets a timer)
– Avoid sitting longer than 30 minutes (lumbar pressure increases 90% vs. standing)
– Eliminate all spinal loading: no deadlifts, squats, or overhead presses
– Sleep with a pillow between your knees if lying on your side
Critical mistake to avoid: Applying heat during the first 48 hours. This increases inflammation in acute injuries. Save heat therapy for day 4 onward when switching to tissue repair mode.
Precision Ice Application Technique
Apply ice packs for 15-20 minutes every 2-3 hours for the first 48 hours using this method:
1. Wrap ice pack in thin towel (prevents skin damage)
2. Place directly over the most painful spinal segment
3. Lie flat on your back during application (reduces disc pressure)
4. After icing, perform 5 minutes of gentle walking
When to switch: On day 4, transition to moist heat packs for 15-20 minutes before movement sessions. This boosts blood flow to accelerate healing. For persistent inflammation beyond 72 hours, alternate 20 minutes heat followed by 10 minutes ice.
Movement Restoration Blueprint
Days 1-3: Spinal Mobilization (Pain-Free Zone)
Segmental Cat-Cow with Band:
– Loop resistance band across your painful spinal segment
– On hands and knees, inhale while arching one vertebra at a time (cow)
– Exhale while rounding spine toward ceiling (cat)
– Focus movement ONLY at the band location
– Perform 10 slow reps hourly during waking hours
Why this works: Isolates stiff spinal segments without compressing discs. Stop immediately if pain radiates—this indicates nerve irritation requiring professional assessment.
Days 4-7: Stability Rebuilding
Banded Glute Bridge:
1. Lie on back with knees bent, resistance band above knees
2. Press knees outward against band while lifting hips
3. Squeeze glutes HARD at the top (hold 3 seconds)
4. Lower slowly without letting lower back arch
5. Complete 3 sets of 12 reps daily
Critical cue: Place fingers under your lower back—if you feel space, you’re arching. Maintain constant contact with the floor. This rebuilds the glute-erector spinae connection essential for deadlift safety.
Week 2: Movement Pattern Retraining
Dowel Rod Hip Hinge Drill:
– Hold broomstick vertically along spine
– Ensure 3 contact points: head, mid-back, tailbone
– Push hips back while maintaining all contact points
– Stop when hamstrings tighten (no rounding!)
– Perform 15 reps before any lifting session
Pro tip: Place the dowel against a wall—loss of contact means you’re squatting instead of hinging. This grooves proper mechanics before adding load.
Safe Return-to-Deadlift Roadmap

Week 1-2: Partial Range Motion (No Floor Contact)
Elevated Kettlebell Deadlifts:
– Place kettlebell on 4-6″ platform (plates or blocks)
– Perform 3 sets of 10 reps focusing on:
– Bar dragging up shins
– Chest up without rib flare
– Glute squeeze at lockout
– Start at 30% previous max weight
Why elevation matters: Reduces lumbar flexion range by 30%, allowing tissue healing while rebuilding motor patterns. Never progress weight if pain exceeds 2/10 on movement.
Week 3-5: Full Range Reintroduction
Romanian Deadlift Progression:
1. Week 3: Trap bar RDLs at 40% max (3×8)
2. Week 4: Conventional RDLs at 50% max (3×6)
3. Week 5: Full deadlifts at 60% max (2×5)
Non-negotiable rule: Stop the set immediately if form breaks down. One compromised rep can restart the injury cycle. Record every set—compare bar path to your pre-injury videos.
Prevention: Bulletproof Your Deadlift Form
Setup Checklist That Prevents 90% of Injuries
Feet: Hip-width apart, bar over mid-foot (not toes)
Shins: 1-2″ from bar at standing position
Grip: Just outside shoulders (conventional) or inside knees (sumo)
Spine: Neutral from crown to tailbone—imagine holding a glass of water on your lower back
Execution killers to eliminate:
– Rounding upper back (keep chest up, shoulders pulled back)
– Hyperextending at lockout (squeeze glutes, don’t lean back)
– Bar drifting from body (drag up shins/thighs)
– Rushing the eccentric (lower with 3-second control)
Core Bracing Technique That Works
Before lifting, take a 360° breath into your belt line. Imagine:
– Front: Someone’s about to punch your stomach
– Sides: Being squeezed by a corset
– Back: Pressing into a wall behind you
Maintain this tension throughout the lift—never hold your breath. Practice daily by carrying groceries with this brace to build automaticity.
When to Call a Professional
Seek immediate physical therapy if:
– Leg pain persists beyond 72 hours of home care
– You notice muscle wasting in glutes or thighs
– Pain disrupts sleep for 2+ consecutive nights
– Previous back injuries required surgical intervention
What a specialist provides: Real-time movement analysis using force plates, manual therapy for restricted segments, and personalized exercise progression you can’t replicate at home. Most clinics offer same-week appointments for acute lifting injuries.
Long-Term Back Pain Prevention System
Monthly self-audit: Film deadlifts from side and rear views weekly. Check for:
– Bar path moving forward (indicates hip dominance failure)
– Lower back rounding before lockout
– Asymmetrical knee movement
Deload protocol: Every 4 weeks, reduce volume by 50% (sets x reps) while maintaining perfect form. This allows tissue remodeling without microtrauma accumulation.
Lifestyle integration: Practice hip hinging every time you pick up objects—even your coffee mug. Make proper movement your default pattern for all daily activities. Within 3 months, this reprograms your nervous system to protect your spine automatically.
The truth? Most deadlift back pain resolves completely within 2-3 weeks when managed correctly. But rushing return-to-lift guarantees recurrence—70% of lifters reinjure within 6 weeks due to premature loading. By following this precise progression, you’ll not only eliminate current pain but build a more resilient posterior chain. Your deadlift won’t just recover; it will surpass previous levels with a foundation that prevents future setbacks. Start today with the segmental cat-cow drill—you could be pain-free by tomorrow morning.