
You collapse onto the bed after a long day, desperate for rest—only to feel sharp lower back pain intensify the moment you lie flat. Minutes become hours as you shift positions, each turn triggering new spasms. This isn’t just discomfort; it’s a nightly battle stealing your sleep and recovery. The truth? How to relieve back pain when lying down hinges on precise spinal alignment you can fix tonight with household items. Up to 90% of Americans experience this exact scenario, but most make critical positioning mistakes that worsen the pain. This guide delivers immediate, actionable solutions verified by spinal biomechanics—no guesswork, just proven techniques to transform your nights.
Why Your Back Pain Worsens When Lying Flat
Nighttime back pain behaves differently than daytime discomfort because gravity stops compressing your spine, revealing hidden structural issues. Without movement to lubricate joints, inflammation concentrates in vulnerable areas like degenerated discs or arthritic facet joints. When you lie down incorrectly, you lose the natural support of standing posture, allowing muscles to spasm and misaligning vertebrae that pinch nerves.
How Disc Degeneration Triggers Night Pain
Worn spinal discs lose their shock-absorbing ability, making pressure shifts during sleep excruciating. As you lie flat, fluid redistribution in dehydrated discs increases pressure on nerve roots. You’ll feel this as deep, aching pain radiating into your hips that intensifies after 20 minutes of stillness—especially if you’re sleeping on a sagging mattress over 8 years old.
Why Side Sleeping Fails Without Proper Support
Most people instinctively curl on their side when back pain hits, but improper pillow placement twists the pelvis. When knees touch without separation, your top hip rotates forward, pulling the lumbar spine out of alignment. This creates shear forces on facet joints that feel like “knife-like” jabs with every micro-movement.
Knee Pillow Setup That Instantly Unloads Your Spine

Placing pillows strategically under knees or between legs isn’t just comfort—it’s biomechanical engineering to reduce disc pressure by up to 50%. This isn’t about soft cushioning; it’s about creating precise angles that mimic your spine’s natural curves.
Back Sleeping Knee Elevation Technique
Lie flat and place two firm pillows under your knees to create a 10-15cm (4-6 inch) lift. This slight hip flexion flattens your lumbar curve against the mattress, taking gravitational pressure off compressed discs. You’ll feel immediate relief in your lower back as the paraspinal muscles stop fighting to maintain posture. Critical detail: Pillows must be thick enough that your knees don’t sink below hip level—if your thighs angle downward, you’re increasing disc pressure.
Lumbar Roll Positioning for True Support
Roll a bath towel to 5-7cm (2-3 inch) diameter and position it under your lower back’s natural inward curve—not higher near ribs. When correctly placed, you should feel gentle pressure filling the gap between your spine and mattress. Test alignment: Slide your hand under the roll—if it fits snugly without pressure, the height is perfect. Too thick? Causes painful hyperextension. Too thin? Fails to maintain lordosis.
Pro Tip: If knee pillows worsen sciatica, try the reclined stenosis fix: Sleep in a recliner tilted 30-45° or use wedge pillows to elevate your upper body. This opens spinal canals compressed by stenosis.
Side Sleep Alignment That Stops Pelvic Rotation
Side sleeping is optimal for spinal alignment only when hips stay parallel. The standard “fetal position” actually worsens disc pain by compressing vertebrae. Proper technique involves strategic pillow placement to maintain neutral alignment from ear to ankle.
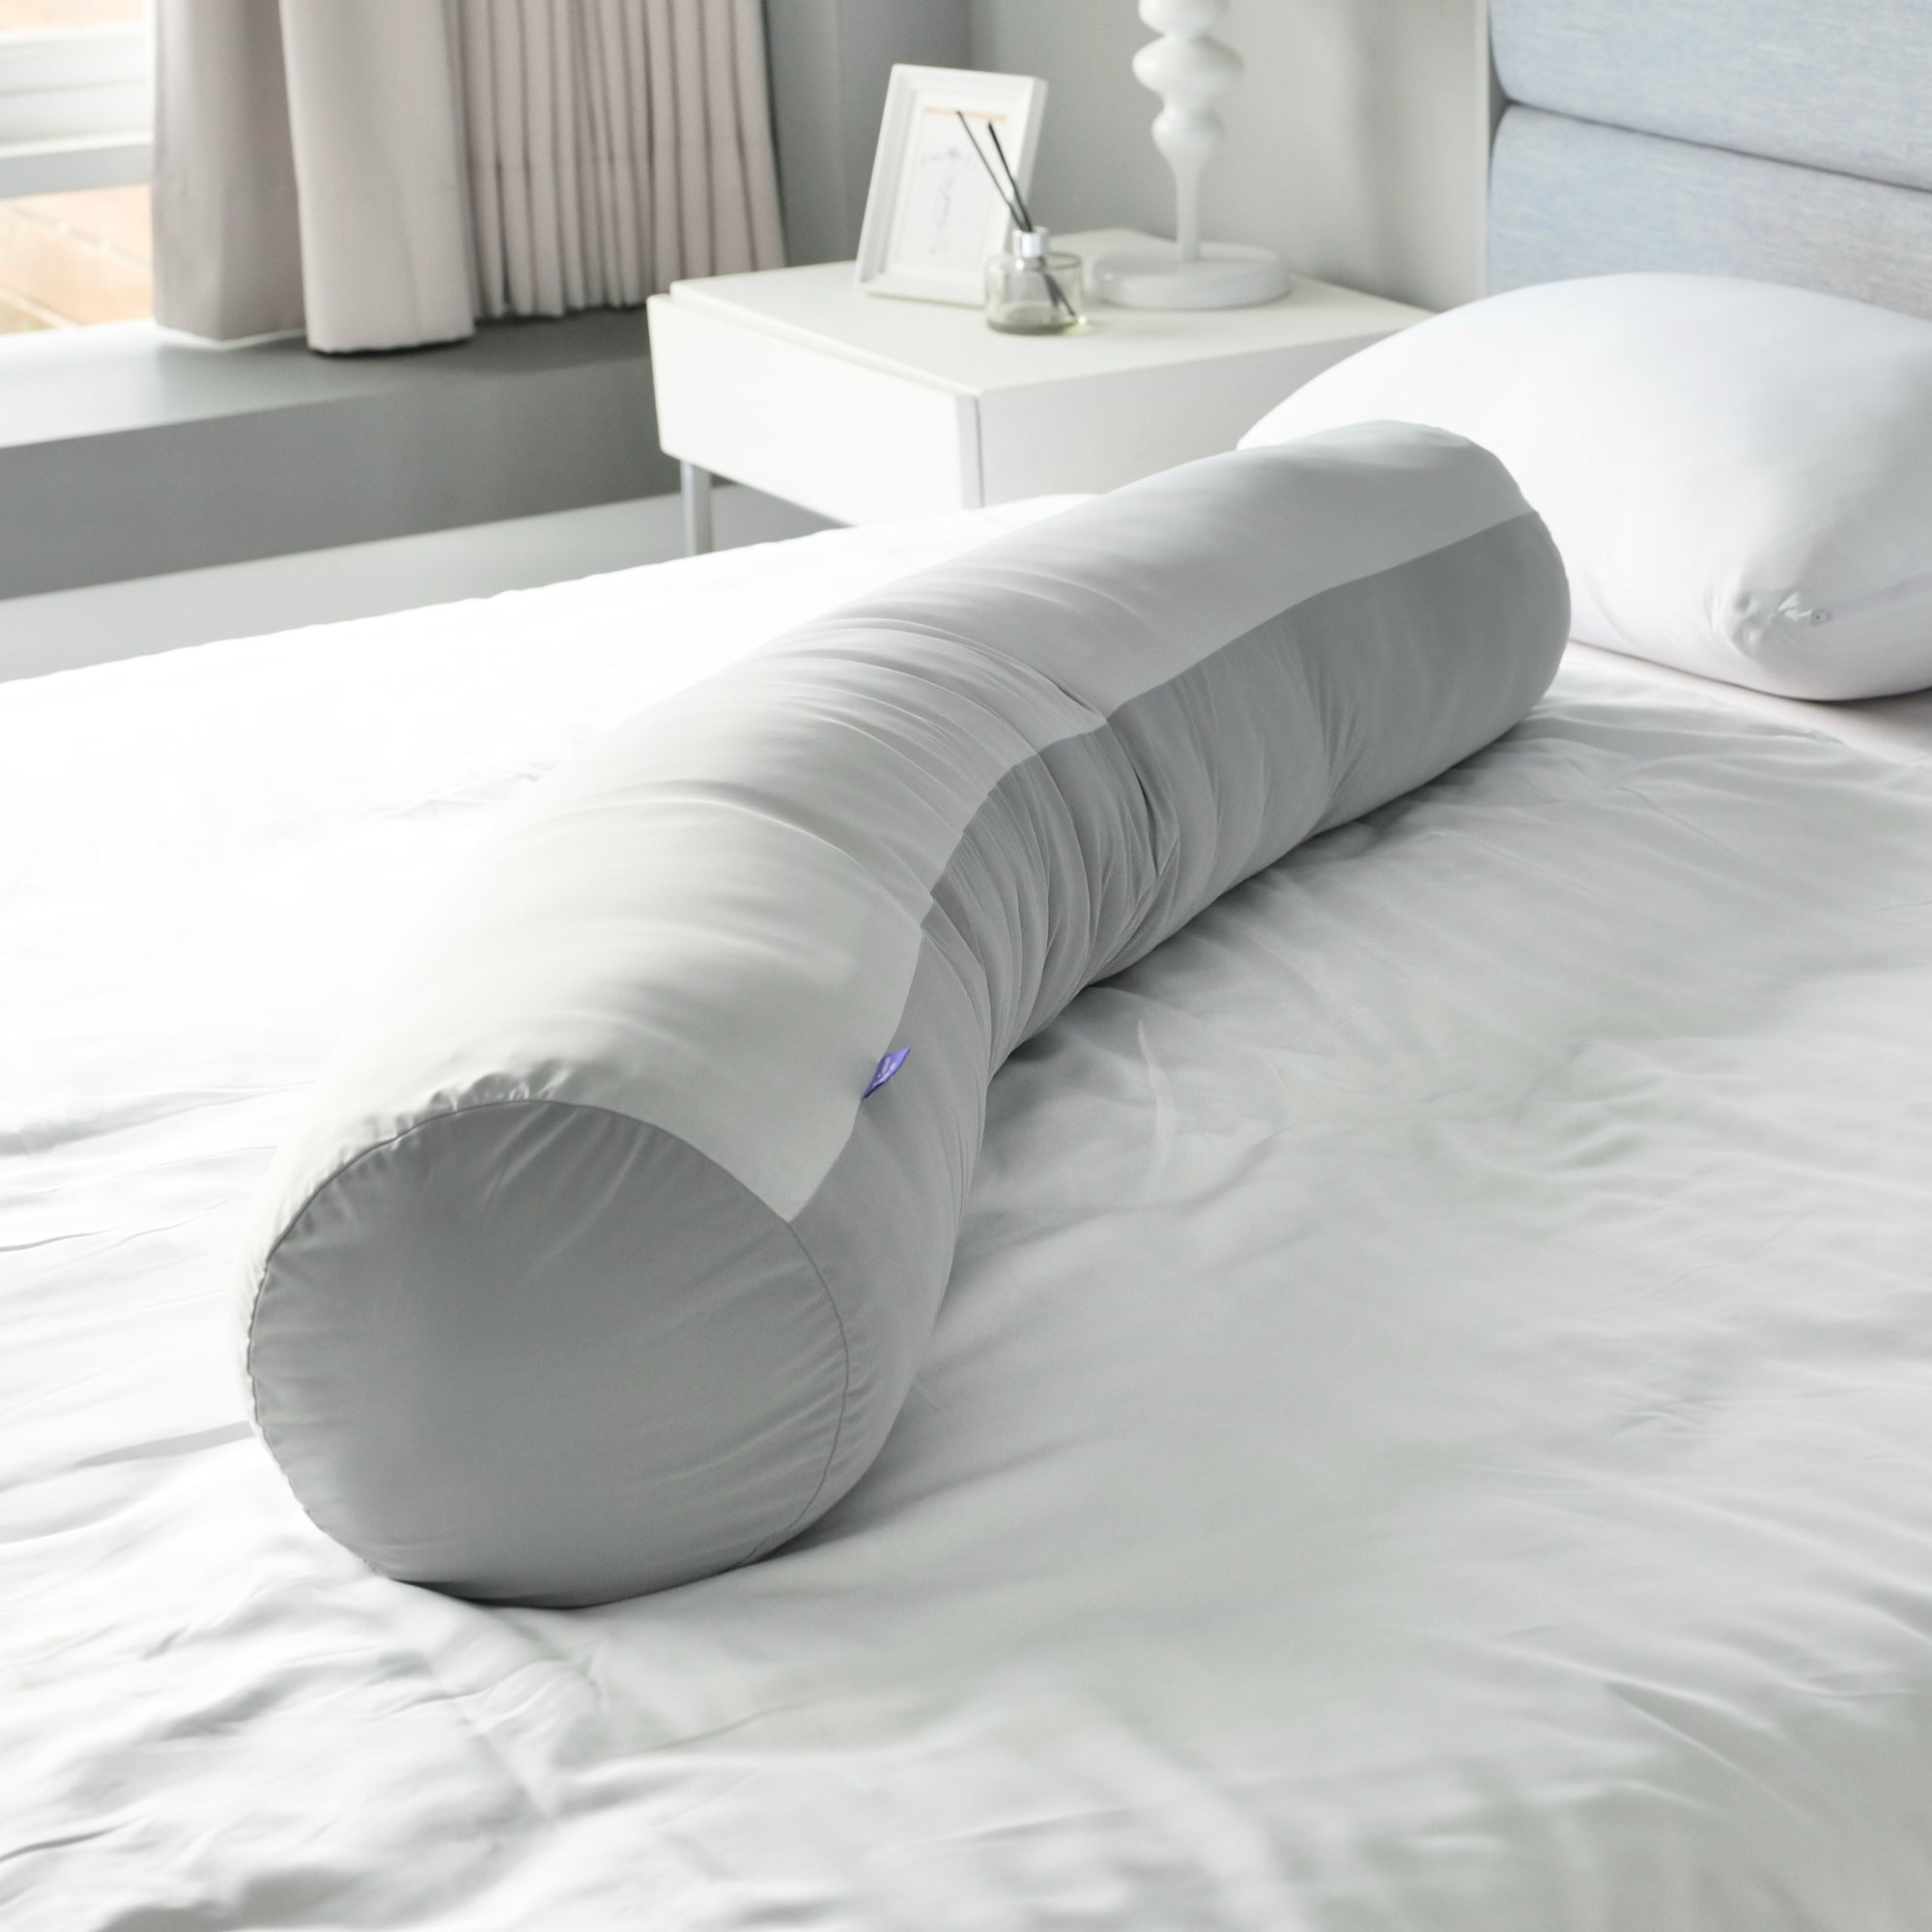
Full-Length Body Pillow Method
Place a 48-54 inch body pillow vertically between your knees AND ankles—not just knees. This prevents your top leg from dropping forward, which rotates the pelvis and strains the sacroiliac joint. Hug a second pillow to your chest to stop shoulder collapse. Your spine should form a straight line when viewed from behind, with no visible “C” curve in your lower back.
Modified Fetal Position for Disc Pain
For herniated discs, curl gently with knees drawn toward your chest—but keep a pillow between knees to limit trunk flexion to 30 degrees. Excessive curling (>45 degrees) increases disc pressure. Place your bottom arm under the head pillow to prevent shoulder impingement. You’ll know it’s correct when pain decreases within 5 minutes of settling.
Warning: Avoid this position if you have hip bursitis—switch to back sleeping with lumbar support.
Mattress Replacement Signs You Can’t Ignore

Your mattress actively worsens back pain if it shows these critical failure points. Sagging creates pressure imbalances that strain muscles all night, while old materials lose supportive properties.
Emergency Sag Test
Press your fist into the mattress where your hips rest when side sleeping. If it sinks deeper than 1.5 inches (3.8 cm) or doesn’t rebound within 3 seconds, replace it immediately. Visible body impressions deeper than your palm indicate collapsed support layers that misalign your spine.
In-Store Testing Protocol
When shopping, spend 15 minutes in your preferred sleep position. Have someone place a yardstick along your spine from neck to tailbone. If it doesn’t lie flat against your natural curves—or shows gaps larger than a finger’s width—the mattress is wrong for back pain relief. Critical: Test on the showroom floor, not display models propped on platforms.
Material Hack: For side sleepers, choose latex hybrids over memory foam—they provide responsive support without heat retention that increases inflammation.
Pre-Bed Mobility Routine That Prevents Night Stiffness
Five minutes of targeted movement before lights out lubricates spinal joints and resets muscle tension. These aren’t stretches—they’re precision movements that pump fluid into dehydrated discs.
Cat-Camel Flow for Disc Hydration
On hands and knees, alternate arching your back toward the ceiling (cat) and dropping your belly toward the floor (camel). Perform 10 slow cycles, focusing on smooth motion through each vertebra. This “pumps” fluid into discs, reducing the pressure spikes that cause nighttime pain. Key: Move slower than feels natural—2 seconds per phase.
Supine Hamstring Release
Lie on your back with legs straight. Loop a belt around one foot and gently straighten the knee to 70 degrees (not 90°). Hold 30 seconds—tight hamstrings pull your pelvis into posterior tilt, straining lumbar ligaments all night. Repeat only once per leg; overstretching triggers protective spasms.
Pro Tip: Finish with 4-7-8 breathing: Inhale 4 seconds, hold 7, exhale 8 through pursed lips. This lowers pain sensitivity by 30% via parasympathetic activation.
Heat Therapy Timing That Maximizes Pain Relief
Applying heat before lying down—not after—triggers physiological changes that prevent nighttime pain cycles. Cold therapy is rarely helpful at bedtime and often backfires.
Moist Heat Application Protocol
Use a microwavable gel pack wrapped in a damp towel for 15 minutes directly on your lower back before getting into bed. Moist heat penetrates 50% deeper than dry heat, relaxing paraspinal muscles and increasing blood flow to flush inflammatory compounds. Set a timer—exceeding 20 minutes causes rebound inflammation.
Why Icing Before Bed Backfires
Cold therapy constricts blood vessels, reducing inflammation but also delaying healing. When applied before sleep, it causes muscles to tense as your body warms up overnight—turning minor stiffness into severe spasms. Reserve cold packs for acute injuries during daytime, never within 2 hours of bedtime.
Exception: For recent trauma (within 48 hours), use cold for 10 minutes only after activity—not before sleep.
Pillow Selection by Sleep Position That Prevents Morning Pain
Your pillow’s loft (height) must precisely fill the gap between your shoulder and neck based on sleep position. One inch too high or low misaligns your cervical spine, triggering referred pain down your back.
Side Sleeper Pillow Checklist
- Loft: 4-6 inches (measure from outer shoulder to jawline while lying on side)
- Firmness: Medium-firm that holds height without collapsing
- Test: When lying on side, your nose should point straight ahead—not toward ceiling or floor
- Material: Shredded latex or memory foam (avoid down—it flattens)
Back Sleeper Critical Adjustment
Use a contoured cervical pillow with a 3-4 inch loft that supports your neck’s curve without pushing your head forward. Your chin should be parallel to the floor when lying down—not tilted up. Place a thin towel under the pillow’s neck roll if it feels too high.
Stomach Sleeper Fix: Transition to side sleeping ASAP. If unavoidable, use no head pillow and place a thin pillow under your pelvis to prevent lumbar hyperextension.
Log Roll Exit Technique That Prevents Morning Pain Spikes
How you get out of bed determines your pain level for the next 12 hours. Sitting straight up from lying position strains healing tissues by 300% compared to proper technique.
Step-by-Step Log Roll
- Roll onto your side facing the bed’s edge
- Lower your top leg over the side while supporting your torso with your bottom arm
- Push up with your arm while simultaneously swinging both legs down
- Sit upright without bending forward at the waist
Morning Activation Sequence: Before standing, perform 3 knee-to-chest holds (15 seconds each) and 10 gentle knee twists side-to-side. Drink 8oz water immediately—dehydrated discs are 20% more prone to injury.
Red Flag Symptoms That Demand Immediate Care
Most back pain improves with positioning changes, but these symptoms indicate serious conditions requiring same-day evaluation:
Emergency Warning Signs
- Progressive leg weakness: Inability to lift toes (“foot drop”) or rising from chair
- Bowel/bladder changes: Incontinence or retention after urinating
- Fever >100.4°F with new back pain
- Unexplained weight loss over 10 pounds in 6 months
- Constant pain unaffected by position changes
Critical: If pain worsens when lying flat and radiates down both legs, seek care immediately—this suggests cauda equina syndrome.
Lifestyle Tweaks That Accelerate Nighttime Relief
Daytime habits directly impact your spinal health at night. Address these to reduce pain within 72 hours:
Weight Management Impact
Every 5 pounds lost reduces lumbar disc pressure by 20 pounds when lying down. Focus on small wins: A 5-10% weight loss (10-20 lbs for 200lb person) significantly decreases spinal loading.
Workstation Fixes That Prevent Night Pain
Set your monitor at eye level to prevent forward head posture. Use a lumbar roll in your chair—slouching for 4+ hours daily creates muscle imbalances that amplify nighttime pain. Take standing breaks every 30 minutes.
Sleep Environment Hack: Keep your bedroom at 65°F—cool temperatures reduce inflammation markers by 15% and improve deep sleep cycles critical for healing.
Stop sacrificing sleep to back pain. Implement one positioning fix tonight—start with the knee pillow elevation or body pillow method—and you’ll feel reduced pain within 20 minutes. Combine this with the pre-sleep mobility routine for compounded relief. Remember: Proper spinal alignment while lying down isn’t about comfort—it’s biomechanical medicine. Your discs heal fastest during sleep, but only when positioned correctly. Use the morning log roll technique consistently, and within a week, you’ll transform restless nights into restorative recovery. When pain flares, revisit the mattress sag test—your spine will thank you with deeper, pain-free sleep starting tonight.