
Waking up with a stiff, aching lower back that makes it difficult to stand straight? You’re not alone—nearly 80% of adults experience lower back pain at some point, and improper sleep positioning often makes it worse. The good news is that how to use a pillow for lower back pain effectively could be the simplest solution you’re overlooking. Most people don’t realize that strategic pillow placement creates a support system that maintains your spine’s natural alignment throughout the night, reducing pressure on sensitive lumbar muscles and ligaments.
Your current pillow setup might actually be worsening your pain without you realizing it. When positioned correctly between key body points, pillows fill gaps that cause spinal misalignment and muscle strain. This guide reveals exactly where to place pillows based on your sleeping position, which pillow types deliver optimal support for your body type, and how to troubleshoot common issues that undermine your pain relief efforts. By the end, you’ll have a customized pillow strategy that transforms restless nights into restorative sleep.
Side Sleeping Pillow Placement That Stops Lower Back Pain
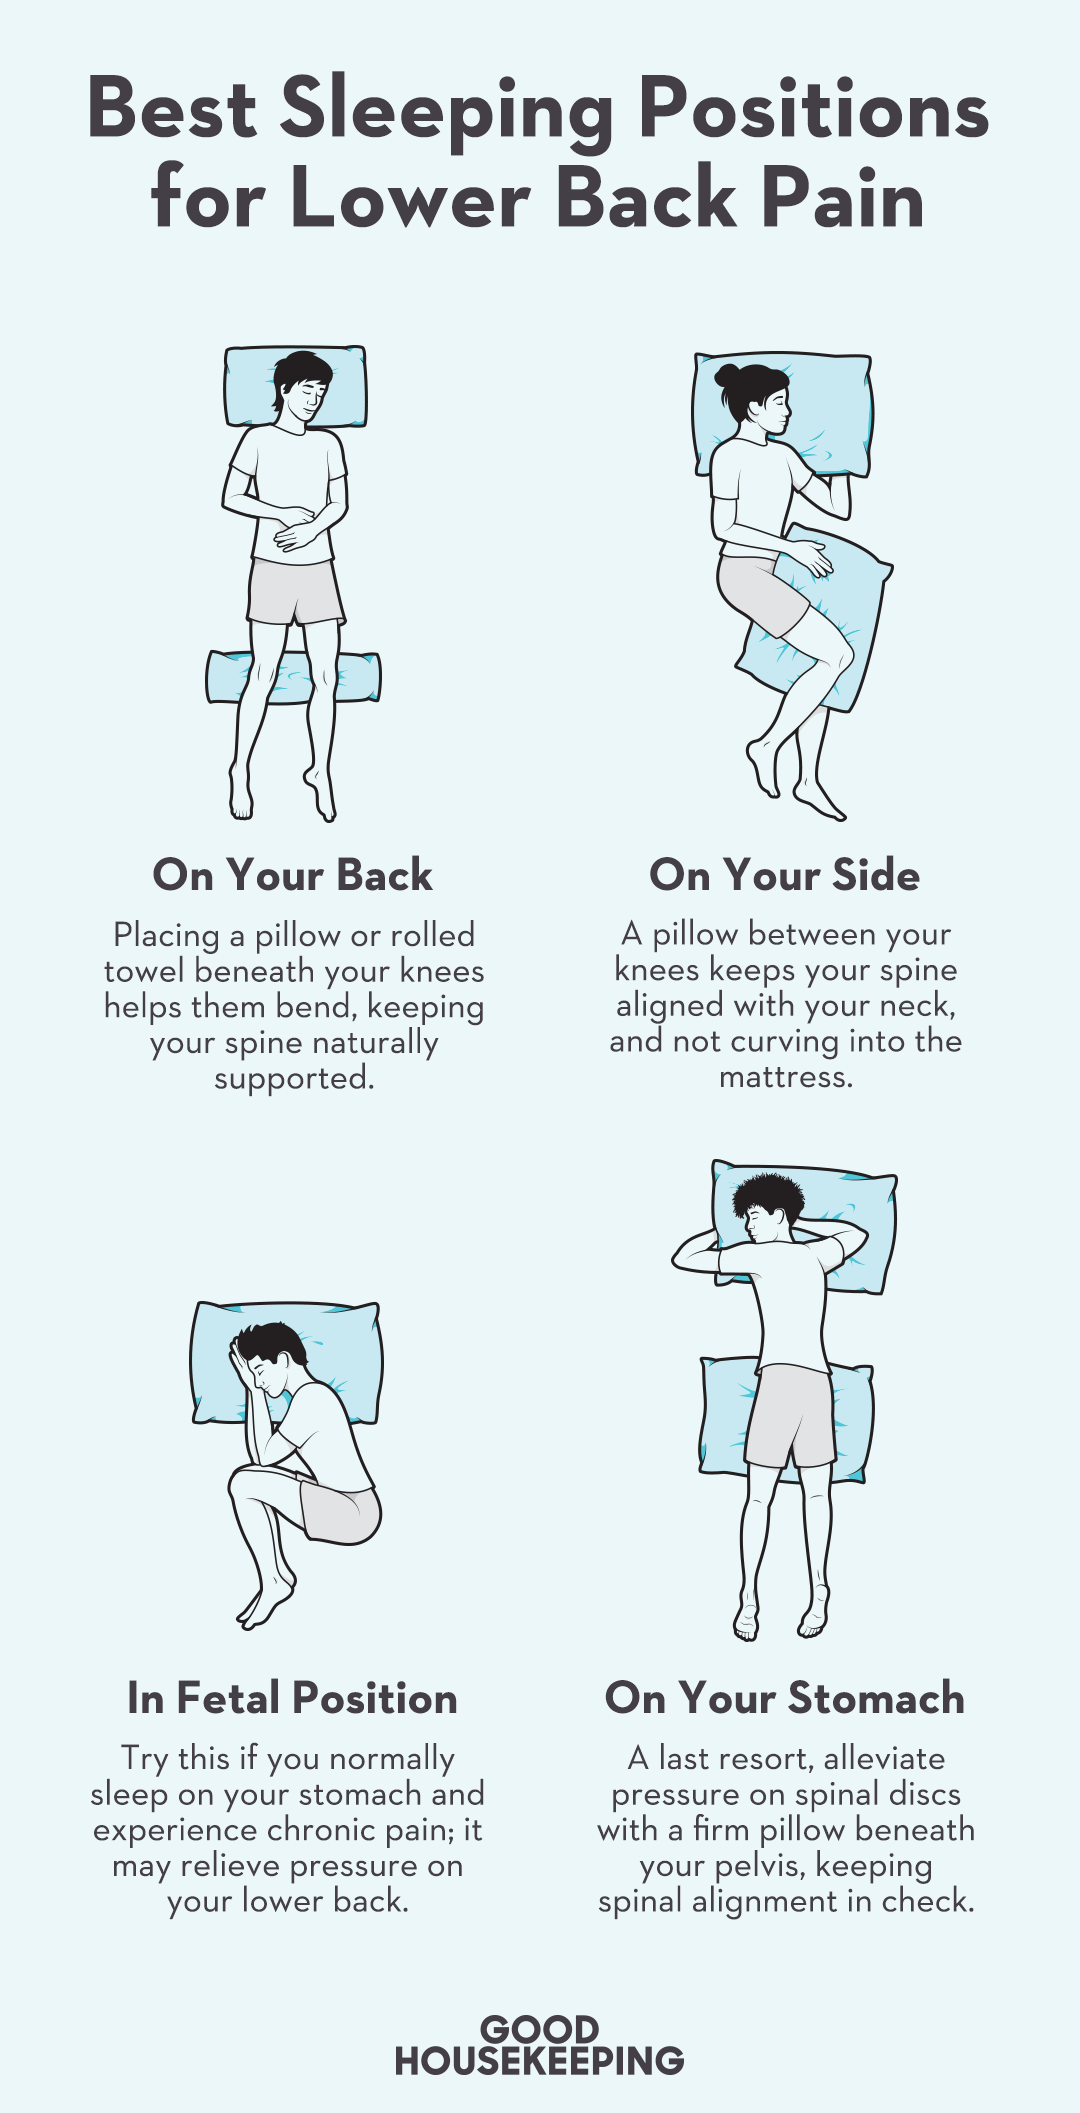
Side sleeping creates natural gaps between your body and mattress that pull your spine out of alignment if left unsupported. The right pillow placement fixes this problem immediately.
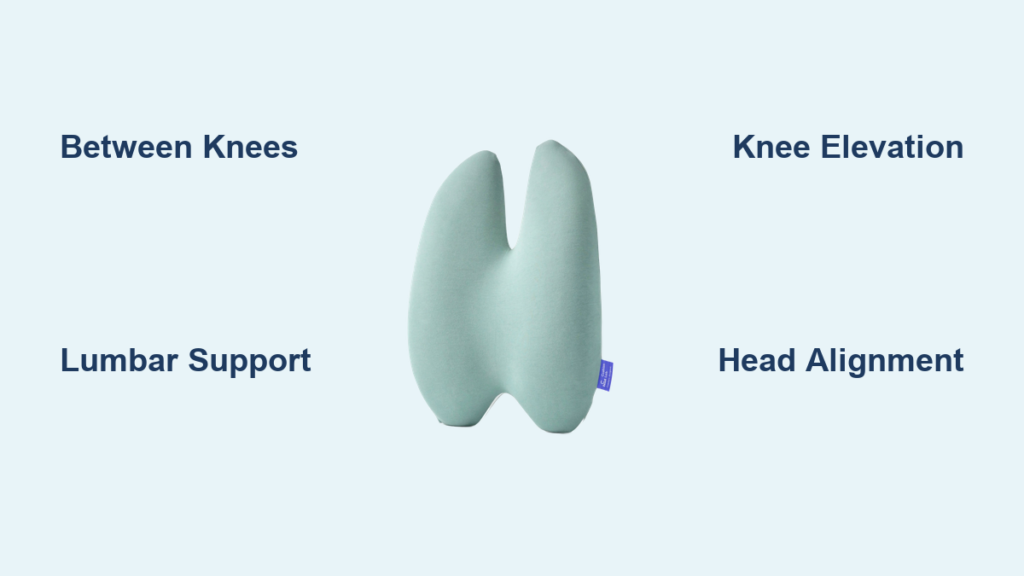
Between your knees: Place a firm pillow between slightly bent knees, extending from mid-thigh to ankles. This prevents your upper leg from rotating your pelvis and pulling your spine out of neutral alignment. Most people need a 4-6 inch thick pillow, but adjust based on your hip width—your hips should stay parallel, not stacked. If your pillow keeps slipping, try an hourglass-shaped pillow or tuck a small pillowcase into your waistband to hold it in place.
Lumbar curve reinforcement: Slide a small rolled towel or thin pillow into the natural curve of your lower back. This fills the gap that forms between your lumbar spine and mattress, preventing your back from sagging downward. The support should feel subtle—not like it’s pushing your back forward. Start with a thin towel and gradually increase thickness until your spine feels properly supported.
Head and neck alignment: Your head pillow must maintain a straight line from your neck through your chest to your lower back. Too thin, and your neck angles downward; too thick, and it pushes your head up, creating strain that travels down your spine. Check alignment by having someone take a side photo of you sleeping—you should form a straight line from ear to shoulder to hip.
Pro tip: If you’re a combination side-to-back sleeper, use a full-length body pillow. When you roll onto your back, the pillow naturally falls away, and you can easily grab it again when returning to your side position.
Back Sleeping Setup That Relieves Lumbar Pressure
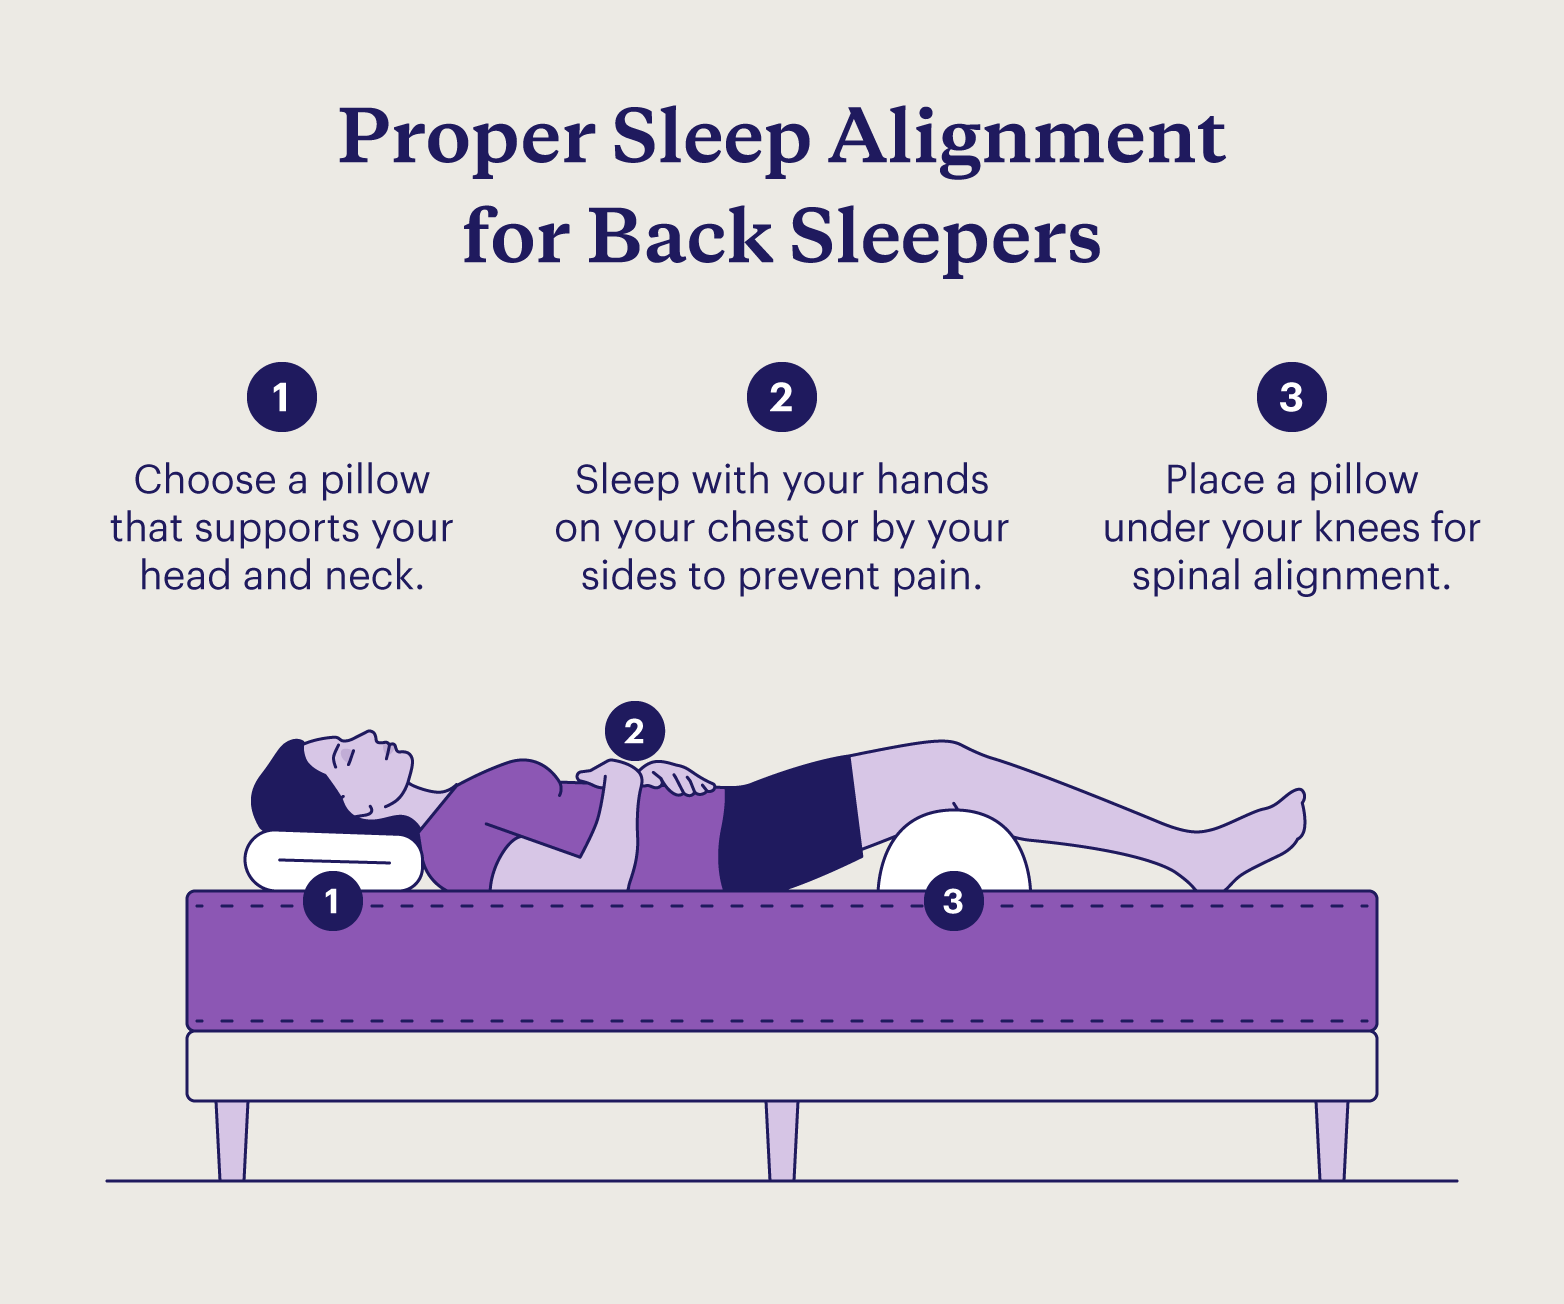
Back sleeping naturally supports spinal alignment but requires precise pillow placement to maintain your lumbar curve throughout the night.
Knee elevation technique: Position one or two pillows under your knees, elevating them 4-6 inches above the mattress to create a gentle 30-45 degree bend. This reduces pressure on your lower back by taking tension off lumbar muscles. The elevation should feel comfortable—not like your legs are straining upward. For sciatica relief, try elevating the affected leg slightly higher than the other.
Targeted lumbar support: Place a small, firm pillow (2-3 inches thick) under the natural curve of your lower back. This fills the gap between your spine and mattress without overextending your back. Start with a folded towel and adjust thickness based on your lumbar curve depth—your lower back should feel supported, not pushed forward. Pillows with non-slip backing stay in place better throughout the night.
Head pillow precision: Your head pillow should support your neck’s natural curve without pushing your head forward. When viewed from the side, your ears should align with your shoulders. Medium-loft pillows work best for most back sleepers, but adjust based on your shoulder width and mattress firmness.
Elevated variation for severe pain: For conditions like spinal stenosis, try the semi-Fowler’s position. Elevate your head 30-45 degrees with a wedge pillow while keeping your knees elevated. This position reduces pressure on lumbar discs while maintaining spinal alignment.
Transform Stomach Sleeping from Painful to Tolerable
Stomach sleeping is the worst position for lower back pain, but strategic pillow placement can minimize damage while you transition to better positions.
Pelvic support essential: Place a thin pillow (1-2 inches) under your pelvis and lower abdomen. This helps restore your spine’s natural lumbar curve that disappears when lying flat on your stomach. A rolled towel works better than a standard pillow for targeted support directly under your hip bones.
Head pillow elimination: Remove your head pillow entirely or use an ultra-thin option (less than 1 inch). Any head elevation in this position increases cervical spine rotation and lumbar extension, creating more pain. If you must use a pillow, choose one soft enough to compress significantly under your head weight.
Leg positioning modification: If comfortable, bend one knee out to the side and place a small pillow under that knee. This reduces rotational stress on your lower back by creating counterbalance. Avoid bending both knees upward, as this increases lumbar extension.
Transition strategy: Stomach sleeping provides the least support for lower back pain relief. Start training yourself to sleep in a different position by placing body pillows around you to prevent rolling onto your stomach during sleep.
Choose the Right Pillow Type for Your Body

Between-Knee Pillows That Stay Put
- Memory foam: 4-6 inches thick with 3-5 pounds per cubic foot density maintains shape all night
- Contoured hourglass shape: Stays in place better than rectangular pillows and prevents leg overlap
- Length: 18-24 inches ensures proper separation from mid-thigh to ankles
- Cover: Removable, washable cover essential for hygiene and temperature regulation
Lumbar Support That Works
- Roll pillows: 2-3 inch diameter provides targeted support without shifting
- Wedge pillows: Gradual incline stays put throughout the night on most mattresses
- Adjustable fill: Shredded memory foam or latex allows customization as your needs change
Firmness Guidelines by Body Type
Under 130 lbs: Soft to medium-soft pillows (ILD 12-18) that contour without excessive resistance
130-230 lbs: Medium-firm balance (ILD 18-28) of support and comfort
Over 230 lbs: Firm to extra-firm high-density options (ILD 28-40) that won’t collapse
Temperature consideration: Memory foam retains heat. If you sleep hot, consider latex or cooling gel memory foam options with pin-core design for breathability.
Fix Common Pillow Problems That Cause Pain
Pillow Migration Solutions
Your pillows should stay in position all night. If they don’t:
Between-knee pillow slipping: Use a contoured pillow with connecting straps, or wear a thin pillowcase over the pillow and tuck it into your underwear waistband. Hourglass-shaped pillows naturally resist movement better than rectangular ones.
Lumbar support shifting: Choose pillows with non-slip backing or wedge shapes that grip the mattress. Position your lumbar support before lying down completely, then gently lower yourself onto it.
Pro tip: Place a fitted sheet over your pillows and mattress to create a unified sleeping surface that holds everything in place while you sleep.
When Pain Increases After Pillow Changes
Morning stiffness signals: Your pillow height might be wrong for your sleeping position. Adjust in 1-inch increments over several nights. Check if your mattress is sagging—this undermines even perfect pillow placement for lower back pain.
Night waking patterns: Pillow overheating often causes position changes that increase pain. Switch to breathable materials or add cooling gel pads. Document when you wake—timing reveals which position or pillow is the culprit.
Mattress Compatibility That Maximizes Pillow Effectiveness
Your mattress and pillows work together as a system—adjust pillow strategy based on your mattress type.
Memory foam mattress: You’ll sink in more, so use medium-firm pillows. Thicker between-knee pillows may be needed due to mattress contouring. Monitor for excessive sinkage that creates new pressure points.
Firm innerspring: Softer pillows provide better contouring. Lumbar support becomes more critical since the mattress doesn’t conform to your curves. Consider a thinner head pillow to maintain proper neck alignment.
Hybrid mattress: Take a balanced approach based on your comfort layer thickness. Monitor pillow compression over time and adjust accordingly—hybrid mattresses often require pillow adjustments as the comfort layer compresses.
First Week Implementation Plan for Pain Relief
Days 1-3: Strategic Introduction
Introduce one pillow modification at a time, starting with your primary sleeping position’s key placement. Track morning pain levels and sleep quality using a simple 1-10 scale. If pain increases, remove that pillow and try a different position the next night.
Days 4-7: Fine-Tuning Process
Combine successful modifications and fine-tune pillow heights in 1-inch increments. Establish a consistent bedtime routine that includes setting up your pillows the same way each night. Most people see improvement within the first week of consistent how to use a pillow for lower back pain implementation.
Critical warning: Contact a healthcare provider immediately if you experience numbness or tingling in your legs, pain radiating below your knees, or bladder/bowel control issues—these require medical attention beyond pillow adjustments.
Mastering how to use a pillow for lower back pain takes careful experimentation but delivers transformative results. Start with your primary sleeping position’s setup, then fine-tune based on your body’s response. Most people see improvement within the first week, with optimal comfort developing over 2-4 weeks as your body adapts to proper alignment. Keep a simple sleep diary for the first month—note pillow configurations that work and those that don’t. Your future self will thank you for the pain-free mornings ahead. Remember to replace support pillows every 8-12 months, as compressed or flattened pillows lose their ability to maintain spinal alignment and actually worsen lower back pain over time.