
That nagging ache in your lower back won’t go away, no matter how many painkillers you take or stretches you try. You’re not alone—back pain affects 80% of adults at some point. What if you could activate your deep stabilizing muscles without straining your spine? Vibration plate therapy offers a science-backed solution that delivers real relief through gentle mechanical stimulation. This guide reveals exactly how to use a vibration plate for back pain, with position-specific protocols that physical therapists rely on.
You’ll discover evidence-based techniques, safety protocols, and progression strategies that actually work. Whether you’re dealing with chronic discomfort or recovering from an injury, these step-by-step instructions help you build a safe, effective routine. Forget generic advice—this is your roadmap to harnessing vibration therapy’s full potential for lasting back pain relief.
Critical Safety Checks Before Starting
Never step on a vibration plate if you have acute disc herniation with nerve compression, spinal fractures, severe osteoporosis (T-score below -2.5), recent spinal surgery (within 6 months), or are pregnant. Cardiovascular conditions requiring pacemakers also demand complete avoidance. These aren’t minor warnings—they’re medical necessities that prevent serious injury.
For conditions like degenerative disc disease without instability or mild osteoporosis, get written clearance from a spine specialist first. Perform this quick self-assessment: rate your pain 0-10, identify specific triggers (bending forward/backward/twisting), check for numbness or tingling, and measure your blood pressure if hypertensive. Any red flags—sharp shooting pain, new neurological symptoms, or pain above 7/10—require professional evaluation before starting.
Choosing Your Therapeutic Vibration Plate

Must-Have Specifications for Back Pain Relief
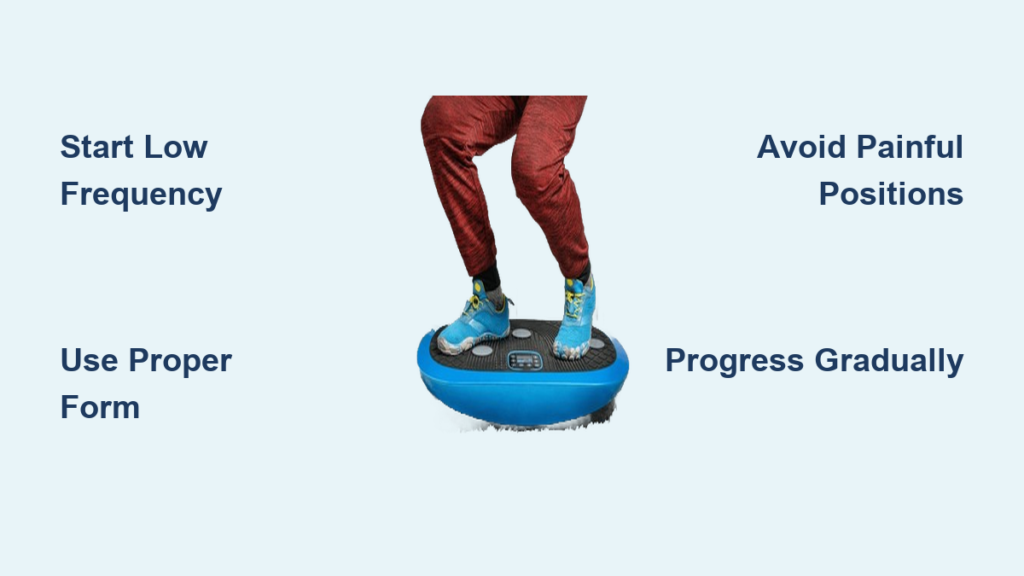
Frequency range matters: 25-40 Hz delivers optimal muscle activation without joint stress. Beginners or those with acute pain should start at 20-25 Hz, while conditioned users can handle 35-40 Hz. Lower frequencies provide gentler stimulation that won’t aggravate sensitive tissues.
Amplitude is crucial: Stick to 2-4 mm therapeutic range. Start at 2mm—higher amplitudes increase spinal stress exponentially. Some plates offer micro-adjustments of 0.5mm, which is essential for gradual progression without setbacks. Avoid models with only broad amplitude settings.
Platform size affects stability: Choose minimum 27″ x 20″ for safety during back-specific positions. Larger platforms (30″+) provide better weight distribution for supine positions where you need maximum stability. Smaller platforms become dangerous when performing prone or supine exercises.
Vibration type makes a difference: Pivotal (oscillating) vibration reduces spinal impact versus linear vibration. Think seesaw motion versus jackhammer—the pivotal type mimics natural walking mechanics and is far safer for spinal conditions.
Pre-Session Setup Protocol
Environment Preparation Checklist
Position your plate on level, carpeted surface 3 feet from walls. Hardwood floors amplify vibrations and create noise complaints that disrupt your focus. Maintain room temperature between 68-72°F to prevent muscle tension from cold. Remove shoes for better proprioception—barefoot or thin socks provide optimal sensory feedback that helps maintain proper alignment.
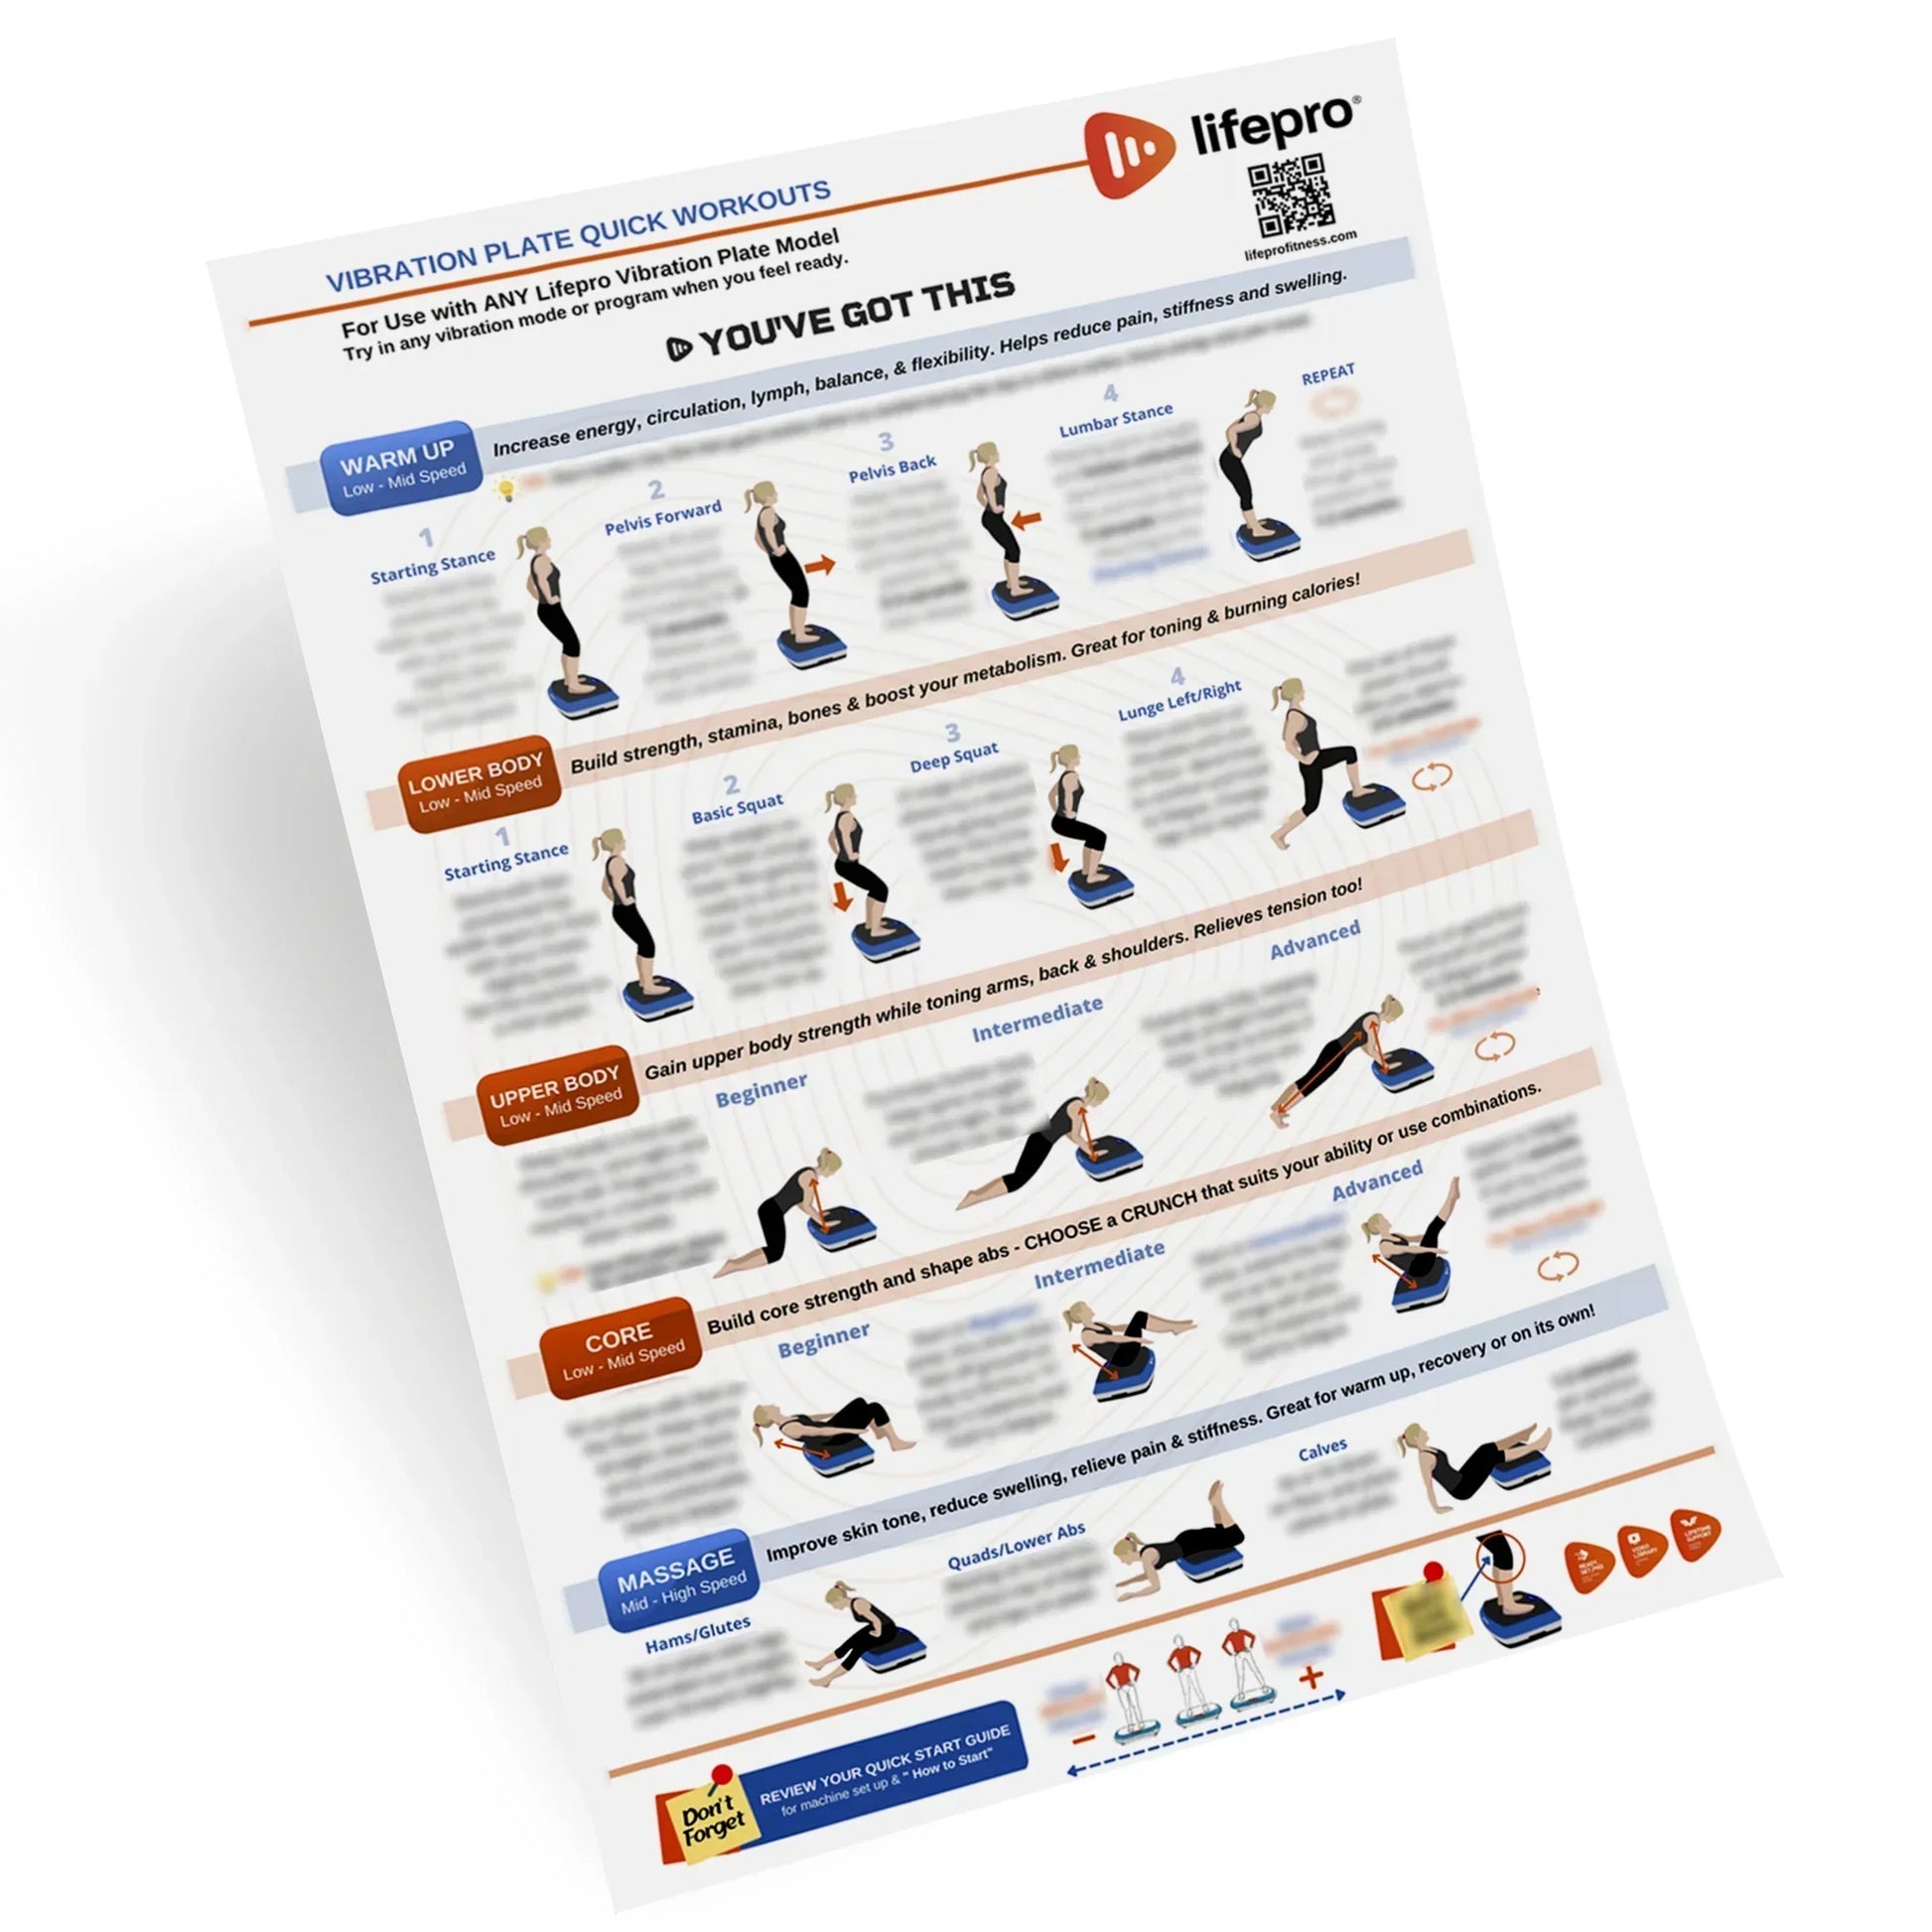
Essential 5-Minute Warm-Up Sequence
- March in place (60 seconds): Gently lift knees to activate hip flexors without straining your back
- Cat-camel stretches (10 reps): On hands/knees, slowly arch and round your spine to increase mobility
- Hip circles (30 seconds each direction): Standing with support, gently rotate hips to loosen tight joints
- Deep breathing (10 cycles): Practice diaphragmatic breathing to reduce tension before vibration begins
- Pelvic tilts (15 reps): Lying supine, flatten lower back then create gentle arch to activate core
Standing Position Techniques That Actually Help Back Pain
Basic Static Hold for Core Activation
Setup: Stand centered with feet shoulder-width apart, knees slightly bent (15-20°), pelvis neutral. Imagine a string pulling your head upward while maintaining your natural lumbar curve. This isn’t military posture—your spine should retain its gentle S-shape.
Core engagement: Draw your navel toward your spine without holding your breath. This activates your transverse abdominis—the body’s natural back brace that stabilizes your spine during vibration. Proper engagement transforms passive standing into active core strengthening.
Progression timeline: Start with just 30 seconds at 25 Hz, 2mm amplitude. Add 15 seconds weekly until reaching 2 minutes maximum. Increase frequency to 30-35 Hz only when you can maintain perfect form throughout. Rushing progression causes setbacks.
Modified Squat for Glute Activation
Stance: Wider sumo position with feet at 45° angle and deeper knee bend (30-45°). Rest hands lightly on thighs for support—never grip anything tightly, as this creates upper body tension that transfers to your spine.
Hip hinge technique: Push hips back while maintaining a flat back and lifted chest. This targets glutes and hamstrings that support your lumbar spine—muscles often neglected in traditional back pain treatments. Proper form prevents lumbar rounding that aggravates disc issues.
Dynamic progression: Once 90 seconds feels easy, add mini-squats during vibration. Perform 10-15 small pulses, focusing on controlled movement. Stop immediately if you feel any pinching in your lower back—this indicates improper mechanics.
Frequency and Duration Schedules That Deliver Results
Beginner Phase (Weeks 1-2)
Schedule: 3 sessions weekly on non-consecutive days (Monday/Wednesday/Friday)
Total time: 5-7 minutes including warm-up
Intensity: 25-30 Hz frequency, 2mm amplitude maximum
Focus: Basic standing and seated positions only—avoid prone/supine until comfortable
Intermediate Phase (Weeks 3-6)
Frequency: 4-5 sessions weekly
Duration: 10-15 minutes total
Intensity: 30-35 Hz, 2-3mm amplitude
New positions: Add gentle prone (superman) and supine (bridge) variations
Integration: Light stretching immediately after enhances benefits
Advanced Phase (Weeks 7+)
Maximum schedule: 5-7 sessions weekly
Duration: 15-20 minutes—never exceed 20 minutes without professional guidance
Peak intensity: 35-40 Hz, 3-4mm amplitude (if tolerated)
All positions: Master all variations plus dynamic movements
Progression tools: Add resistance bands or light weights (2-5 lbs) during standing positions
Pain-Specific Modifications for Immediate Relief

Acute Back Pain (0-3 days)
Gentle protocol: Only seated or supported recline positions
Conservative settings: 20-25 Hz, 1-2mm amplitude
Time limits: 2-3 minutes maximum—overdoing it worsens inflammation
Goal: Pain modulation without mechanical stress. Think gentle, soothing vibration versus intense workout.
Chronic Back Pain Management
Comprehensive approach: Address muscle imbalances systematically
Full spectrum: 30-40 Hz, 2-4mm amplitude based on daily tolerance
Duration: 10-20 minutes depending on response
All positions: Emphasize strengthening weak areas identified during progression
Long-term goal: Neuromuscular re-education for lasting change
Troubleshooting Common Problems
Excessive Vibrations Cause Nausea
Immediate fix: Reduce frequency by 5 Hz, decrease amplitude to 1-2mm, ensure proper hydration. Many users experience motion sickness initially—this typically resolves within 2-3 sessions as your vestibular system adapts. If nausea persists beyond 3 sessions, consult your healthcare provider.
Increased Pain After Sessions
Systematic approach: Reduce session intensity by 50%, eliminate positions reproducing pain, apply ice immediately for 10 minutes. If pain persists >24 hours, stop all vibration therapy and consult your healthcare provider—this indicates underlying instability requiring professional assessment.
Balance Challenges
Gradual progression: Start with seated positions, use handrails consistently, perform near support surface (wall or sturdy chair). Balance typically improves dramatically within 2 weeks of consistent practice. Never sacrifice proper form for longer duration—quality trumps quantity.
Consistent vibration therapy can transform chronic back pain management when applied correctly. Start conservatively, progress gradually, and listen to your body’s signals. Most users experience initial benefits within 2-3 weeks, but lasting change requires 8-12 weeks of consistent application. Remember—this isn’t a quick fix, but rather a tool for long-term neuromuscular re-education. Combine vibration plate therapy with proper ergonomics, regular movement, and professional guidance for optimal results. Your path to back pain relief begins with the right approach on that vibrating platform.