
That nagging ache in your lower back after hours at your desk or following a long day on your feet can make even simple movements feel impossible. If you’ve been searching for how to use yoga wheel for lower back pain, you’re on the right track—this versatile prop delivers targeted relief where foam rollers and massage balls often fall short. Unlike wider tools that can’t isolate specific vertebrae, the yoga wheel’s precise 5-inch width accesses those stubborn tension spots along your entire spine while providing gentle traction that decompresses compressed discs.
Most beginners are surprised by how quickly they experience relief—many feel immediate spinal release during their first session as the wheel flushes out toxins built up from prolonged sitting. The grippy surface prevents slipping, making it safe for all skill levels, while the hollow design allows controlled pressure application exactly where you need it. Ready to transform your back pain routine with just 10-15 minutes of daily practice?
Why Yoga Wheel Beats Other Tools for Lower Back Relief
The yoga wheel’s unique design solves the core problem most back pain sufferers face: accessing hard-to-reach areas between vertebrae without straining. While foam rollers apply broad pressure that often misses critical spots, the wheel’s narrow width targets individual spinal segments, releasing tension knots that contribute to chronic discomfort. This targeted approach works particularly well for desk workers whose lower back pain stems from hip flexor tightness and poor posture.
What makes the wheel truly special is its dual action—providing immediate massage while simultaneously strengthening your core. As you roll, your body instinctively engages deep stabilizer muscles to maintain balance on the unstable surface. This builds the very support system that prevents future lower back strain. Over time, consistent yoga wheel practice retrains your posture and reduces pain frequency, addressing both symptoms and root causes.
Essential Safety Steps Before Starting
Stop immediately if you experience sharp pain, dizziness, or breathing difficulties—these signals mean you’re pushing too hard. Always warm up with cat-cow stretches or 5 minutes of walking before introducing the wheel to prepare your spine for pressure. If you have existing back conditions, pregnancy, or recent injuries, consult your healthcare provider before beginning.
Keep a travel pillow nearby for cushioning sensitive areas during your first few sessions, especially if you’re new to deeper backbends. Start with basic supported poses where your feet stay grounded, progressing only when you feel stable. Those with severe disc issues should avoid deep backbends initially and focus on gentle rocking motions instead.
5 Most Effective Wheel Exercises for Immediate Relief
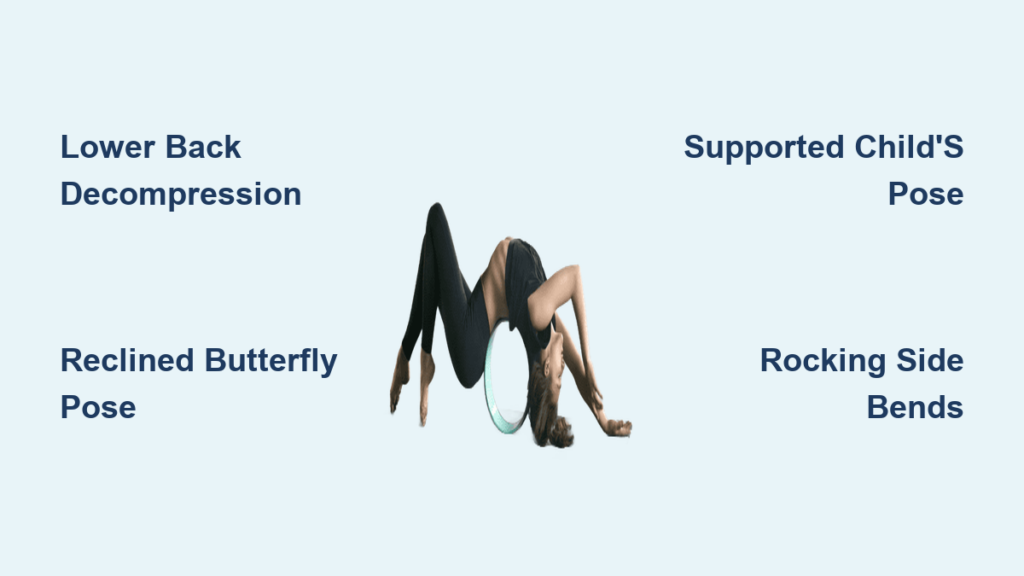
Lower Back Decompression Roll
Lie on your mat with knees bent and feet flat, placing the wheel horizontally at the base of your spine. Ground your hands beside you and use your legs to gently roll back and forth just 1-2 inches, focusing on areas where you feel tension. Pause for 15-30 seconds on tight spots as your muscles soften. This simple movement provides instant relief by breaking up adhesions between vertebrae—complete 1-2 minutes daily for best results.
Reclined Butterfly Spinal Support
Sit with feet together and knees dropped outward, positioning the wheel behind your lower back. Slowly recline until your spine rests fully on the wheel, arms extended behind you. Hold for 5-8 deep breaths, feeling your hip flexors release—tight hip flexors are often the hidden culprit behind lower back pain. This pose simultaneously opens your chest to counteract hunched posture while providing gentle traction for compressed discs.
Supported Child’s Pose with Traction
Kneel with big toes touching and sit back on your heels. Place hands on the wheel and roll it forward, extending your spine until your forehead nears the mat. Breathe deeply into your lower back with each exhale, allowing the wheel’s movement to create space between vertebrae. Hold for 1-2 minutes—this variation provides more effective spinal decompression than traditional child’s pose by eliminating the need to force your forehead to the floor.
Rocking Side Bend for Quadratus Lumborum Release
Lie on your side with the wheel positioned along your lower ribcage. Gently rock up and over the wheel, then back down, targeting the quadratus lumborum—the deep muscle that frequently causes one-sided lower back pain. Complete 8-10 slow rocks on each side, moving through pain-free range only. This lateral stretch addresses tension that forward folds miss, providing relief for that stubborn “kidney area” discomfort many experience.
Supported Forward Fold Against Wall
Stand facing a wall with feet hip-width apart. Hinge forward at your hips and rest your forehead on the wheel placed against the wall. Let gravity pull your spine into gentle traction while keeping knees slightly bent. Hold for 45-60 seconds, focusing on releasing tension with each exhale. This wall-supported version prevents strain in hamstrings that often worsens lower back pain during unsupported forward folds.
Daily Wheel Routine for Lasting Pain Reduction

Morning Spine Awakening Sequence
Start your day with 3 minutes of gentle rolling to wake up compressed discs after sleeping. Perform the Lower Back Decompression Roll for 1 minute, followed by Reclined Butterfly for 2 minutes. Finish with 30 seconds of Supported Child’s Pose—this sequence restores natural spinal curvature before you sit at your desk, preventing morning stiffness from worsening throughout the day.
Office Desk Rescue Break
Combat afternoon back tightness with a 2-minute wheel reset. Place the wheel against your chair’s backrest and lean back for 60 seconds of Supported Backbend. Follow with 30 seconds of Rocking Side Bends on each side. Keep your wheel under your desk for instant relief—this micro-practice prevents accumulated tension from turning into chronic pain by the end of your workday.
Evening Pain-Relief Wind-Down
Before bed, dedicate 8 minutes to restorative poses that release daily tension. Begin with 3 minutes of Supported Child’s Pose, then 2 minutes of Reclined Butterfly, and finish with 3 minutes of gentle rolling. This sequence reduces overnight pain spikes by releasing compression that often worsens when lying down, improving sleep quality significantly.
Troubleshooting Common Wheel Challenges

Discomfort during rolling? Place a folded blanket over the wheel for extra cushioning or reduce pressure by supporting more weight with your arms. Focus on small movements rather than deep pressure initially—gentle consistency beats aggressive intensity for long-term pain relief. If pain persists beyond mild discomfort, stop and consult a physical therapist.
Struggling with balance? Start all poses with feet firmly planted and use wall support for stability. Practice core engagement separately by holding plank position against the wheel before attempting unstable positions. Master basic poses for 1-2 weeks before progressing—your body needs time to build the necessary stability for advanced movements.
Not feeling results after 2 weeks? Check your technique against instructional videos, as improper form drastically reduces effectiveness. Ensure you’re practicing daily for 10-15 minutes—consistency matters more than session length. Most users see significant improvement in chronic lower back pain within 3-4 weeks of proper daily use.
Maximizing Your Wheel Investment

Choose a wheel with grippy yoga mat-like covering to prevent slipping during exercises—YogiWheel’s textured surface provides superior traction compared to smooth alternatives. The standard 5-inch width delivers optimal lower back targeting; avoid wider wheels that can’t access specific vertebrae. Set up on a non-slip surface with space to roll freely in all directions, keeping a travel pillow nearby for sensitive areas.
While immediate relief occurs during practice, real transformation happens through consistency—just 10-15 minutes daily yields noticeable improvement in chronic pain within 2-4 weeks. Postural changes and core strength improvements typically emerge after 6-8 weeks of regular use. The yoga wheel isn’t just another fitness accessory; it’s your practical tool for reclaiming comfort in daily life. Start with these foundational exercises, progress at your own pace, and let the wheel’s gentle support guide you toward lasting lower back relief—your spine will thank you.