
Waking up with a sharp ache on just one side of your lower back and hip turns simple movements—getting out of bed, tying shoes, climbing stairs—into daily battles. You’re not imagining it: unilateral lower back and hip pain on one side often signals specific mechanical failures that differ dramatically from general back discomfort. The good news? Most cases resolve with targeted strategies once you identify the true culprit. This guide walks you through rapid self-diagnosis, evidence-based treatments, and prevention tactics tailored to the exact source of your one-sided misery.
Pinpoint Your Pain Generator
Location Mapping: Where It Hurts Matters
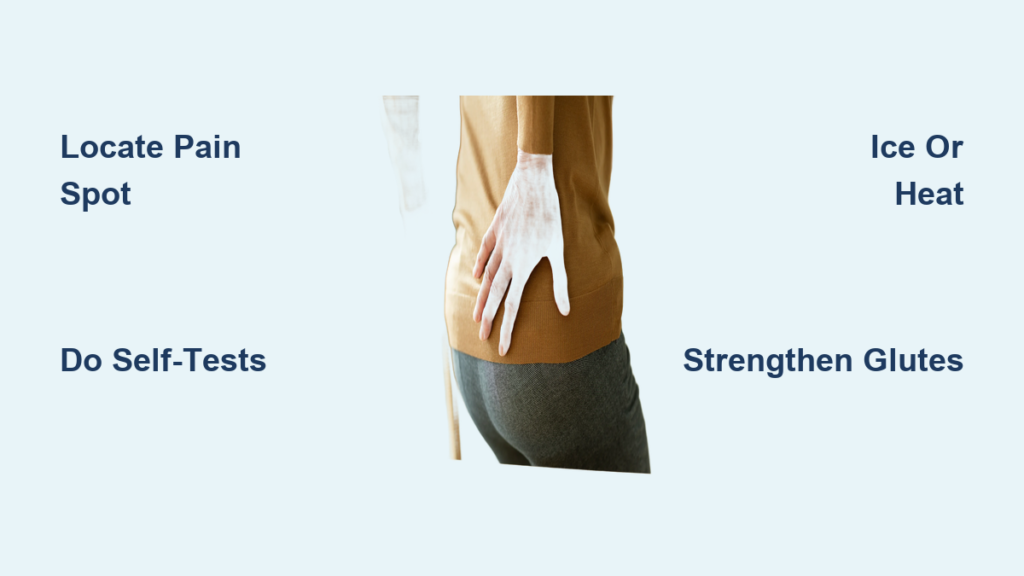
Your pain’s precise location reveals the likely cause. If you feel flank pain above the hip bone, suspect kidney issues or quadratus lumborum muscle strain. Deep groin pain typically indicates hip joint problems or a labral tear. Buttock pain radiating down your leg points to sciatica or sacroiliac joint dysfunction. Meanwhile, tenderness over your outer hip bone (greater trochanter) usually means trochanteric bursitis or gluteus medius strain. Ignoring these distinctions wastes weeks on ineffective treatments—knowing your pain generator is step one to relief.
Quick Self-Tests to Perform Now
Single-leg stand test: Stand on your painful leg for 30 seconds. Sharp hip or groin pain indicates hip joint involvement, while lower back discomfort suggests sacroiliac joint issues. FABER stretch: Lie on your back, cross your painful-side ankle over the opposite knee, and gently push that knee down. Groin pain confirms hip pathology; lower back pain means SI joint dysfunction. Straight leg raise: Lie flat and slowly lift your painful leg. Pain shooting down your leg below the knee signals disc-related sciatica. Perform these now—they take 90 seconds and immediately narrow your treatment focus.
Common One-Side Culprits Decoded
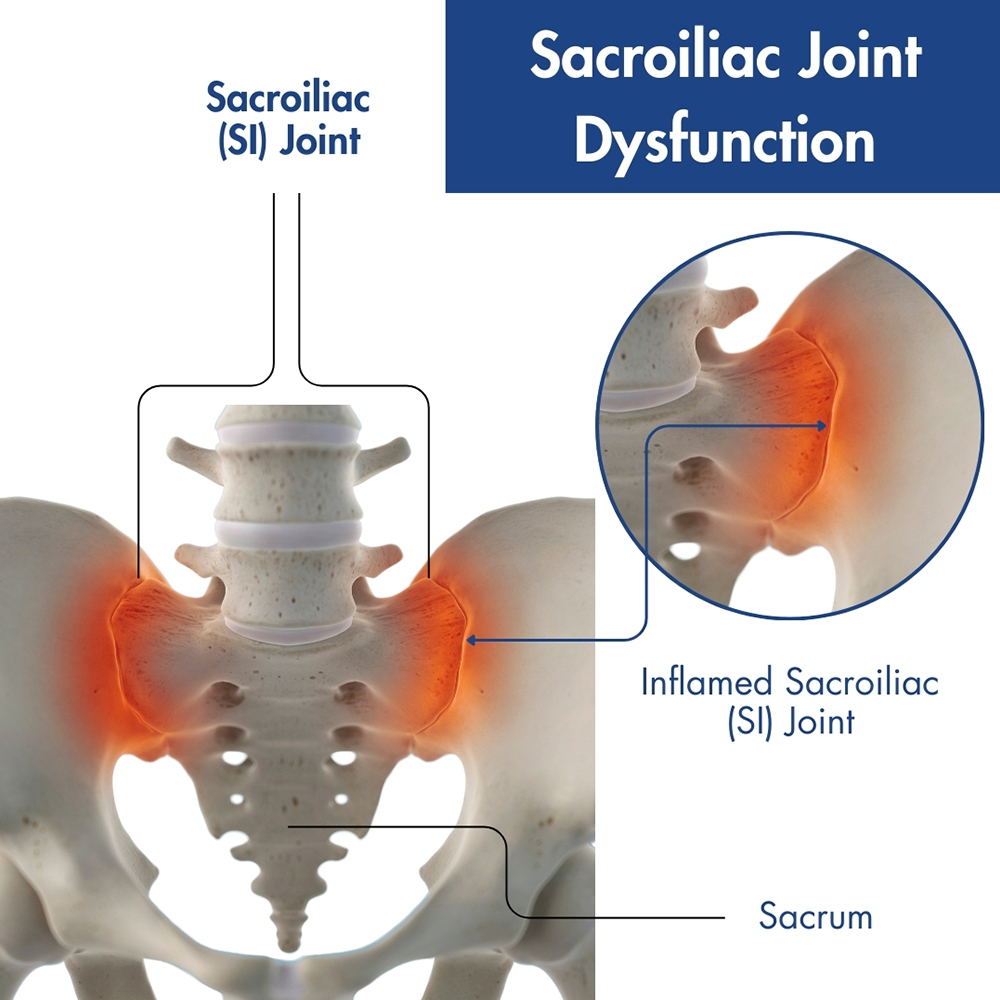
Sacroiliac Joint Dysfunction
This joint connecting your spine to pelvis frequently misaligns, causing pain 2-3 cm from your spine at belt level. You’ll notice it worsens after prolonged sitting or standing and features morning stiffness that loosens with movement. Unlike disc pain, SI joint dysfunction rarely radiates below the knee. Fast fix: Lie on your back, pull your painful-side knee to your chest for 30 seconds. Repeat 5x daily while gently rocking your pelvis side-to-side. Avoid twisting motions during recovery—this takes 4-8 weeks but improves dramatically with consistency.
Quadratus Lumborum Spasm
This deep back muscle compensates when core muscles weaken, causing sudden pain after lifting or twisting. Key signs include inability to stand straight and relief when bending toward your painful side. The spasm creates a “hiking” effect where your hip bone lifts higher on the affected side. Immediate relief: Apply heat for 15 minutes to relax the muscle, then perform gentle side bends away from pain—keep movements small (1-2 inches) for 10 repetitions. Never stretch through sharp pain; stop if you feel nerve-like shooting sensations.
Hip Flexor Strain
Tight iliopsoas muscles pull your pelvis forward, creating compensatory lower back strain. If your pain worsens walking uphill or getting into cars, this is likely the culprit. You’ll feel relief lying flat as pressure releases from the hip joint. Critical mistake to avoid: Overstretching. Aggressive hip flexor stretches can aggravate the strain. Instead, perform the half-kneeling hip flexor release with a tucked pelvis—hold 45 seconds, 3x daily. Notice improvement within 72 hours if you avoid deep lunges and prolonged sitting.
Targeted Treatment Protocols
Phase 1: Acute Pain Control (Days 1-7)
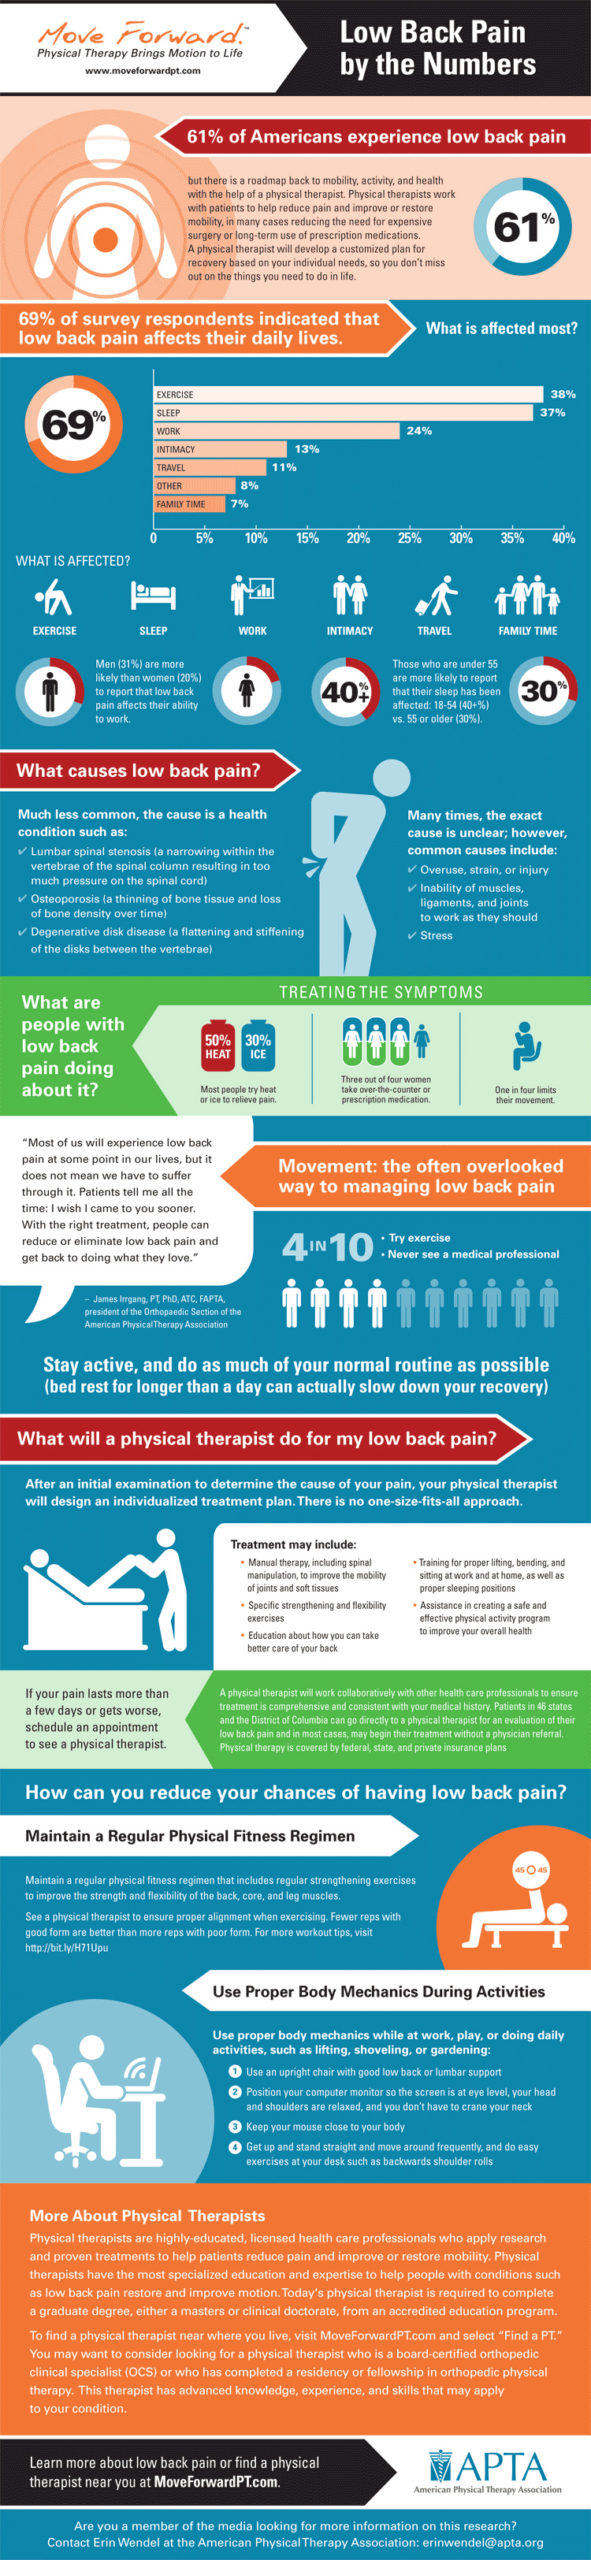
Ice vs Heat Decision Tree: Use ice packs (15 minutes every 2-3 hours) for the first 48 hours if pain feels sharp and “hot.” Switch to heat (20 minutes) after 48 hours for dull, achy muscle tension. Positioning for relief: For SI joint pain, sleep on your non-painful side with a pillow between knees. If disc involvement is suspected, lie on your back with knees elevated on a chair. Hip joint pain sufferers should recline with the painful leg externally rotated—place a rolled towel under the knee for support. Avoid sitting longer than 20 minutes during this phase.
Phase 2: Movement Restoration (Week 2-4)
SI Joint Reset Sequence (2x daily): Lie on your back with both knees bent. Cross your painful-side ankle over the opposite knee, then gently pull the uncrossed leg toward your chest until you feel a stretch near your belt line. Hold 30 seconds, repeat 3x. Hip Flexor Release: In a half-kneel position (painful side back), tuck your pelvis under slightly. Lean forward until you feel a stretch deep in your front hip—not your quadriceps. Hold 45 seconds, repeat 3x. Stop immediately if you feel nerve pain radiating down your leg.
Phase 3: Strengthening (Week 4+)
Glute Medius Activation prevents future compensation: Perform side-lying leg lifts (3 sets of 15) with your top foot slightly forward. Add clamshells with a resistance band (2 sets of 20) to target hip stability. Single-leg bridges (2 sets of 12) rebuild functional strength—keep your pelvis level; avoid hiking your hip bone. Core Stability Circuit: Dead bugs (3 sets of 10/side) teach pelvic control. Bird dogs (3 sets of 10-second holds) improve spinal stability. Side planks (3 sets of 30 seconds) must be performed with stacked hips—never let your waist sag.
When to Seek Emergency Care
Red Flag Symptoms
Stop all self-treatment and head to the ER immediately if you experience numbness in your groin or inner thighs, loss of bladder/bowel control, fever with severe pain, or progressive leg weakness. These could indicate cauda equina syndrome or serious infection. Pain after major trauma (like a fall) requires urgent X-rays to rule out fractures. Don’t dismiss “just back pain”—these red flags demand same-day intervention to prevent permanent damage.
Prevention Strategies That Actually Work
Daily Movement Habits
Morning routine: Before getting out of bed, perform 2 minutes of cat-cow stretches to gently mobilize your spine. Sitting solution: Set a timer to stand every 30 minutes; perform 10 pelvic tilts (flatten lower back against chair) to reset alignment. Lifting technique: Bend at your knees—not waist—keep loads close to your body, and never twist while holding weight. Place one hand on your hip during lifts to prevent rotational strain.
Sleep Position Optimization
Side sleepers: Use a firm pillow between knees to maintain hip alignment—your top knee should rest on the pillow, not dangle. Back sleepers: Place a small pillow under knees to reduce lumbar disc pressure. Mattress check: Press down on your mattress where you sleep; it shouldn’t sag more than 1 inch. Replace mattresses older than 7-10 years, as they lose supportive properties that exacerbate one-sided lower back and hip pain on one side.
Recovery Timeline Expectations
Realistic Healing Windows
Muscle strains typically resolve in 2-6 weeks with consistent treatment. SI joint dysfunction takes 4-8 weeks (chronic cases longer). Mild disc involvement requires 6-12 weeks of conservative care. Hip labral tears need 8-12 weeks with therapy. Key insight: Pain reduction often precedes functional recovery—don’t rush back to heavy activities when pain eases. Wait until you pass the single-leg stance test (30 seconds without compensation) before resuming running or weightlifting.
Progress Markers
Week 1: Pain intensity should decrease by 30-50% with proper positioning. Week 2: Movement improves without sharp pain during daily tasks. Week 4: You can perform household chores with minimal discomfort. Week 8: Return to favorite activities without “ouch moments.” Track progress using a 0-10 pain scale—meaningful improvement shows 2-point reductions weekly. Plateaus lasting >10 days warrant professional evaluation.
Quick Reference: Morning Pain Solutions
If Pain Wakes You Up
- Never jump out of bed—roll to your side first while hugging knees
- Apply heat pad for 10 minutes while lying down to relax spasm
- Perform 5 gentle knee-to-chest pulls (hold 20 seconds each)
- Sit on bed edge for 30 seconds before standing to stabilize your pelvis
Breakfast Prep Modifications: For SI joint pain, use elevated surfaces to avoid bending. Hip flexor sufferers should step toward cabinets with their non-painful leg first. Disc pain patients must hinge at hips (not waist) when reaching—keep your back straight like a plank. These micro-adjustments prevent daily re-injury.
Final Recovery Checklist
✅ Pain decreases with specific movements (not just time)
✅ Morning stiffness lasts <30 minutes
✅ Can stand on one leg without hip hiking or wobbling
✅ Sleep quality improves (no 3am pain awakenings)
✅ Return to favorite activities pain-free
Pro tip: Track symptoms daily in a notebook. Improvement happens gradually—seeing “pain 7/10 → 4/10” prevents discouragement during flare-ups. Most people see meaningful reduction in one-sided lower back and hip pain on one side within 2 weeks of targeted care. If you’re not progressing by day 14, consult a physical therapist for personalized assessment—your pain has a specific solution waiting to be unlocked.