
Your morning walk should energize you, not leave you doubled over in pain. Yet for millions, each step triggers sharp lower back pain that transforms a simple stroll into an exhausting ordeal. If you’ve ever had to cut your walk short due to aching, burning, or shooting pain in your lower back, you’re not alone—lower back pain when walking affects people across all age groups and fitness levels. This guide delivers specific, actionable solutions that address the root causes rather than just masking symptoms, helping you reclaim pain-free movement starting today.
Why Your Lower Back Screams During Simple Walks

Muscle Exhaustion: The Silent Culprit Behind Walking Pain
Your core muscles function as nature’s back brace, maintaining spinal stability with every step you take. When these muscles fatigue during walking, your spine loses crucial support, forcing other structures to compensate and creating painful strain. Overweight individuals experience this problem more severely because each extra pound adds 3-5 pounds of pressure on your spine during walking.
Recognize these muscle fatigue warning signs:
– Pain that builds gradually as you walk longer distances
– Immediate relief when you stop and rest
– Worsening discomfort on uneven surfaces like trails or grass
– That familiar burning sensation across your lower back
Prolonged sitting at work accelerates this problem by weakening your glutes while tightening hip flexors—a dangerous combination that destabilizes your walking posture.
Spinal Stenosis: The Walking-Triggered Nerve Pinch
Lumbar spinal stenosis creates a distinctive pain pattern that worsens specifically during walking due to spinal canal narrowing. As you walk upright, your spine extends slightly, further compressing already narrowed spaces where nerves travel. This explains why pushing a shopping cart often provides instant relief—leaning forward opens those cramped nerve pathways.
Identify stenosis-related walking pain by these characteristics:
– Pain increases predictably with walking distance
– Sitting provides near-immediate relief (within seconds)
– You instinctively lean forward while walking
– Most common in adults over 50, though younger people can develop it too
Unlike muscle pain, stenosis-related discomfort often travels down your legs as tingling or numbness rather than staying localized in your back.
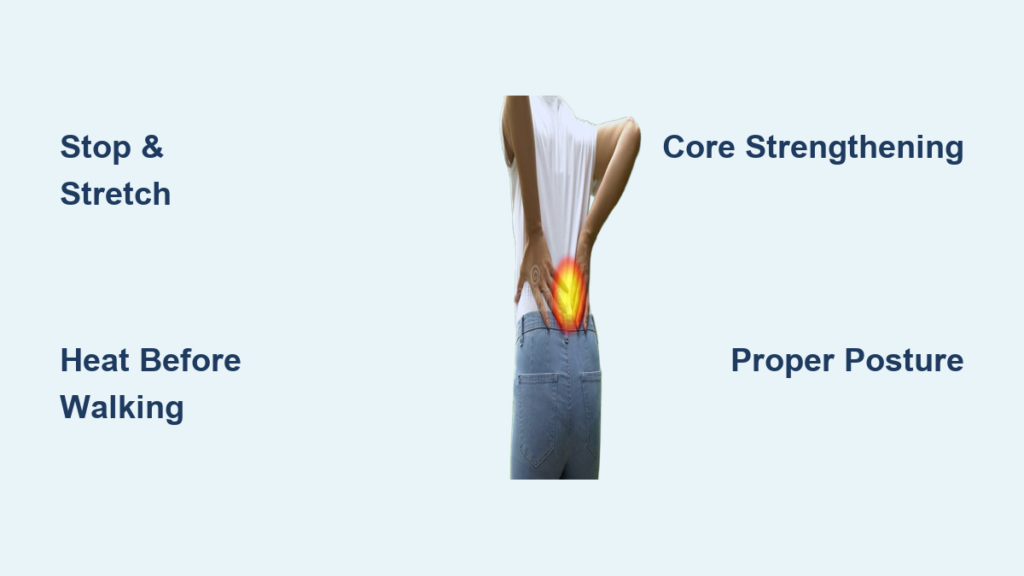
Emergency Pain Relief Tactics for Mid-Walk Discomfort
The 60-Second Stop-Walk-Stretch Method
When pain strikes during your walk, follow this immediate action sequence:
1. Stop immediately – Continuing through pain triggers muscle guarding that prolongs recovery.
2. Find stable support – Lean against a wall or sit on a bench to reduce spinal compression.
3. Perform targeted stretches:
– Standing child’s pose: Place hands on knees, gently push hips back while lowering chest
– Doorway stretch: Place one hand on doorframe, gently rotate chest away for 20 seconds
– Seated spinal twist: Sit tall, cross one ankle over opposite knee, gently twist toward bent knee
These movements create space in compressed areas while resetting muscle tension patterns that contribute to walking pain.
Strategic Heat and Cold Applications
Pre-walk heat therapy works wonders for muscle-related walking pain:
– Apply a heating pad for 15 minutes before walking
– Focus on your lower back and hip flexor areas
– Heat improves blood flow to prepare muscles for activity
Post-walk cold therapy better addresses inflammatory pain:
– Use ice wrapped in thin cloth for 10-15 minutes
– Target specific tender spots rather than general area
– Cold reduces swelling in irritated tissues after walking
Never apply ice directly to skin—always use a protective barrier to prevent tissue damage.
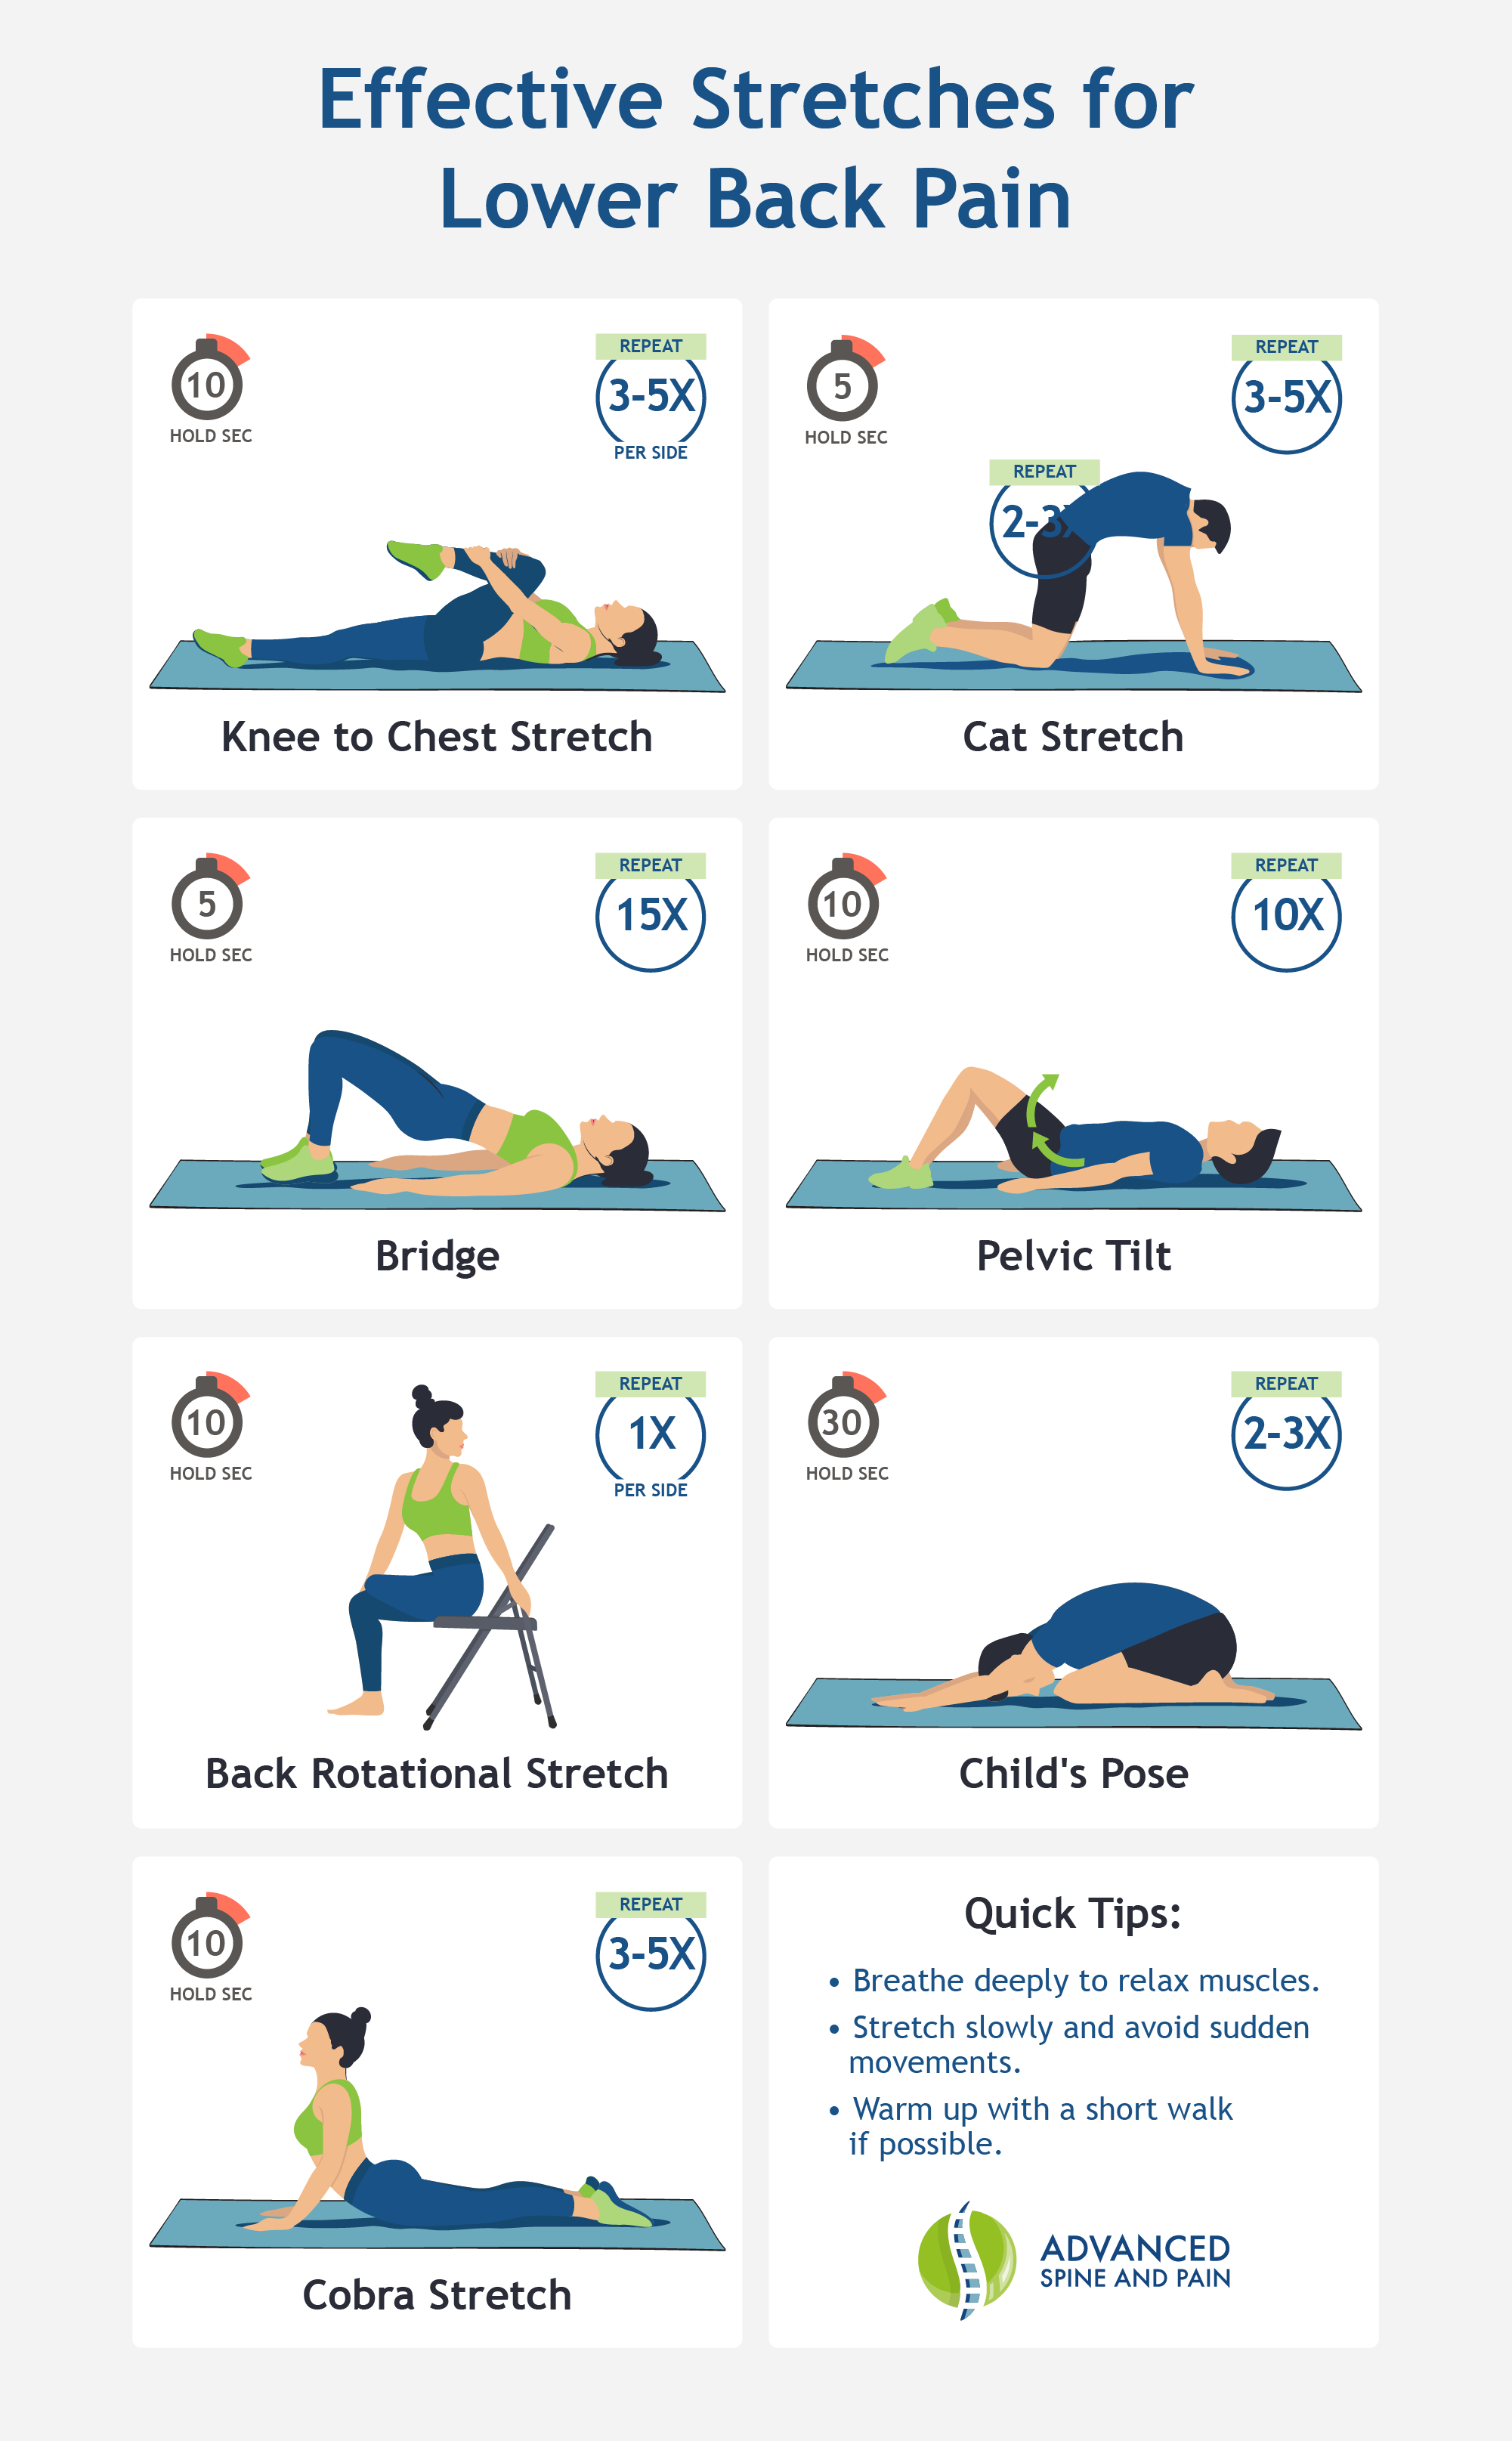
Walking-Specific Core Strengthening Routine
Your Daily 7-Minute Back Pain Prevention Workout
Building walking-specific core endurance requires targeted exercises that mimic gait mechanics. Perform this sequence daily for best results:
Pelvic tilts (2 sets of 12): Lie on your back with knees bent, flatten your lower back against the floor by tightening abdominal muscles, hold for 5 seconds. This teaches proper pelvic positioning during walking.
Standing marches (2 sets of 10 each leg): Stand tall with hands on hips, slowly lift one knee at a time while engaging your core. Focus on keeping your pelvis stable without leaning.
Bird-dog progression (2 sets of 8 each side): Start on hands and knees, extend opposite arm and leg while maintaining a neutral spine. Advanced version: Perform while standing on one leg.
Complete this routine before your walk to activate protective muscles and prevent pain from developing during activity.
Posture Corrections That Transform Your Walking Experience
The Head-to-Toe Walking Alignment Checklist
Proper walking posture distributes forces evenly through your spine instead of concentrating stress in your lower back. Check these alignment points before starting your walk:
- Head position: Ears stacked directly over shoulders, gaze focused 20 feet ahead
- Shoulder position: Relaxed down and back—imagine holding a tennis ball between shoulder blades
- Arm swing: Natural pendulum motion from shoulders (not elbows), hands relaxed
- Core engagement: Gently draw belly button toward spine without holding breath
- Hip alignment: Level and stable, avoiding excessive side-to-side sway
- Foot strike: Land mid-foot, roll through to push off from toes
Set phone reminders every 10 minutes during your walk to check your posture—most people revert to poor habits within minutes of correction.
Footwear and Terrain Modifications for Pain-Free Walking

Shoe Selection Criteria That Actually Help Back Pain
Your shoes dramatically influence spinal alignment during walking. Replace footwear showing these warning signs:
– Uneven sole wear (more worn on one side)
– Loss of cushioning in heel area
– Visible creasing across the midfoot
– Tread separation or sole detachment
Prioritize these features when shopping:
– Moderate arch support matching your foot type
– Adequate cushioning that doesn’t feel unstable
– Heel-to-toe drop of 4-8mm maximum
– Flexible at the ball of foot, not the arch
Avoid flip-flops and worn-out sneakers—they provide zero support and force your back muscles to compensate for unstable footing.
Smart Terrain Progression Strategy
Start your walking rehabilitation on these forgiving surfaces:
– Rubberized tracks (best for beginners)
– Grass fields (softer impact)
– Well-maintained dirt paths
– Treadmills with cushioned decks
Avoid concrete sidewalks and steep hills until you’ve built sufficient strength—these surfaces dramatically increase spinal loading. Progress to harder surfaces only after completing 2 weeks of pain-free walking on softer terrain.
Critical Warning Signs Requiring Immediate Medical Attention
Don’t Ignore These Emergency Back Pain Symptoms
Seek urgent medical care if you experience any of these while walking:
– Loss of bowel or bladder control—indicates severe nerve compression
– Progressive leg weakness making stairs or standing difficult
– Numbness spreading down both legs—suggests central canal narrowing
– Pain that worsens at night—may indicate serious underlying condition
– Unexplained weight loss with back pain—requires thorough evaluation
These symptoms shouldn’t wait for a regular doctor’s appointment—they need immediate evaluation to prevent permanent damage.
Your 4-Week Walking Recovery Timeline
Week 1: Foundation Building
Walk 5 minutes daily on flat surfaces, focusing solely on maintaining proper posture. Stop immediately at first sign of pain and perform the emergency stretches. Complete your 7-minute core routine before each walk.
Week 2: Gradual Progression
Increase to 8-10 minutes daily, adding one posture check every 2 minutes. Introduce gentle arm swinging to engage your core naturally. If pain-free for 3 consecutive days, add 2 minutes to your walk.
Week 3: Building Endurance
Reach 12-15 minutes of continuous walking with strong posture maintenance. Introduce brief (15-second) rest breaks with dynamic stretching if needed. Focus on smooth, rhythmic breathing patterns.
Week 4: Consolidation Phase
Achieve 20 minutes of pain-free walking with consistent posture. Add slight terrain variations like gentle curves. Celebrate small victories—each pain-free step rebuilds your confidence in movement.
Most people experience significant improvement within 3-4 weeks when consistently applying these targeted strategies. If your lower back pain persists beyond 6 weeks despite diligent effort, consult a physical therapist specializing in gait mechanics for personalized assessment.
Lower back pain when walking doesn’t have to derail your active lifestyle. By understanding your specific pain pattern and implementing these walking-specific solutions, you can transform painful steps into pain-free strides. Start today with the emergency relief techniques, commit to the daily 7-minute core routine, and carefully progress through the 4-week recovery timeline. Your first pain-free mile begins with the very next step you take—make it count. Remember that persistent pain beyond 6 weeks warrants professional evaluation, but for most people, consistent application of these evidence-based strategies delivers remarkable results within weeks, not months.